EWE

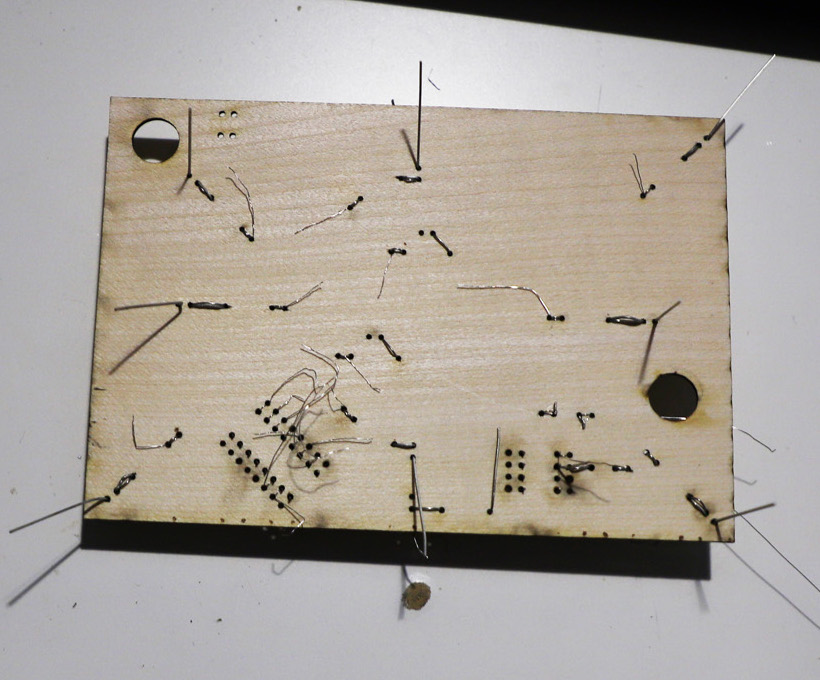
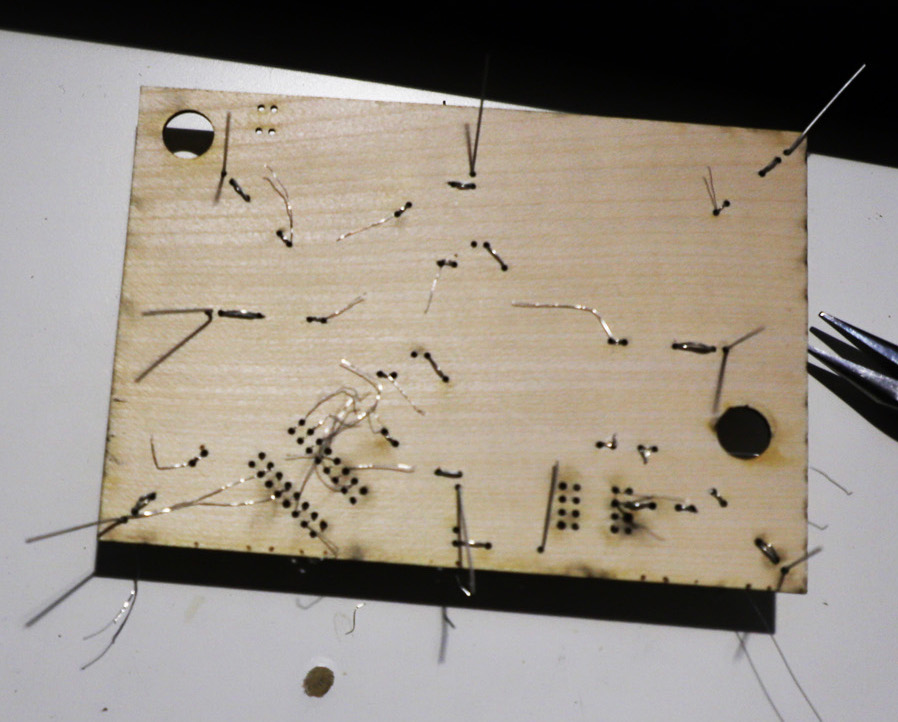
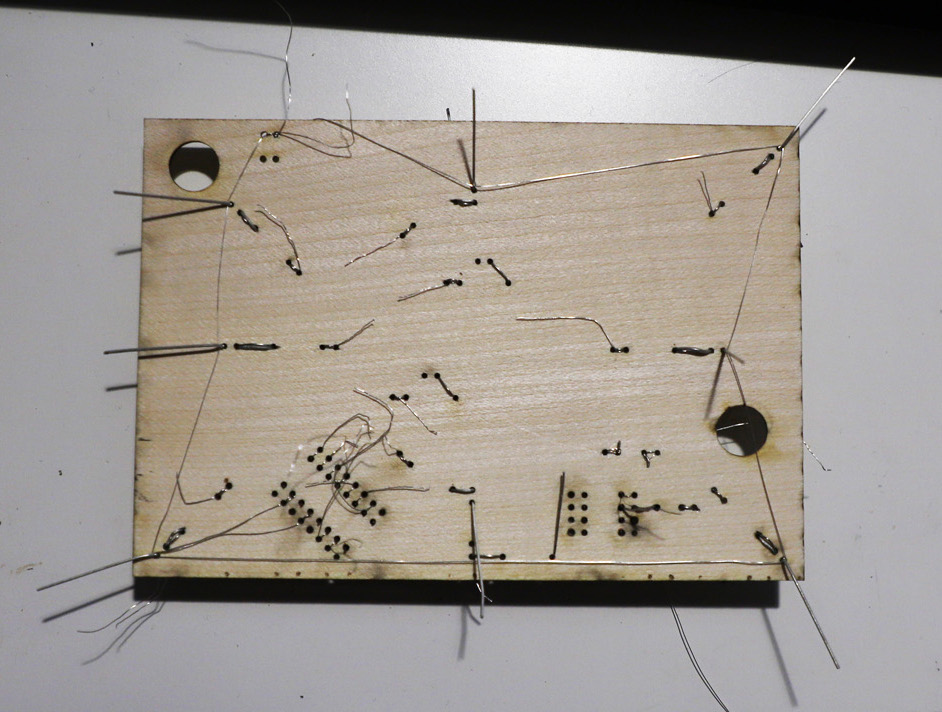
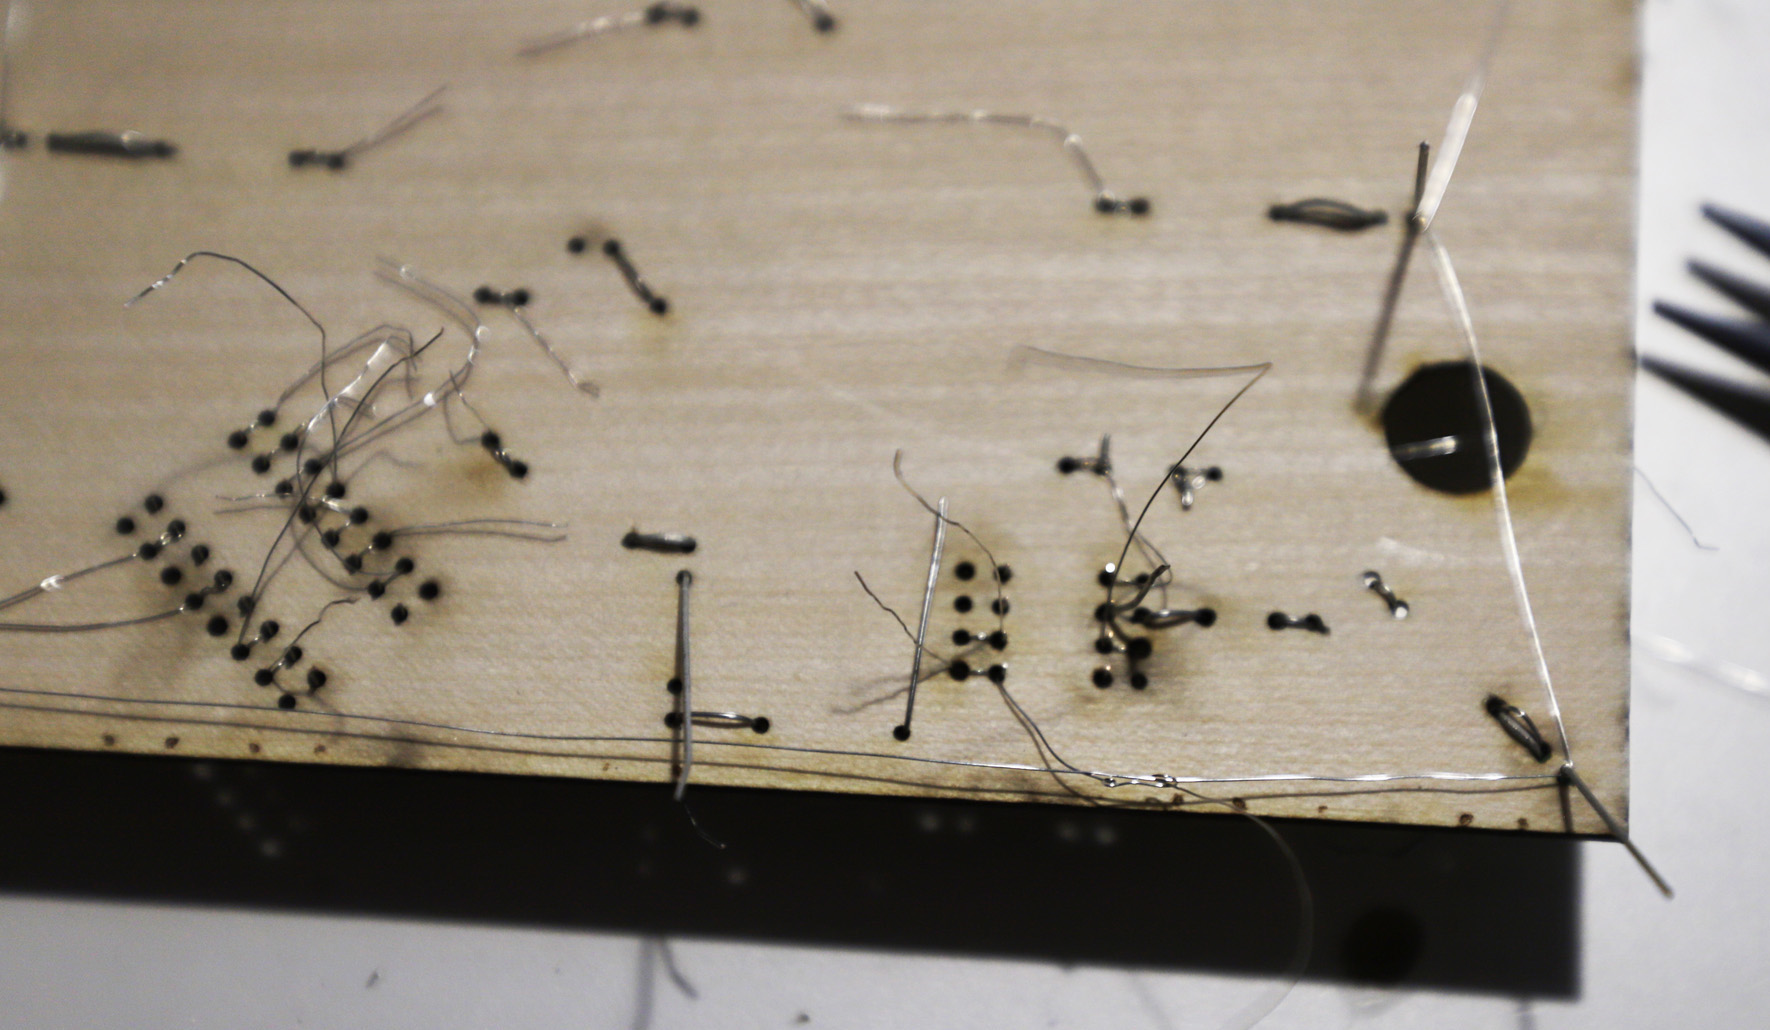
A while back I started looking for a solution with which I could prove to be able to work safely from home while breaking devices. Sadly I wasn’t able to find anything small and cheap enough to actually fit my desk. The best options I found where actual workbenches and tables in various sizes. Thus I decided to design my own Electronics Working Environment.

My Requirements

  • Good enough to convince the health and safety at work
    • Contain all necessary components like fuses, emergency stop and RCD
    • Be integrated so that a single test seal covers the whole setup
    • Be a closed setup so I can actually show that I can’t just fiddle with it ;)
  • Cheap enough for me to actually make, buy and develop
  • Portable, to also be able to use it during odd jobs
  • Small enough for a desk
  • Be based on off-the-shelf components
  • Usable
    • Fixed voltage supplies for 5V and 24V and maybe 48V
    • Adjustable power supply
    • Maybe USB
    • Maybe a safe 230V outlet

Standards & Safety

In preperation I read a few standards on the topic

[Read More]

H2HC 2015 Badge

The H2HC 2015 Badge is basically a customized Arduino Leonardo . As such it can be directly programmed from all Arduino compatible IDEs. It is important to note, that the H2HC 15 Badge is run at 5V. H2HC 2015 Badge Front

Pin Out

When working with the Arduino IDE all pins can accessed the way they’re enumerated on the PCB. Due to the re-design the pins and the enumeration changed. The following lines of code list the pin names the way they are on the Badge.

[Read More]

H2HC 2016 Badge

The H2HC 2016 Badge is a simple binary counter based on the nodeMCU . Using the ESP’s WiFi uplink it can easily be turned into an NTP clock.

H2HC 2016 Badge Front

Schematics

H2HC 2016 Badge Schematics

Images

Front Back
H2HC 2016 Badge Front H2HC 2016 Badge Back
H2HC 2016 Badge Layout H2HC 2016 Badge Layout

H2HC 2017 Badge

The H2HC 2017 Badge is a small USB HID injector based on the ATTiny85. After it was worked out that the ATTiny85 could be used to BitBang USB (it does not have a native USB interface) many projects based on this chip have appeared. One of them being the HIDIOT by Steve Lord from rawhex which was recently funded on Kickstarter and has been widely sold. While the HIDIOT is designed to be a dev board with enough space to add bits and pieces, the H2HC badge is solely aimed at being small. The design is based on the Wattuino Nanite 85 board from Watterott Electronics , which is also the team who manufactured the badges.

[Read More]

H2HC 2018 Badge

The H2HC 2018 Badge is small custom batch of bottle shaped PCBs. For an appropriate finish, the contacts are covered in real Gold!

While this real gold part might sound impressive, it’s a typical process for finishing PCBs called “ENIG” ( Electroless Nickel Immersion Gold ). During which the surface of all contacts is initially coated with nickel and then covered by a 5µm to 8µm layer of gold. (Just for comparision an 80g sheet of paper has a thickness of 128µm or 0.128cm). The aim of this gold coating is usually to create a super even surface for the placement of SMD parts, for us, well it’s a sweet contrast to the black PCB!

[Read More]

H2HC 2022 Badge

The H2HC 2022 is an old time dream circuit: A wooden PCB with large components connected with wrapped wire. Probably the easiest and most complicated approach to create a PCB at the same time. Technically it’s “just” an NE555 giving a clock signal and cycling through a few LEDs and letting them blink.

Step Picture
Schematic H2HC 2022 Schematic
1 H2HC 2022 1
2 H2HC 2022 2
3 H2HC 2022 3
4 H2HC 2022 4
5 H2HC 2022 5
6 H2HC 2022 6
7 H2HC 2022 9
8 H2HC 2022 10
9 H2HC 2022 11
10 H2HC 2022 12
11 H2HC 2022 13
12 H2HC 2022 14
13 H2HC 2022 16
14 H2HC 2022 17

WiFi DMX Interface

I recently decided to create a simple WiFi enabled DMX interface for controlling lights/lamps/spots as used on stages etc.. Most of these lamps come with a DMX interface which is based on the well know RS-485 BUS . As its very easy to convert between UART and RS-485 creating an interface based on the ESP8266 was the easiest approach.

[Read More]