I recently wanted to do a few changes on my home network and needed some simple and cheap devices supporting VLAN and preferably having a bit of WiFi and some VPN. After a short look on eBay I decided to go for a Cisco Small Business WiFi Routers. Random clicking and bidding resulted in buying one RV110W , one RV120W and a RV215W . As they didn’t quite perform as I wanted, I needed a few alternate approaches….
Issues
When the RV110W and RV120W arrived I had a little bit of free time available, so I decided to give them a basic configuration for where they were supposed to go and give them a quick spin. Not being interested in whomever they belonged to, I started by doing hard resets on both devices. Power down -> hold the Reset button -> power up -> wait. I then did some basic configuration, messed up some IP and VLAN settings and locked myself out. A quick reset later I was back on the device, being a bit more careful. I quickly found out, that the devices where only capable of using 5 different VLANs, one of which was hard on ID 1. Needing 5 VLANs myself, I was stuck and went for a compromise. I then found out, that all interfaces needed to be configured with a default VLAN ( “untagged”). Not needing VLAN 1 this would have been a simple setting, but, it is not possible to deactivate the configuration menu on VLAN 1. “Only a home network”, ok, but I’m trying to perform proper separation between the nets and have a dedicated VLAN for all management interfaces and have locked all other devices into there… Not being very happy I decided to look for an alternative way of configuring the device.
Access
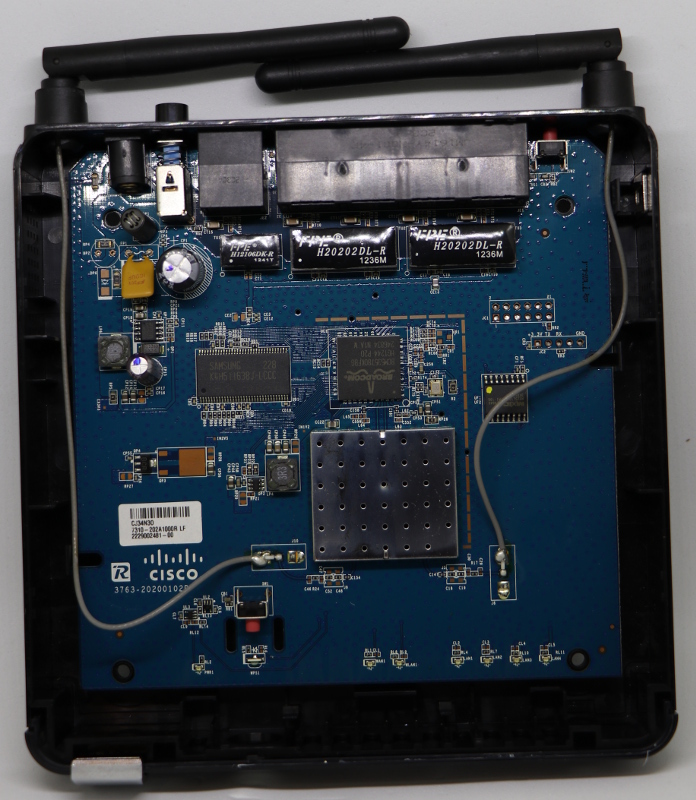
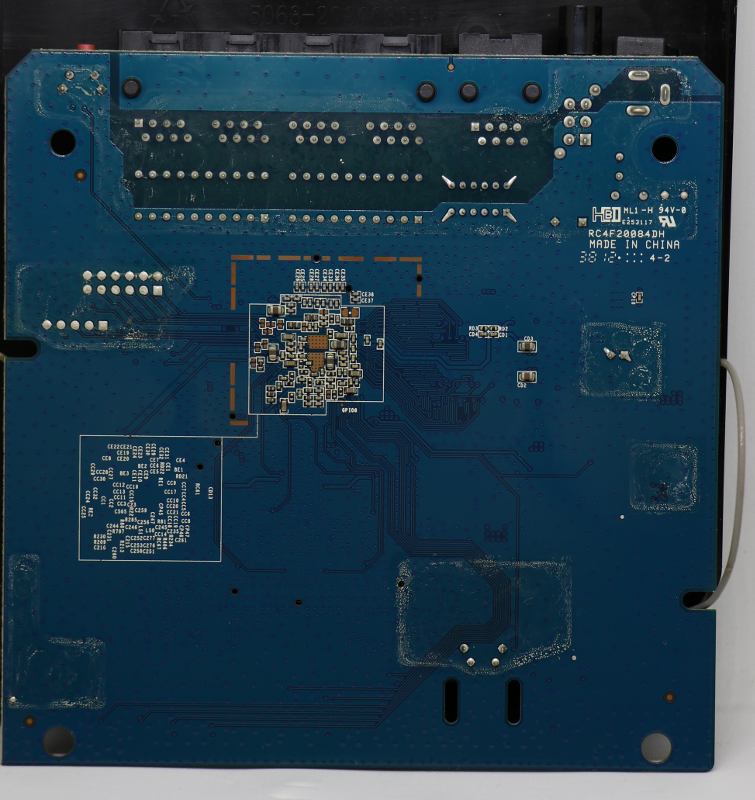
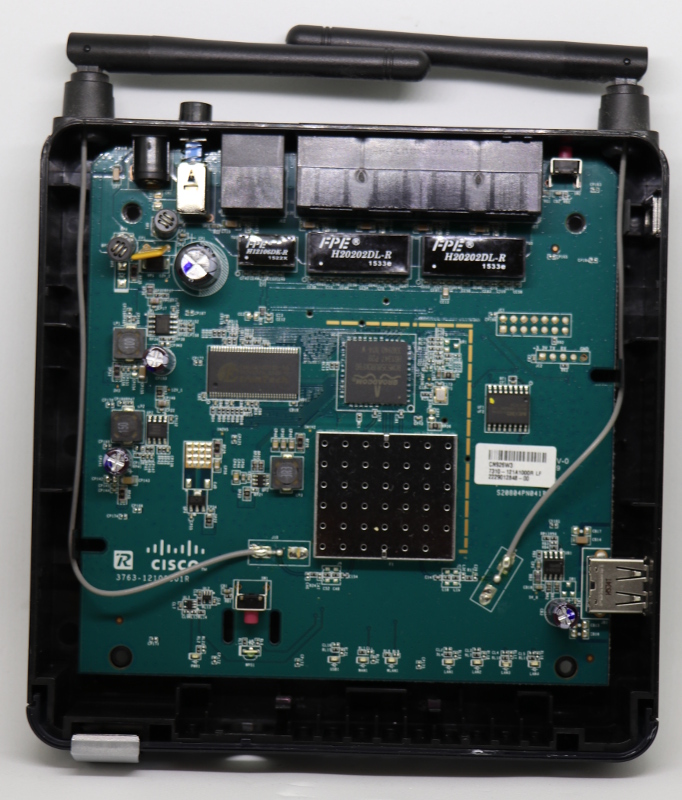
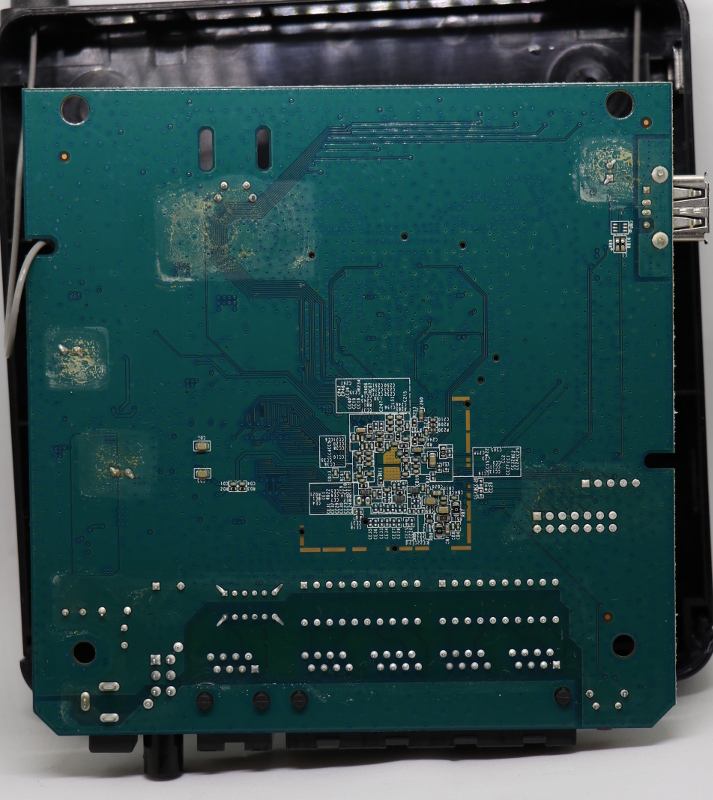
NMAP was only able to identify the used web interface I already knew about, sadly no Telnet (luckily?) or SSH. As such I grabbed a screwdriver and opened the cases. The first one I opened was the RV120W. Although I found a header which looked a lot like JTAG, there sadly was no obvious serial header, so I went for the next one, the RV110W. Luckily this one had a 5 pin header marked as JC2 with the pins +3.3V, TX, RX, (none) and GND.
RV110W
| Top | Bottom |
|---|---|
 |
 |
RV215W
| Top | Bottom |
|---|---|
 |
 |
After soldering on a few pins and attaching an FTDI cable I got in.
The router welcomed me with a detailed boot log and a friendly Hit enter to continue...Hit enter to continue....
Hitting enter gave me an open shell
BusyBox v1.7.2 (2016-02-24 16:22:30 CST) built-in shell (ash)
Enter 'help' for a list of built-in commands.

#
# help

Built-in commands:
-------------------
	. : [ [[ bg break cd chdir command continue echo eval exec exit
	export false fg hash help jobs kill local pwd read readonly return
	set shift source test times trap true type ulimit umask unset
	wait
Problem Solved
Having access to ifconfig, vconfig, brctl and ip a new proper configuration for the RV110W is on its way. Luckily the RV215W is very similar and also exposes the same Serial header.
The Fun and Sad Part
Being on the device I decided to have a look around and check whether I might still be able to use parts of the exposed web interface. While the configuration files in /tmp/ looked like my actual settings, /data/mirror.cfg looked slightly different. Scrolling through the file I found a complete previous config:
From the RV215W, /data/mirror.cfg
wl0.1_wme_bss_disable=0
wl0.1_wpa_gtk_rekey=3600
wl0.1_wpa_psk=masteryoda1
wl0.1_wps_config_state=1
wl0.1_wps_mode=disabled
wl0.2_wme_bss_disable=0
wl0.2_wpa_gtk_rekey=3600
wl0.2_wpa_psk=Skywalker1
wl0.2_wps_config_state=1
wl0.2_wps_mode=disabled
From the RV110W, /data/mirror.cfg and /data/backup.cfg
wl0.2_wme_bss_disable=0
wl0.2_wpa_gtk_rekey=3600
wl0.2_wpa_psk=tona!bina36
wl0.2_wps_config_state=1
wl0.2_wps_mode=disabled
wl0.3_wme_bss_disable=0
wl0.3_wpa_gtk_rekey=3600
wl0.3_wpa_psk=bina!tona!63
wl0.3_wps_config_state=1
wl0.3_wps_mode=disabled
The previous owner had also configured a mail account (SMTP Server, username, password) for the device to send him log files via mail.
Of course it’s not rare that people sell old equipment on eBay and forget to reset / wipe it. Still the devices were on default settings, at least that’s what the web interface looked like. Also, I had performed a hard reset myself. As a quick test, I performed a few resets with a very clear result: The file /data/mirror.cfg was not changed. No matter how often I follow through with the reset, I can login with the default credentials, all my settings are gone in the web interface, but /data/mirror.cfg is still there the way it was when I got it.
I might have to note here, that I had performed multiple resets before opening the device and adding the Serial header. I hadn’t even known about the files at that point. As such I can’t have accidentally changed permissions on the files and prevented the deletion.
So I guess, the Resets on the Cisco RV110W and RV215W are broken….
Failing Resets
There are many reasons for performing a hard or factory reset. The main reason probably is a forgotten password, followed by a broken config and a loss of connection / access in second place. For these reasons it might be sufficient to not perform a complete wipe of the device, as long as it works again afterwards. Still many users, admins and corporations rely on the fact that a device reset will actually delete all secrets on the device. They use the functionality when taking a device out off service to ensure that no information is leaked when the device is disposed. As such a broken reset can actually be a highly critical issue. Surely one could also change the credentials which had been used by the device, but why, if the information is seemingly not exposed…
Resets and wipes of embedded devices will become more and more important throughout the next few years. With evermore IoT devices reaching the market the amount of disposed devices will also rise. Each one of these devices will probably contain somebody’s WiFi credentials, which are configured when the router is bought and might be changed when a new router is necessary. As such a proper reset (or physically destroying the device) is critical step to prevent break-ins via dumpster diving.