The Black Cart Experience, Part I
Having been grounded for a while now and mainly going out to do some shopping, the electronic shopping carts in our local grocery store offered a very welcome change. Although, only having access to the carts while being out shopping and being permanently “supported” by the staff doesn’t make the “physical part of looking at things” any easier, they’re new, interesting and fun devices to have a look at…
The Challenge
Working out how things work is usually rather straight forward: Press buttons, see what happens, play around a bit and start doing stupid things to expose information. In this case on the other hand there are few situations where one has a chance to actually be alone with the cart. It’s easy to find the screws holding the case together but not as trivial to just open them, especially as it’s forbidden to do so. Looking at a third party device, there are very many potential legal issues to keep clear from, as such the only option is a fully passive approach.
All in all this short series of posts will give a brief introduction into how one can collect information on a system one can’t properly touch. Covering functional, technical and organizational aspects it’s not only security related.
Electronic Shopping Cart
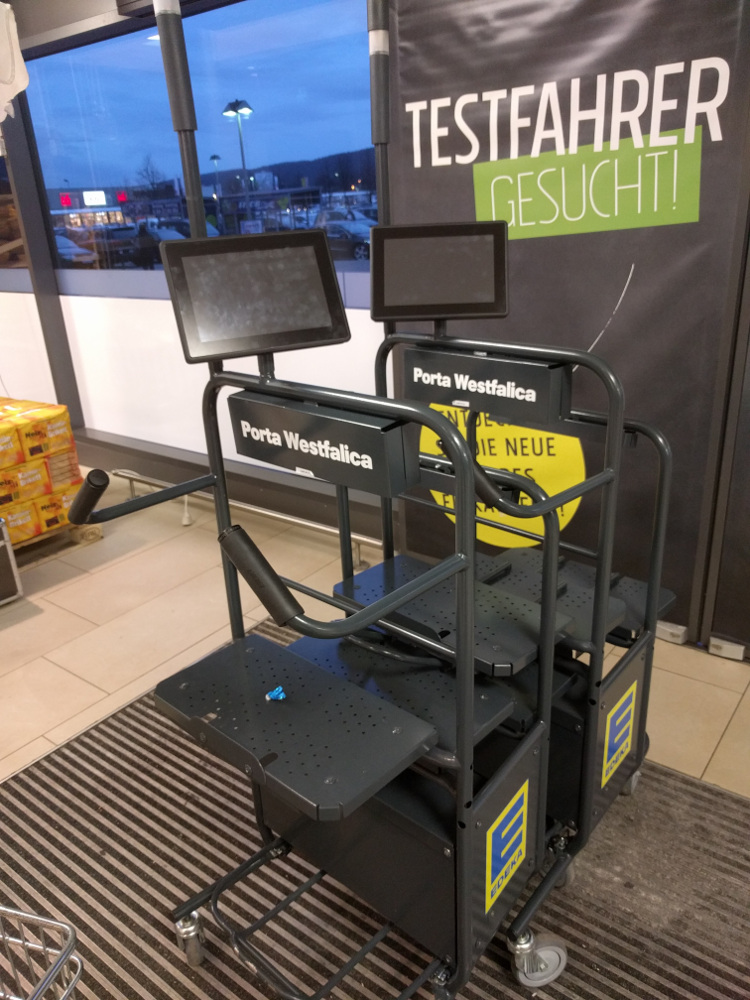
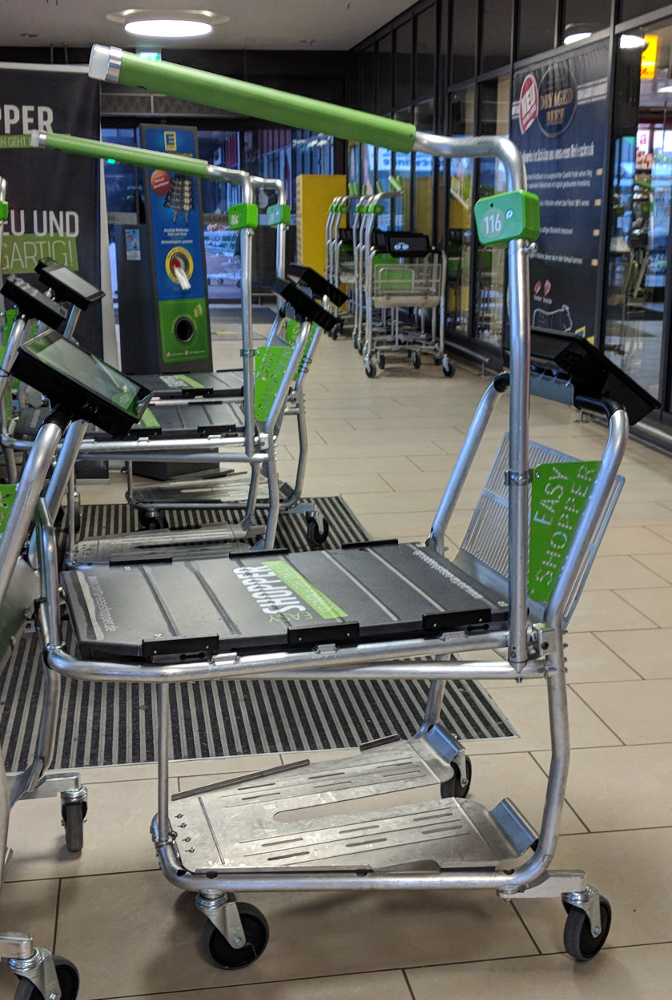
The idea and concept are plain and simple: Instead of scanning products at the cash register, customers use a scanner in the cart while shopping. The cashier only selects the cart from a menu, the customer pays, done! No unpacking, no repacking, no scanning - all makes the check-out process significantly quicker. The cart is fully customized and currently enrolled in the second generation. Gen 1 had a slightly unfamiliar design for a shopping cart. Being designed to carry three shopping bags it had a rather high format resulting in funny situations with smaller people maneuvering the cart. Gen 2 is back to a more classical design and still designed for shopping bags (also makes things quicker).
 |
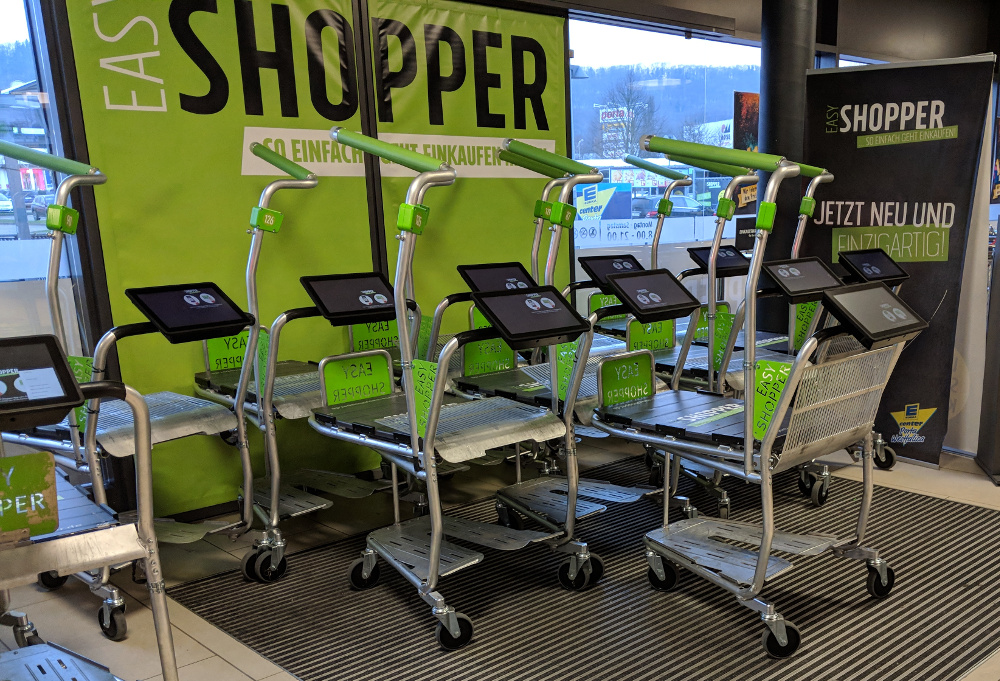 |
Gen 2 is controlled via a touch screen, comes with a 1D/2D barcode reader and two cameras (in the green arm above). The end of the arm contains, I think, an RGB LED which shows the carts current status (calling for support, ok, already checked out). Also the carts have weight sensors covering each surface of the cart, a simple solution to verify whether a customer actually scanned all products. When carefully looking at the cart, one can actually quickly see the distinct design of the strain gauges (DMS). The cameras were an addition in Gen 2, I’d guess to reduce the amount of cases where somebody had to go round and verify if somebody let their kid sit on the cart. (One might think this would be an obvious discrepancy, but if somebody places three 1.5l bottles in the cart and accidentally selects three six packs it already gives you a difference of about 22.5kg.)
By the way: It’s called the “EasyShopper”
First Use, Login and the App
Upon first use a staff member will bring the cart into shopping mode by presenting an Aztec code from their phone to the code reader in the cart. After checkout the customer can type his eMail address into the cart and will receive a mail with a registration link shortly after. The user would then have to download and install the EasyShopper app (Android or iOS).
Back in 2017 the registration link looked as follows: “https://whizcartweb.azurewebsites.net/user/email-address”. Opening the link would then trigger the app and perform initial configuration.
The app would thenceforth contain a custom Aztec code for logging in on the cart. Alternatively, when having stored their loyalty card number, they can also login via the barcode on the card.
A short note: They actually call the Aztec codes QR codes…
The Screen & Computer
The cart offers a very straight forward interface which shows you the list of current items in your cart with details, an option to search for products, a shopping list and a few extra buttons.
When opening the product search an on screen keyboard appears and one can simply type in the product one is looking for. Afterwards the in store navigation can be used to direct the customer to the location of the product. Alternatively the products can also be placed on a shopping list.
Administration & Support
The cart offers a local administrative interface which can be activated using a specific Aztec code, which is also read by the main barcode reader. The code is usually presented on a phone or smartwatch by one of the staff members. As such it would be possible that some kind of OTP is used. Due to the fact that new staff members, who seemingly don’t have a phone yet, carry a paper badge on a lanyard with a static code around their neck, it seems to be static. As such it would be rather trivial for an attacker to get a picture of these tokens.
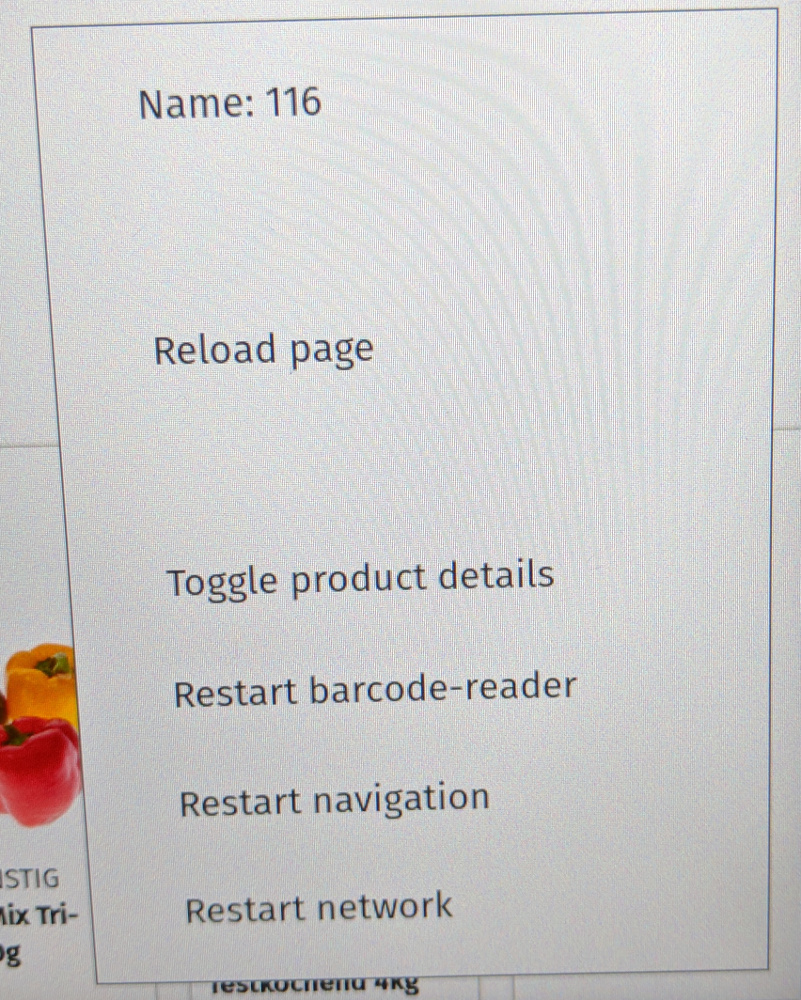
The admin interface offers both access to cash register type functions (i.e. adding products by hand, changing prices) and to certain technical functions like restarting parts of the cart. In the current generation of the interface this restart functionality is exposed directly via a “hidden menu”. Tapping the bottom right corner of the screen will open the menu.\
The shop has multiple staff members roaming the halls and offering support with the cart. Also, the way helping works, they’d usually check their own app each time after passing a customer using the cart (at least next to every time after passing me….).
Deeper analysis / access seems to be possible via a few Microsoft Surfaces. (The guys, who seem to be devs, actually run around with their MacBooks and seem to be working via Shell most of the time).
One interesting fact is that the cart system is physically separated from the rest of the checkout system. When reaching the till, the cashier will open the cart on a Windows tablet, which then exposes a QR code. This code yet again is scanned with the barcode scanner from the till. All items in the cart then start appearing on screen. Larger carts are split into 2..3 QR codes, which have to be scanned separately.
And now…
It’s time to wait for the next post.