The Friendly Keyboard Mouse
Although being an old approach, injecting HID keystrokes is still a very effective way of attacking a host system. When doing so, a microcontroller is used to emulate a USB keyboard which will then simply type commands. From the perspective of the host system, there is no chance of distinguishing between a real and an emulated keyboard. This post gives an overview on how to create an injector which is placed in a normal USB mouse and how to program it for a little bit of fun.
The Parts
The heart of the device is a Teensy LC, which is a small NXP MKL26Z64VFT4 based dev board. It has various IO pins/headers and a micro USB plug. Price-wise they cost around 12€-20€. They can easily be programmed using the Arduine IDE together with the Teensyduino plugin. Example code will follow further below.
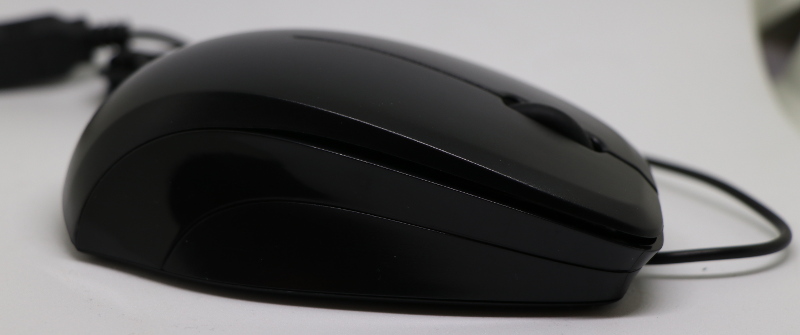
For the case I chose a Speedlink Ledgy wired USB mouse. The main reason for this choice where the price and the size.
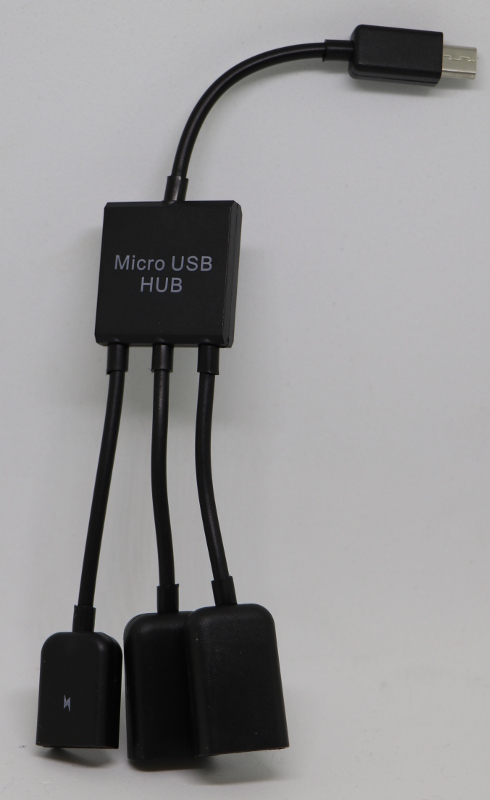
To combine both I went for a Micro USB hub from Amazon.
 |
 |
All parts cost me just under 30€, so it’s both a fun and cheap project.
Putting Things Together
1. Step - Opening the Mouse
I initially started by opening the mouse and having a look at it’s internals. To open the mouse, one has to strip the gliding pad on the back of the mouse and remove the two screws hidden underneath. Afterwards one has to slightly push the body forwards and then lift it up.
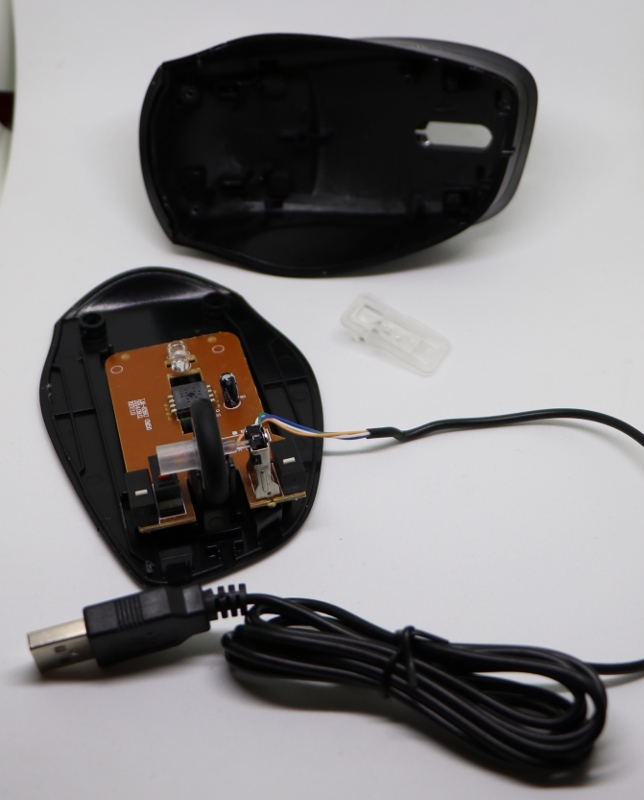
Luckily it had loads of free space, much more than actually necessary. The mouse consists of three buttons (left, right, wheel), the wheel itself, three caps and four resistors. The buttons are actually all connected to the same pin but have different resistors in line. I guess the IC simply measures the input current/voltage and as such detects which button was pressed.
The first thing to do now, after taking pictures and checking both colors and writing, is to desolder the mouse’s cable. We’ll be re-using it in a bit!
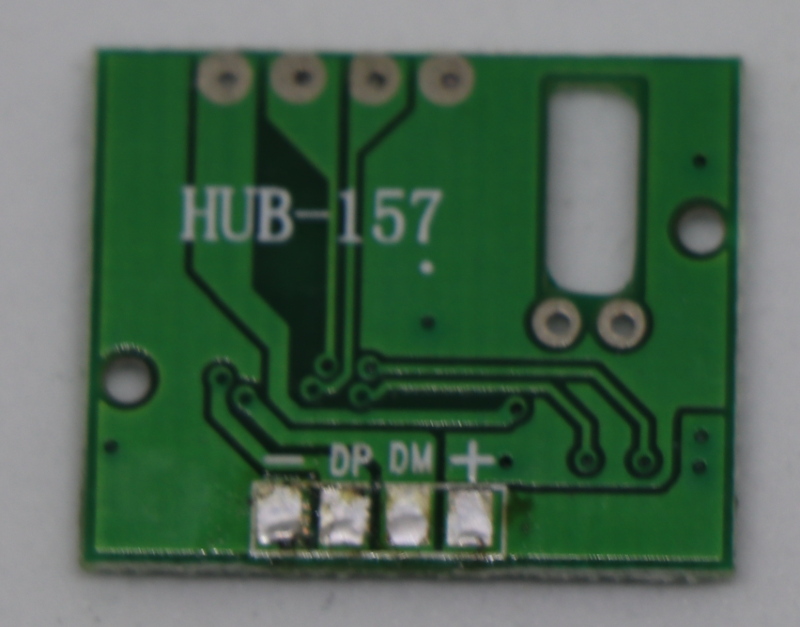
2. Step - Preparing the Hub
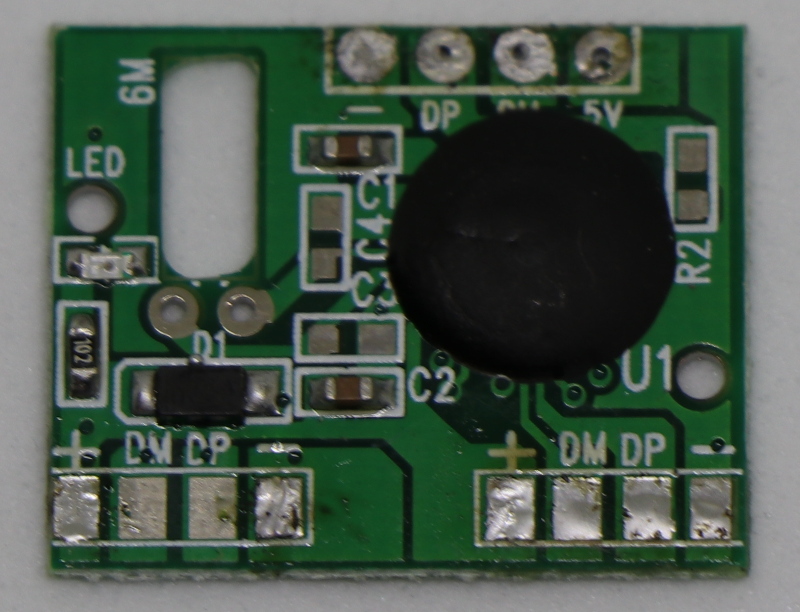
The hub can quickly be cracked open using a knife. After opening the hub I would highly recommend taking a picture of the PCB and the connected wires, as one can very often neither trust the print on the PCB nor the color of the wires. For my hub everything seemed correct. While the hub seems to be three port hub, only two ports are used. The port on the front left of the PCB is only used as an extra power input.
 |
 |
To prepare the hub, yet again, it’s time do desolder the connected wires and then clean the pads.
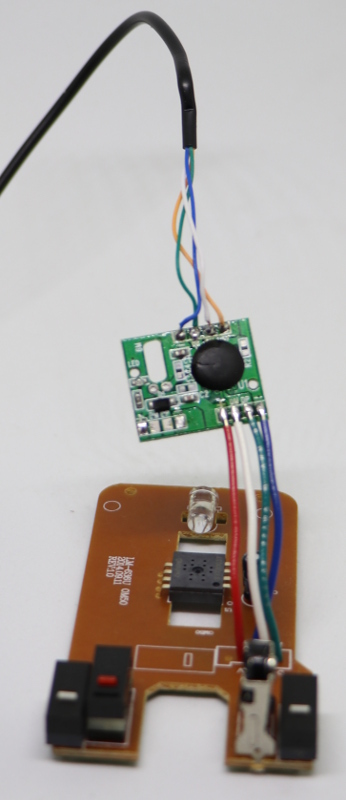
3. Step - Hub and Mouse
It is now time to grab four pieces of wire and attach the hub to the mouse. You need to connect one of the hub’s downlinks to the input of the mouse. Use the pictures you took before as reference. Then connect the cable you disconnected from the mouse and attach it to the uplink of the hub. The result should look something like this.
Usually I would recommend using flexible wires, as they make sure you can place the hub exactly where you want it. In this case though, the stiff wires will make sure that the hub and the Teensy will stay in place, without having to stick it somewhere in the mouse.
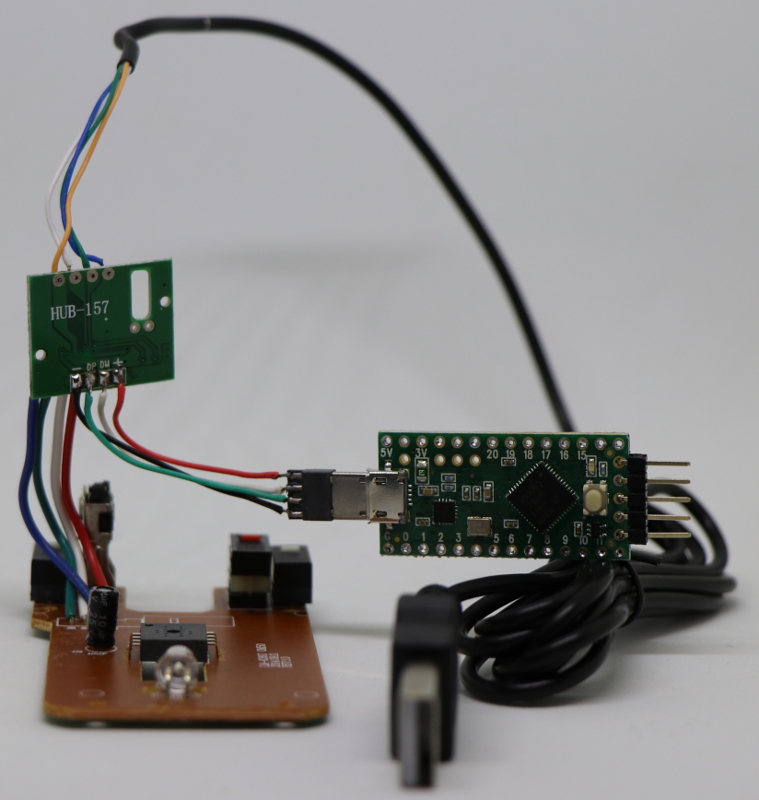
4. Adding the Teensy
Using the same approach it is now time to also solder the Teensy to the hub. Due to having that much space in the mouse, I decided to reuse the USB plug from the hub and connect it to a downlink port. As such the Teensy can be easily plugged in and out or swapped with something else.
5. Insulation
I guess here the pictures is better than a description.
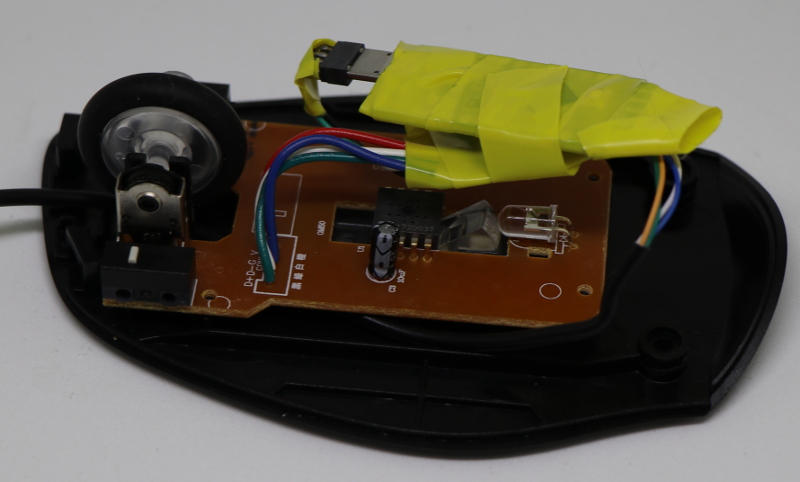
As you can see, the parts are being held in place by the stiff wires.
6. Put it all back together
Time to grab the screwdriver.

Programming
As said before, programming the Teensy LC can be done with the Arduine IDE and Teensyduino plugin.
When using the Teensy as a USB HID Keyboard this functionality has to be activated. To do so follow these steps:
- Click “Tools” (in the Arduino IDE)
- Select the correct Board, “Teensy LC” in my case
- Select the correct USB Type, “Keyboard”
- Select the correct Keyboard Layout
Then just flash the device after writing your code.
Check here for further information
A Typical First Script
void setup(){

  // wait 10 seconds for device to enumerate
  delay(10000)

  // open run dialog
  Keyboard.press(MODIFIERKEY_GUI);
  delay(15);
  Keyboard.press(KEY_R);
  delay(15);
  Keyboard.release(KEY_R);
  delay(15);
  Keyboard.release(MODIFIERKEY_GUI);
  delay(200);

  // start powershell
  Keyboard.println("powershell");
  delay(500);

  // run some command
  Keyboard.println("do something!");

}

void loop() {
}
Inspiration
For reference I would recommend having a look at Nikhil Mittals Nishang.