Picture-Puzzle-Postcard-Magic
About a year ago I was looking for a creative way for bridging about a month of waiting, well bridging the wait for somebody else to be precise. After a little bit of tinkering and playing around I thought it might be a nice idea to send a postcard per day. Obviously, I wanted the cards to be custom (own design), printable (duplex) and somehow connected (telling a story). After a few more days of playing with ideas I decided to add a puzzle aspect, thus each postcard containing a few parts of the puzzle. The way things are with me, the overall design slightly exploded by adding a few more fun features. I’m actually just writing about, as I did quite like the overall idea and thought somebody else might find joy in it or just use it as inspiration, especially as the project turned out to being a complete waste of time.
The Basics
The script generates 36 postcards with 6 pieces each which then assemble into an 18 x 12 216 piece puzzle. To reduce the work necessary for the recipient all pieces are perfectly square. Not knowing what the final picture is supposed to look like, each piece has an x/y coordinate printed on the back of it. To create a little bit of magic / fun while actually assembling the puzzle, I added a blueprint concept, which defines the order in which the puzzle will be assembled. Thus being able to make the puzzle shape in specific patterns / shapes. To be able to see what the final picture and the actual assembly will look like, an animated GIF is created. The postcards are then generated from a random pool of pieces based on the blueprints. During the process the pieces are also rotated randomly. The position of the printed coordinates shows the correct orientation. Due to simply being easy to add (and hiding stuff is always fun) , each piece also contains a letter from a hidden message. For convenience reasons, the backsides of the postcards are pre-printed containing the recipient’s address. The script also creates PDF for the final print which contains markings for cutting and positioning of the colors.
Postcards
Being in Germany, I followed the Deutsche Post (German Post) definitions: 14cm - 23.5cm x 9cm - 12.5cm made of 150g/qm - 500g/qm. Staying in these dimensions I decided to go for a default format: 15cm x 10cm. Thus making the final image 90cm x 60cm.
The Blueprint
The blueprint is a simple 18 x 12 pixel RGB PNG image which defines the order in which the applicable pieces will be placed on the final postcards. The function is rather simple, the higher the blue value of a pixel, the later the piece will be placed on an actual postcard (The red and green values are ignored). Parts within the same shade of blue are randomized in order. My aim here was to be able to send a further message by the patterns created when actually adding the pieces of each post card day by day. I simply created it using GIMP. When making the image, I used multiple layers, each one only containing a single shade of blue (I think I increased the value by 20 for each layer). Using the layers I was able to scroll through the assembly process by hiding layers, which is especially helpful as you want the puzzle to grow and not consist of scattered parts. For my final puzzle I started with the pieces of the frame in random order (being 2 x 18 + 2 * 10 = 56 frame pieces, the frame was complete after 10 postcards) and then had a shape growing from the center of the bottom line. The shape then grew until it reached the top of the frame. Afterwards the final pieces were added.
Depending on the preferred flavor one can have the image grow in any way wanted. I would just recommend using the actual content of the image as inspiration.
The Animated GIF
As scrolling through the blueprint isn’t enough to see / rate the effect of the image growing, the script also generates an animated GIF with the complete sequence in which the puzzle pieces arrive. Thus it starts with a white image. Each image adds the six pieces of the next postcard, finally resulting in the complete image.
The Raw Image
The image used for the project needs to have a rather high resolution. I ended up working at 5400 x 3600 pixel, which ends up being 6 pixel per mm. The script will do a little bit of resizing, but I prepared my raw image hand. Source of my image was a picture I took with my DSLR.
Temporary Files
Each postcard and the created pages are created as JPGs. These images are stored on disk and available for inspection. As such the script creates quite a large overhead on the disk.
Final PDF
Eventually the script will generate a few PDFs with markings for placement and cutting in a professional printing system. It also generates a version with image overlaps at the borders that ensure that the final cut will not result in any white borders.
A Demo Run
As I do not have a copy of my actual run (and wouldn’t share it otherwise as it was only intended for a single pair of eyes) I did a short Demo-run for this post based on the following image:
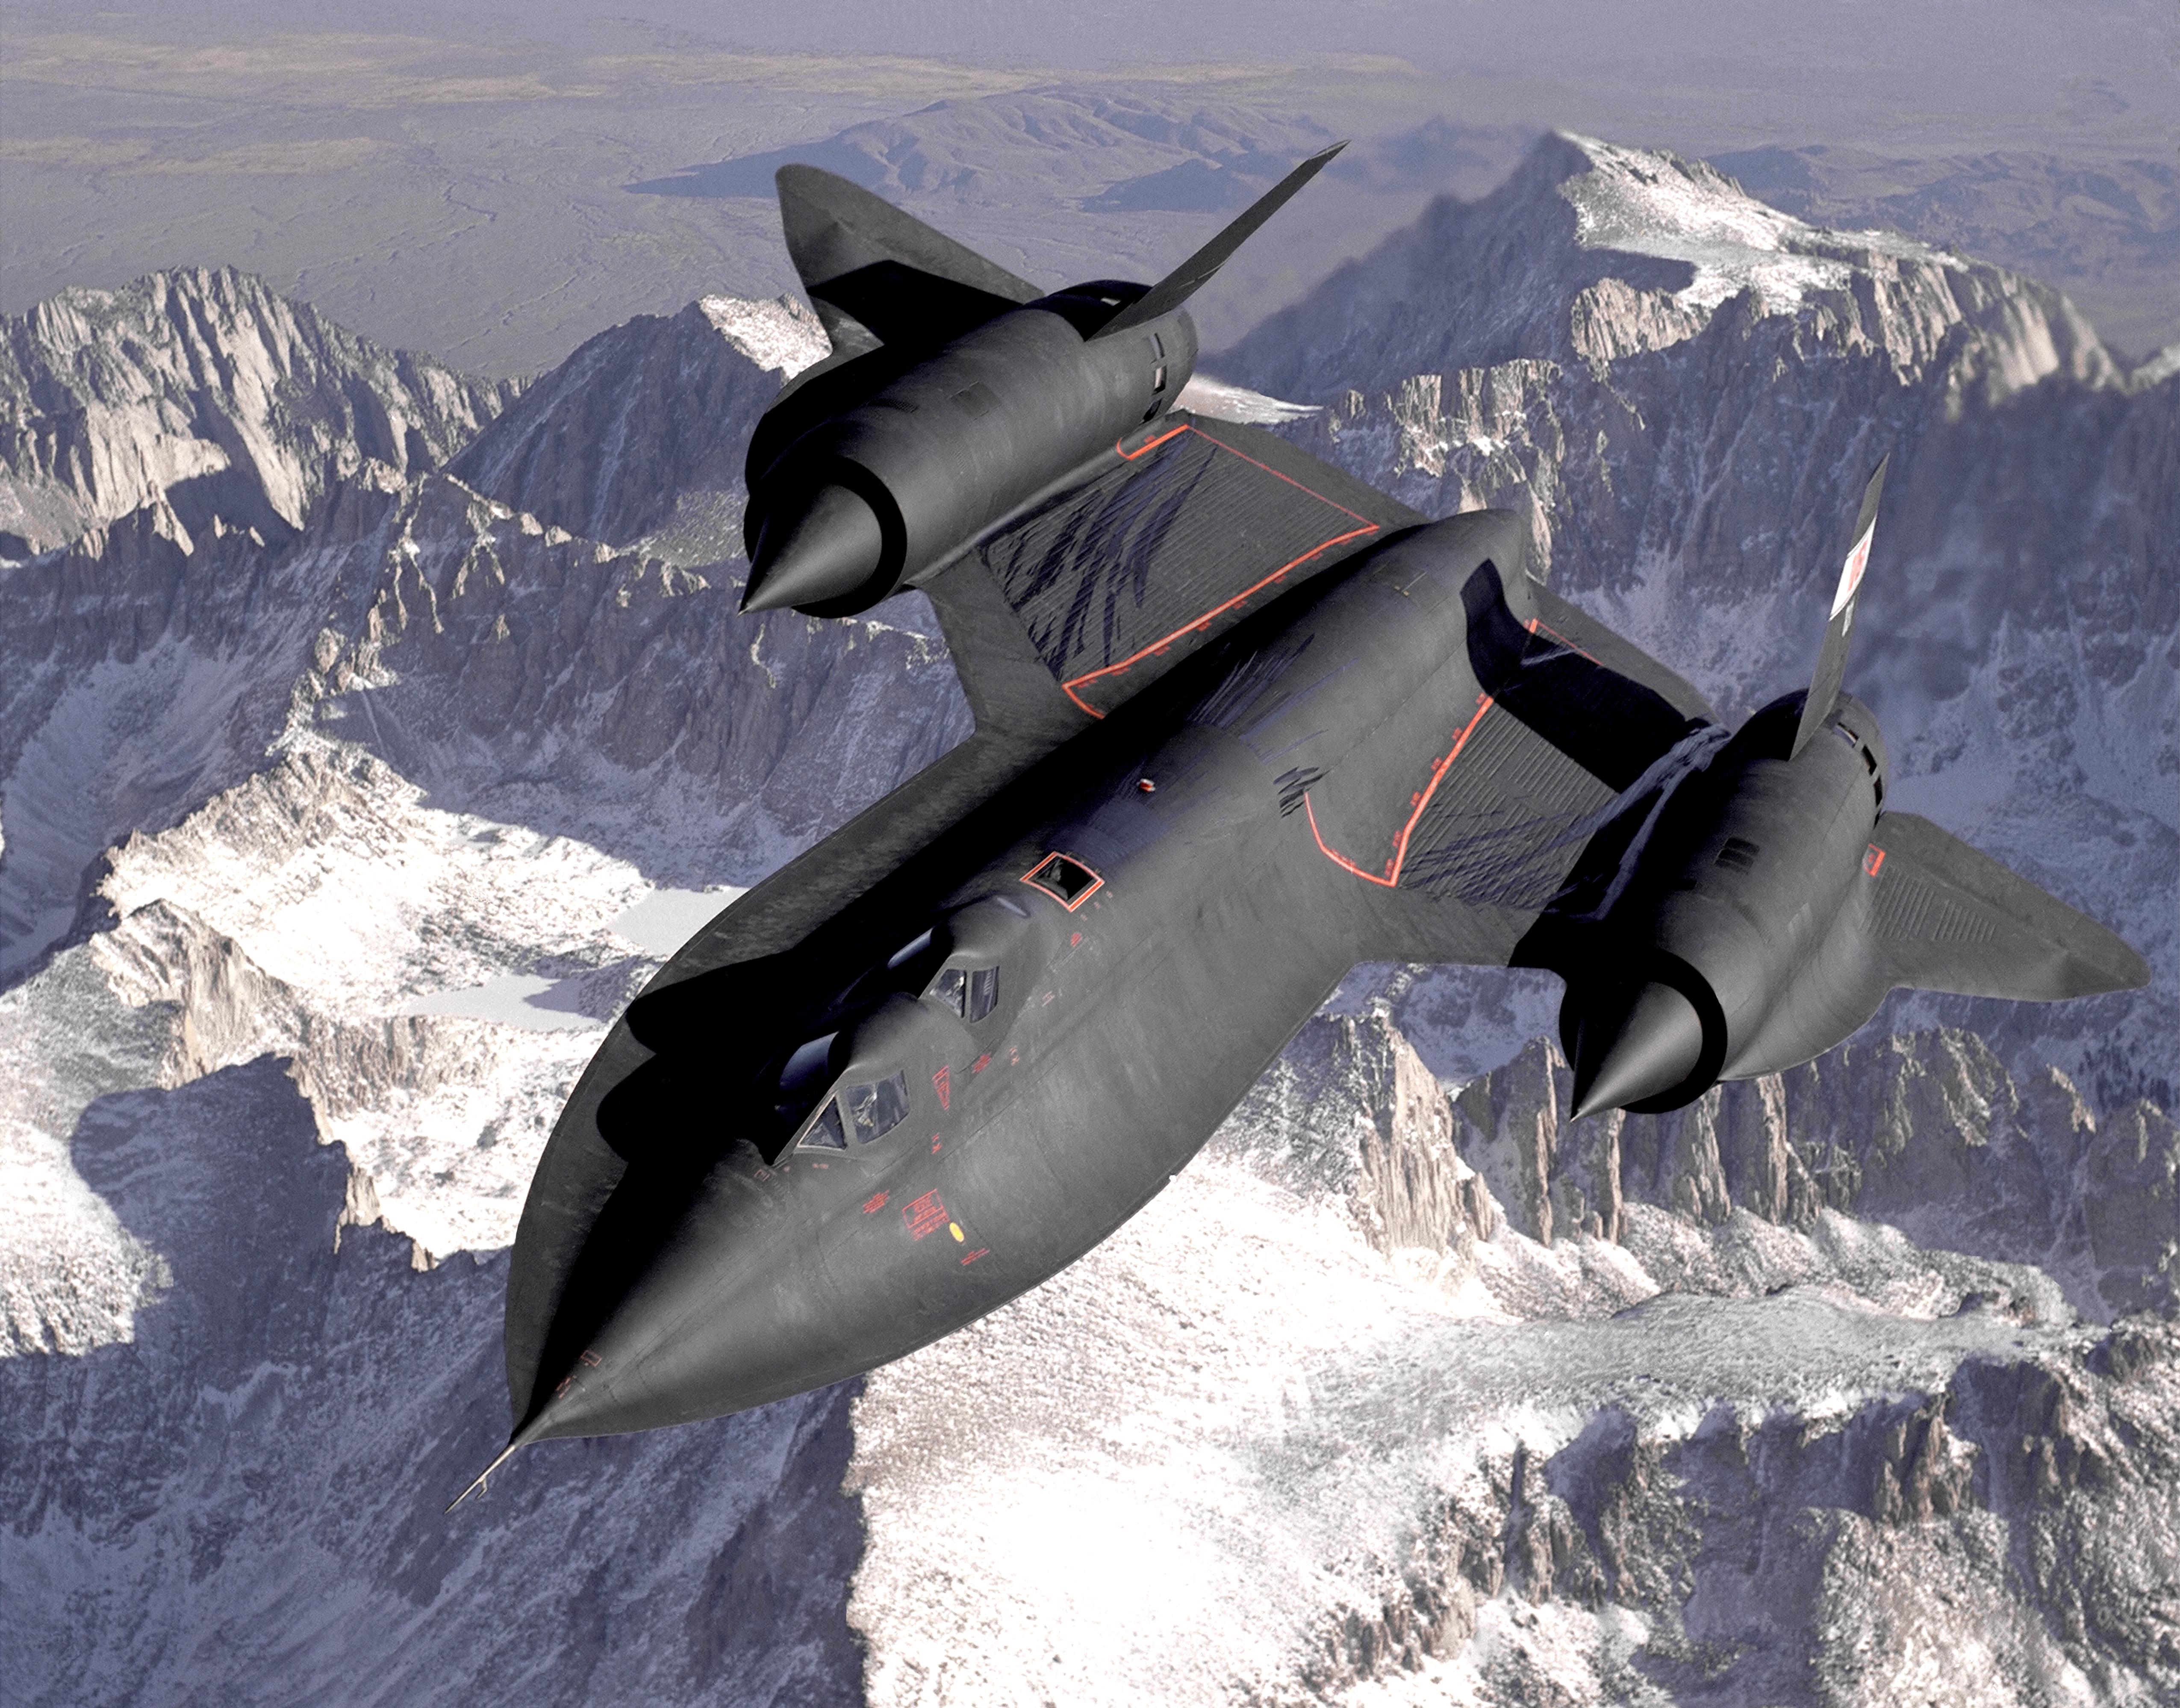
I got the image from the SR-71 Wikipedia Page.
Blueprint
The blueprint, well, should hopefully be obvious now.

You can also find GIMP’s .xcf file here. This might be helpful if you want to give it a try yourself.
Animated GIF

As described before, each frame shows the addition of a new postcard.
The PDFs
Warning: The PDFs are just under 20MB each! … High Res Images….
- A4, two per page, duplex
- 10x15, with border
- 10x15, with border and markers
- 10x15, with border and overlap
- 10x15, with border and overlap and markers
Preview
The final images look like this
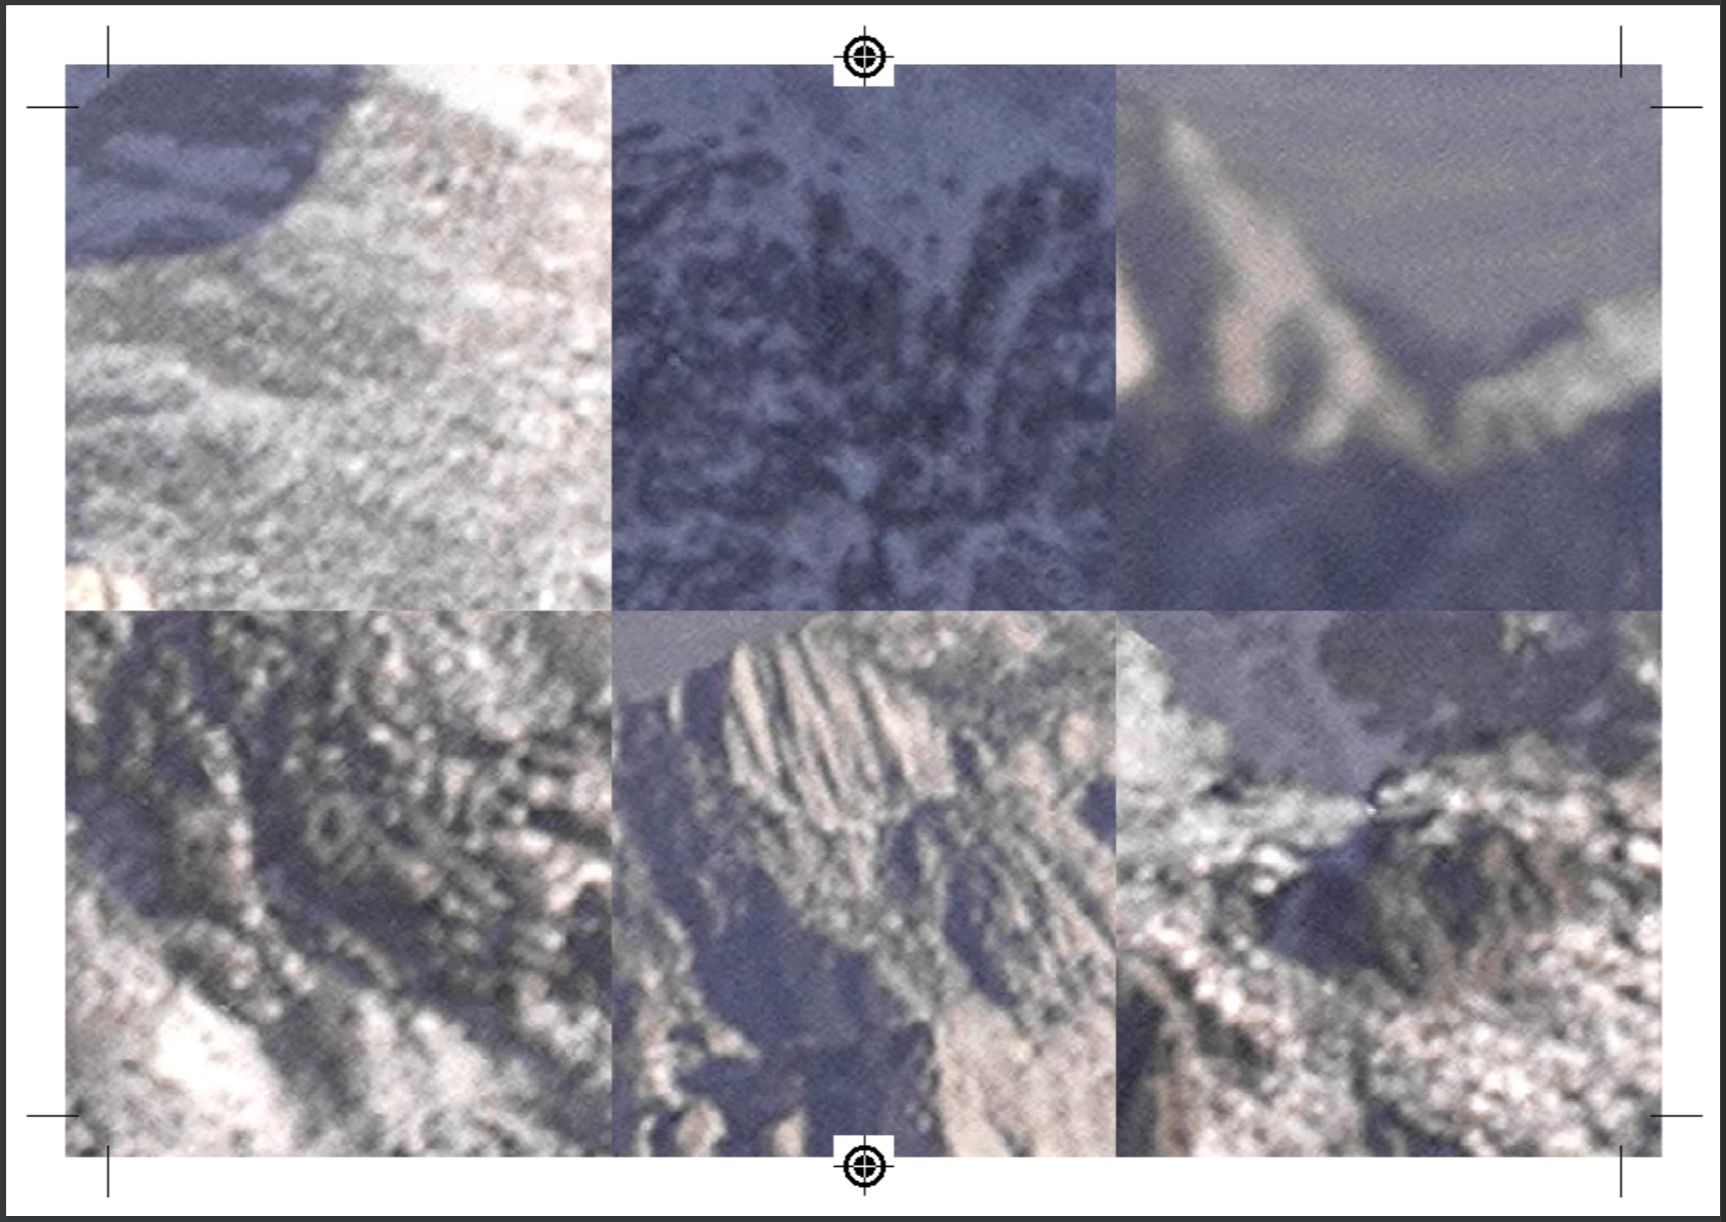
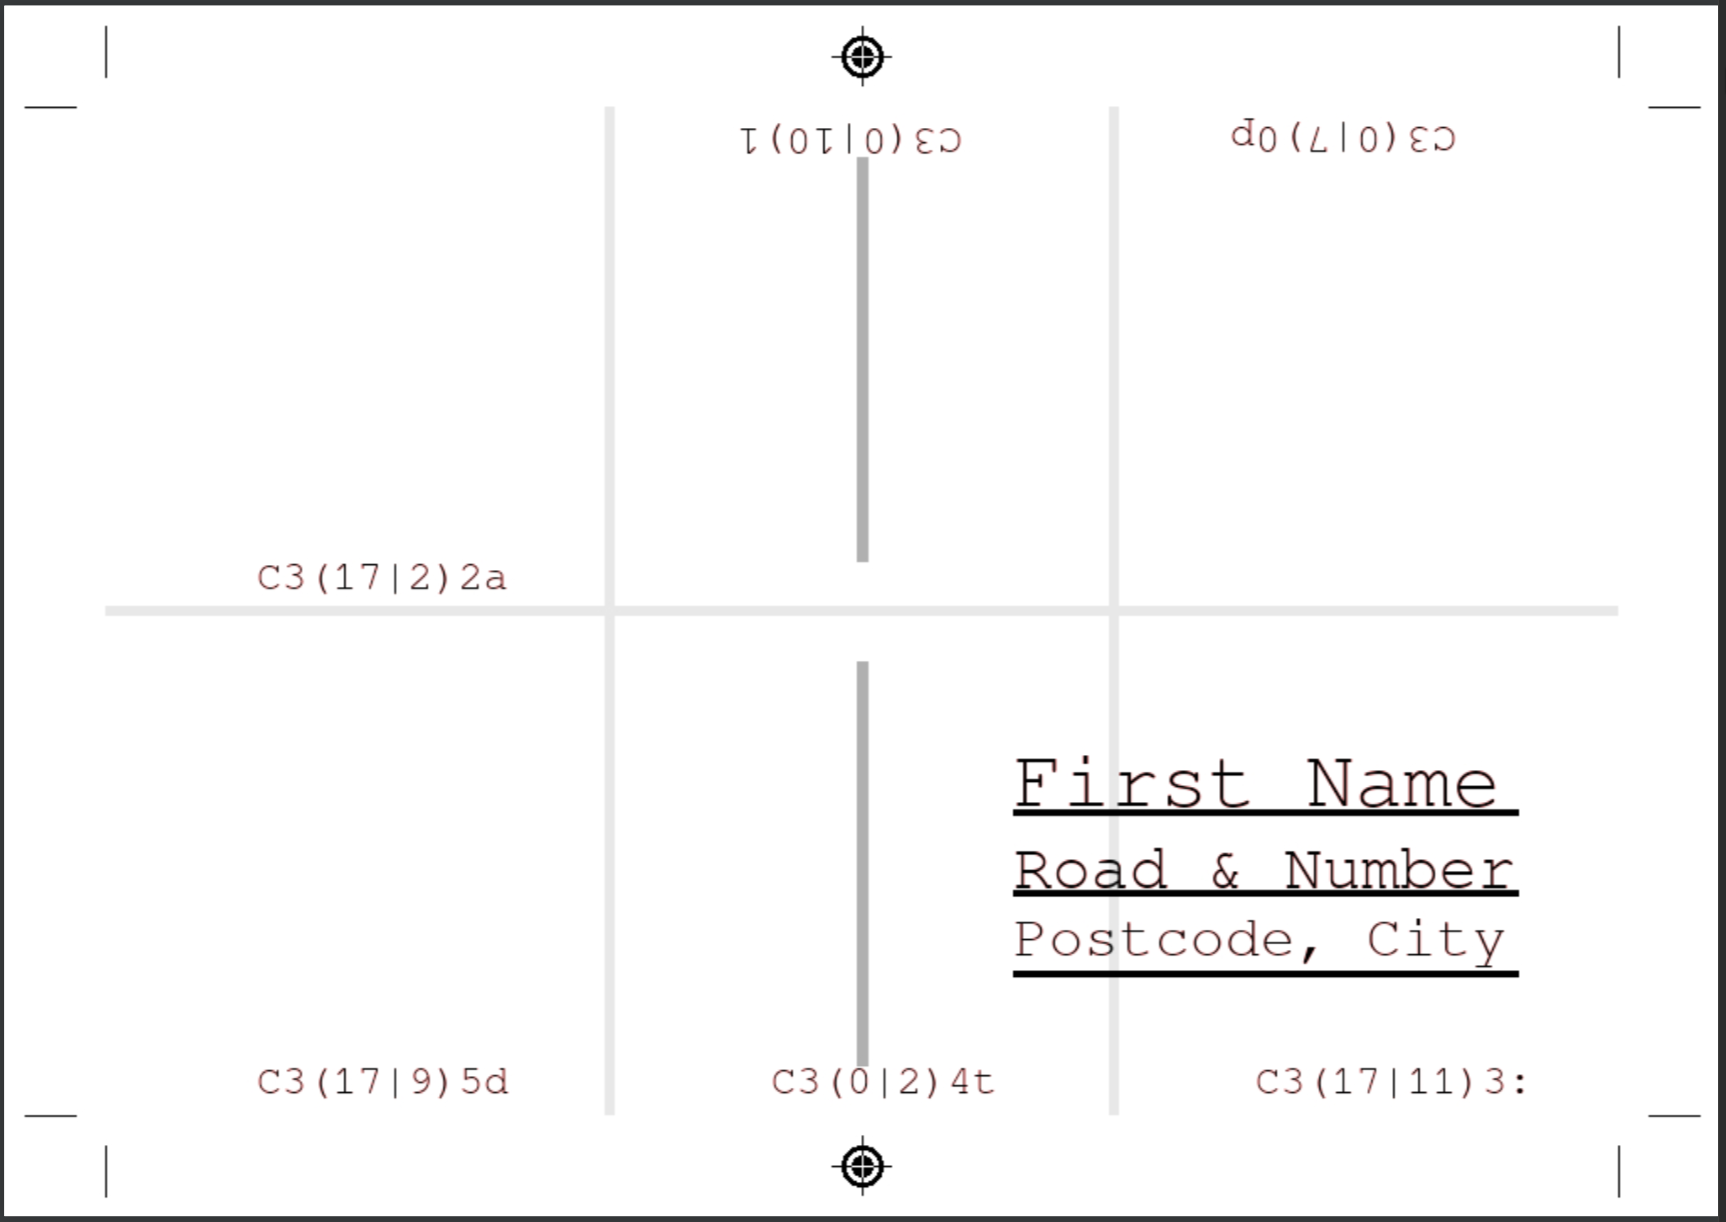
As you can see, the back has a grid for cutting the pieces, the address and the index for each piece. The coordinates may be upside down, as they show the final rotation of the piece. I had a few issues where the coordinates overlapped with the address, so I added a function to repair this by forbidding the applicable rotations for the the bottom middle and right piece