Electronic Parkscheibe
After having received my new Saleae Logic Analyzer, I decided to combine my testrun with something I’ve had on my todo list for a few years now: The electronic “Parkscheibe” / parking disc. Thus I ordered one and had a closer look!
A few years back the Germany government legalized the use of electronic parking discs, the current requirements where published on 30.11.2013 by the Federal Ministry of Transport and Digital Infrastructure (BMVI). I would actually love to quite these here, but sadly the publications are not available freely and I’m not quite into buying them ( yet ). Wikipedia states the following, while refering to the official publication:
- It has be officially certified
- After parking the car it has to automatically set itself to the next full half hour
- After activation it may not change it’s settings and has to be protected against any kind of tampering
- It has to have the Symbol 314 on the front (the official parking P )
- The word “Ankunftszeit” (time of arrival) has to be printed above the time
- The time has to be shown in 24h format
- It has to be easily and well readable
Obviously the tamper proof part makes the devices very interesting, also the question on how they detect the car stopping.
My Victim
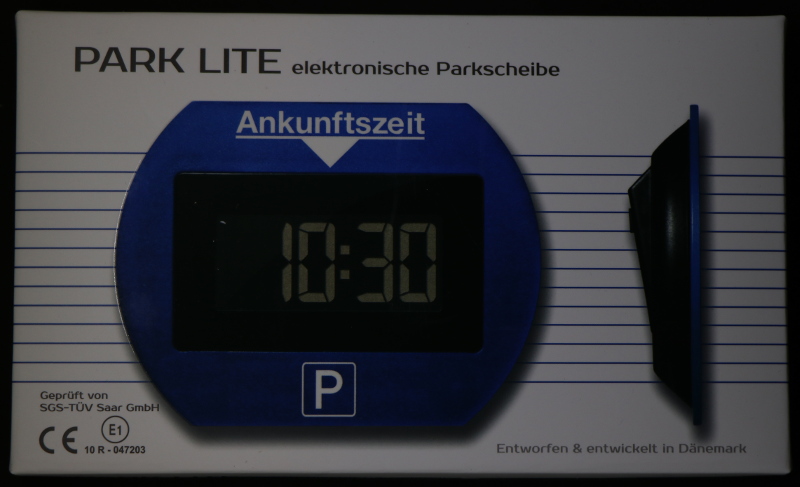
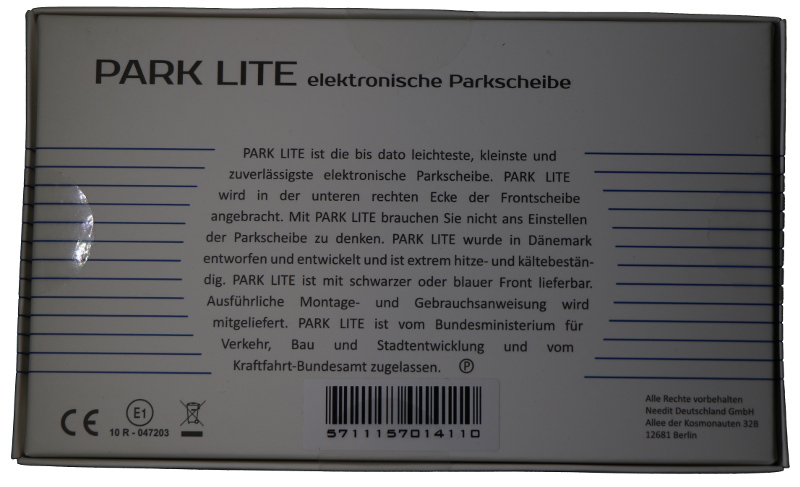
Searching through Amazon I chose the Needit PARK LITE 1411.
 |
 |
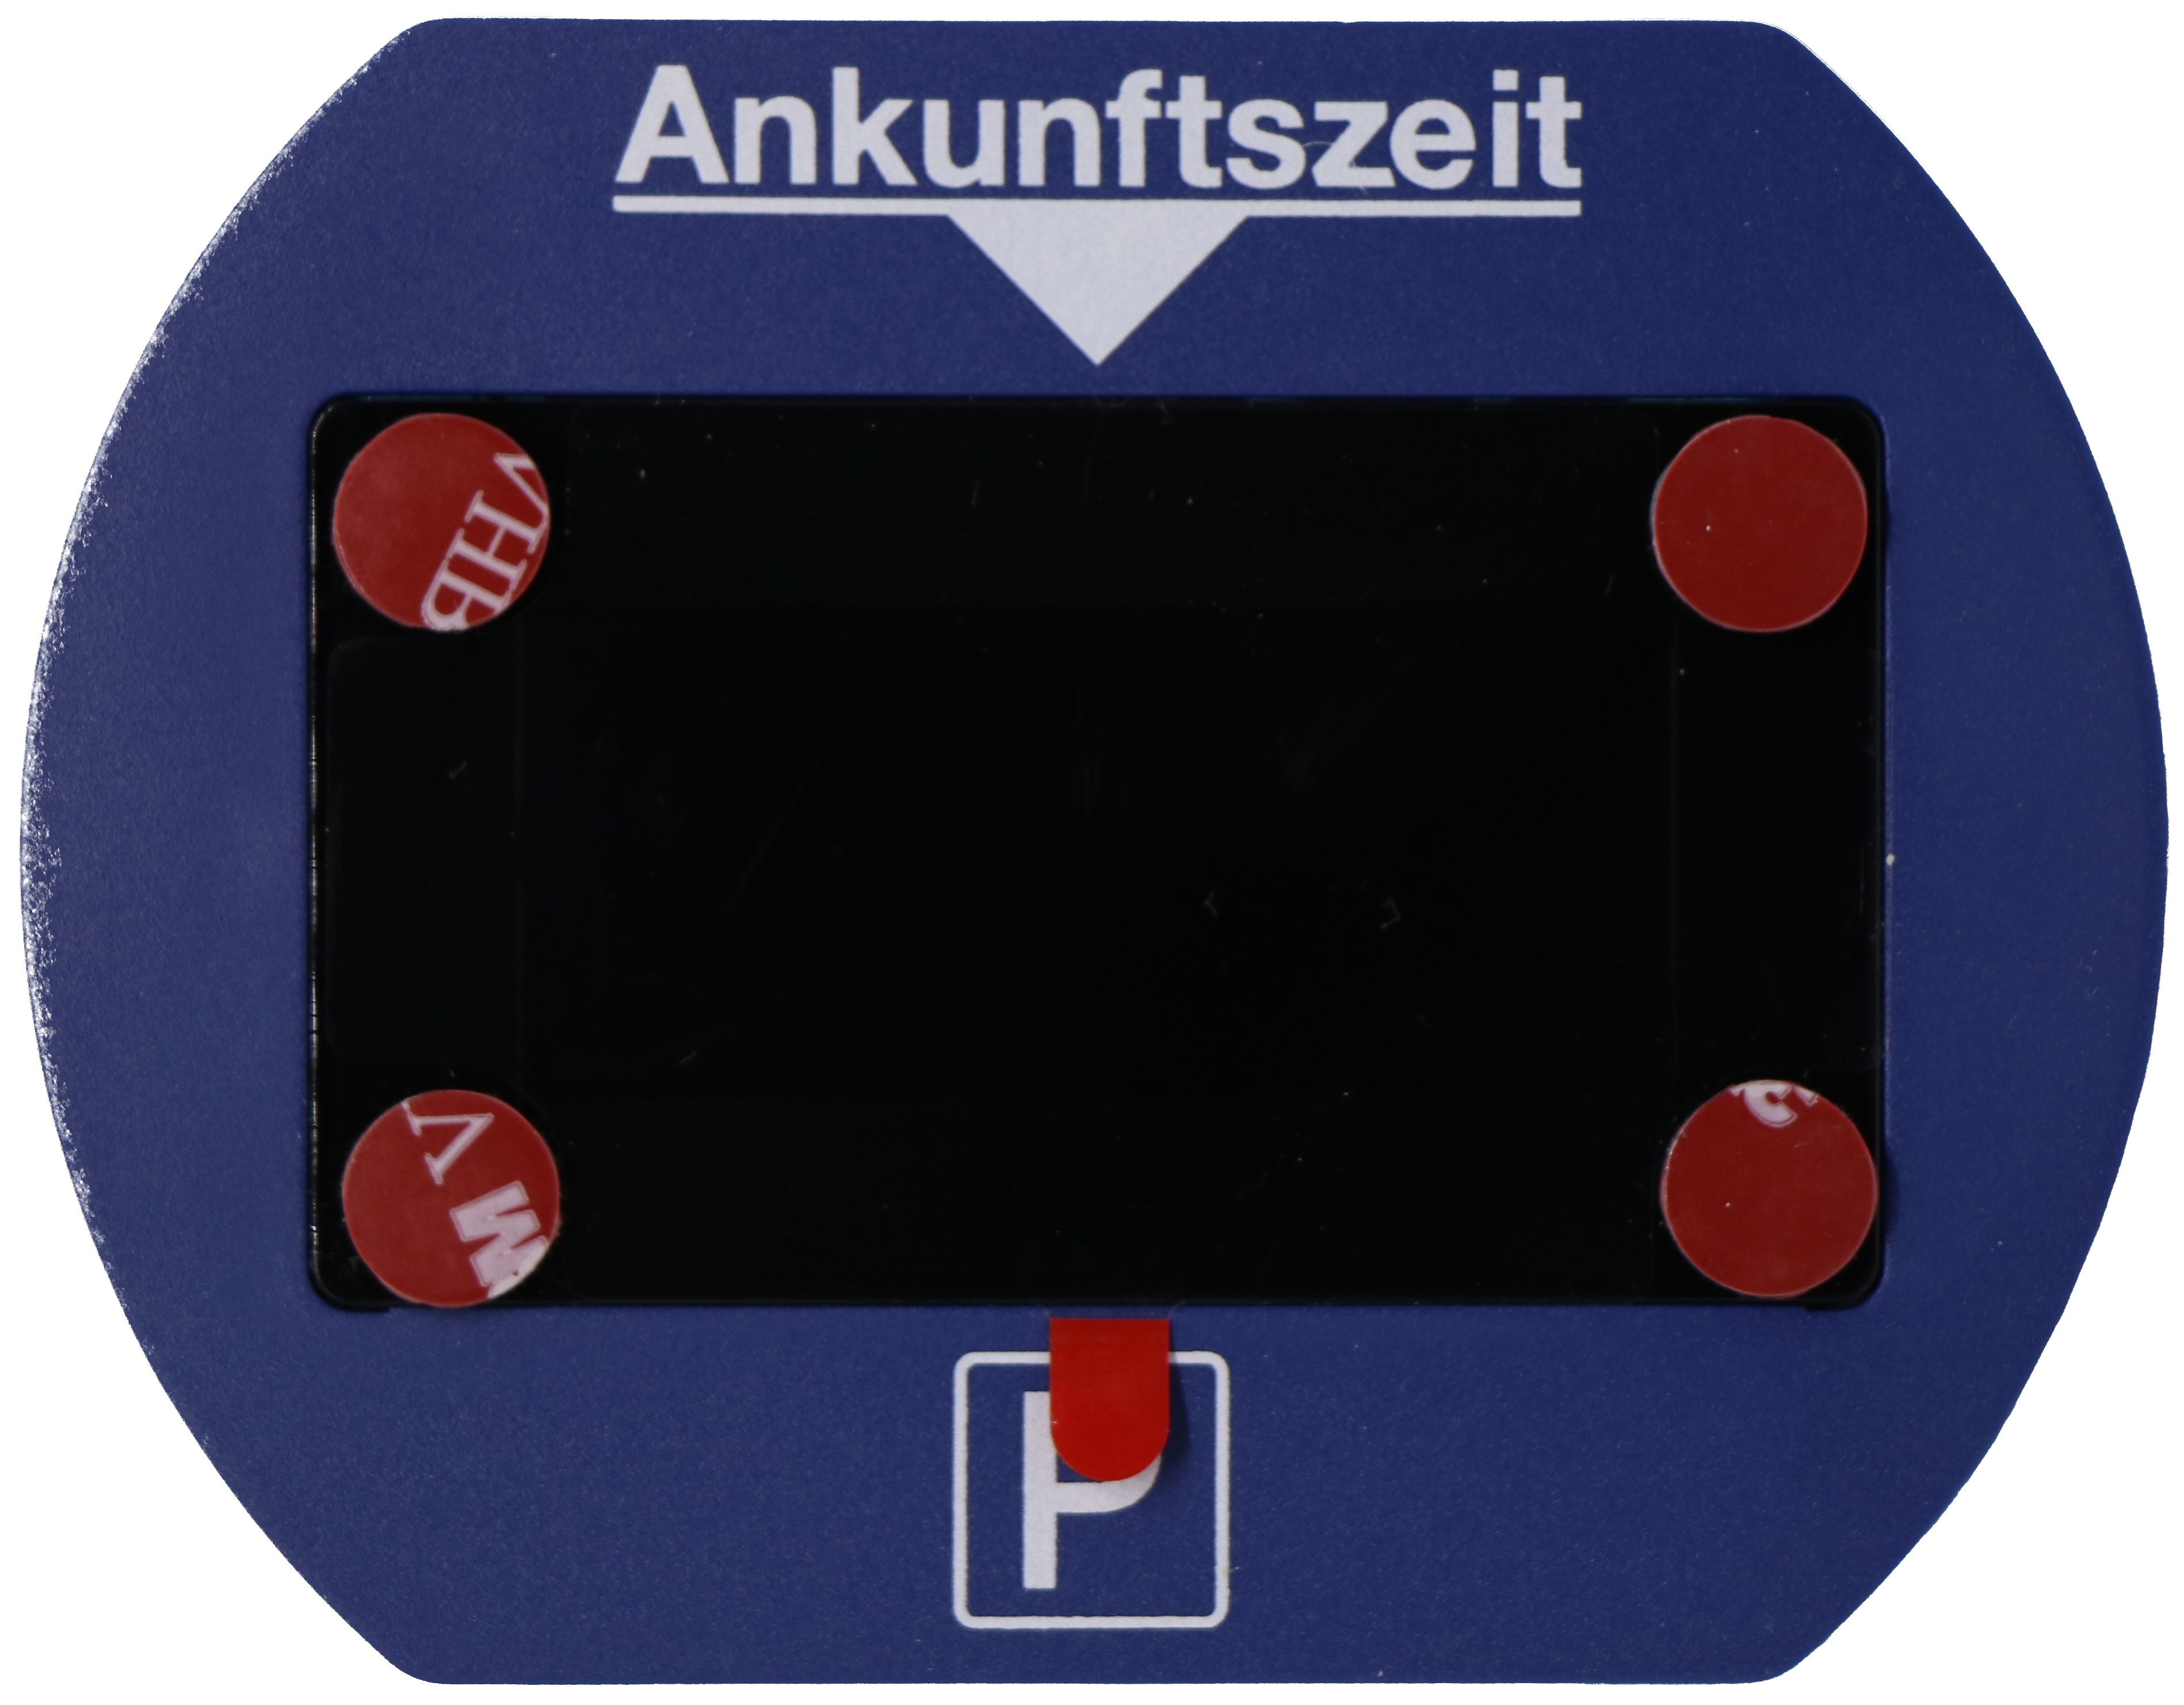
The device itself looks like this
 |
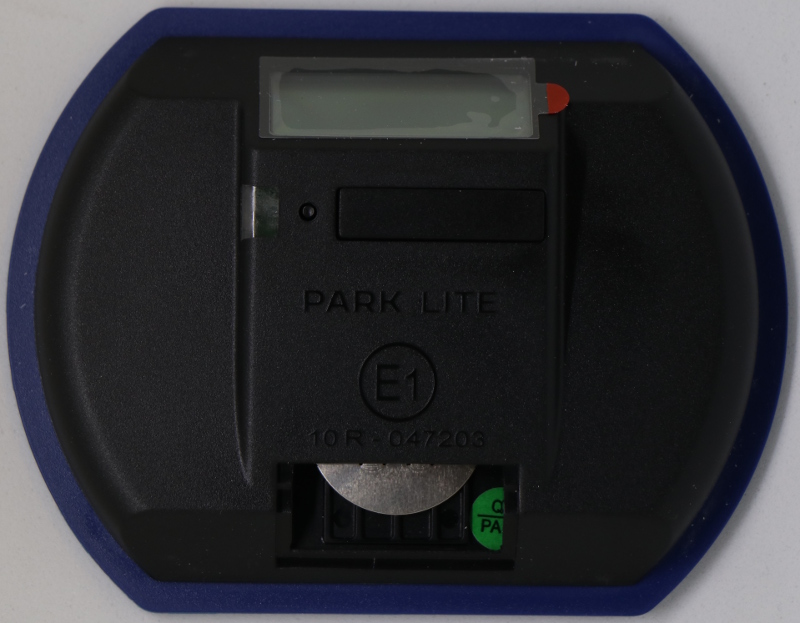 |
It runs of a single CR2450 (Lithium, 3V) coin cell, which is inserted in the bottom of the device. It has two buttons on the back, one of which is an actual button the other one just a small pin one has to press with a pen. Above that it has two displays, the one on the front shows the time when the car was parked and is blank otherwise, the other one shows the current time. So, not very impressive, but what would one expect of a device that copies two pieces of cardboard and a metal pin.
After leaving the device lying still for a short period of time, the next full half hour appears on the front display and the small display also shows a P in a circle`. Prior showing the P, the time on the front display can be set by hand, by pressing the big button. Afterwards, when pressing the button, the display just flickers a little.
Physical Security
As the device does not expose a lot to play with, opening the case was necessary. I had honestly expected to a) destroy the case while cracking it open and b) loose the internals due to some kind of anti-tamper mechanism. Especially as the manual states the following:
Never attempt to open the PARK LITE, as this will damage the electronics and invalidate the guarantee.
I started by carefully forcing a plastic wedge in between the black back-side and the blue-front plate. It made a few cracking and snapping sounds and created a small gap between the two parts. A few careful minutes later, the two parts just came apart.
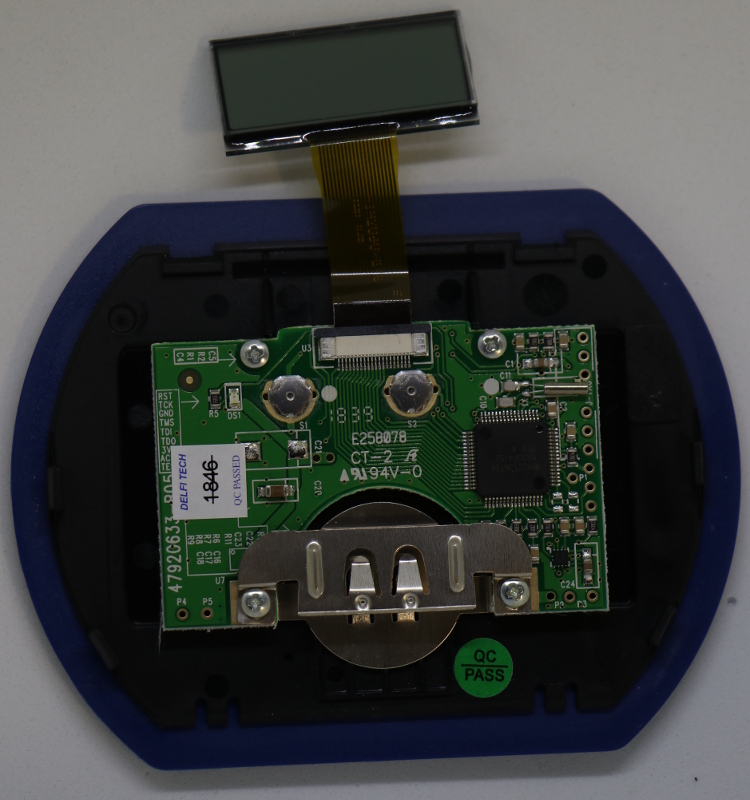
Funnily enough I didn’t even break off a single one of the clips holding the case together and I usually always manage to do that! Except for the plastic buttons falling out, I was not able to identify any form anti-tamper protection. Also, after inserting the battery the device just carried on working.
As such, physical security-wise, I’d say there are no measures whatsoever.
The Inside
The PCB has a very clean and simple design. The first thing I saw was the nice header on the right side, which as it turns out is a full JTAG header. It is actually documented on the left side of the PCB with signal names for each pin.
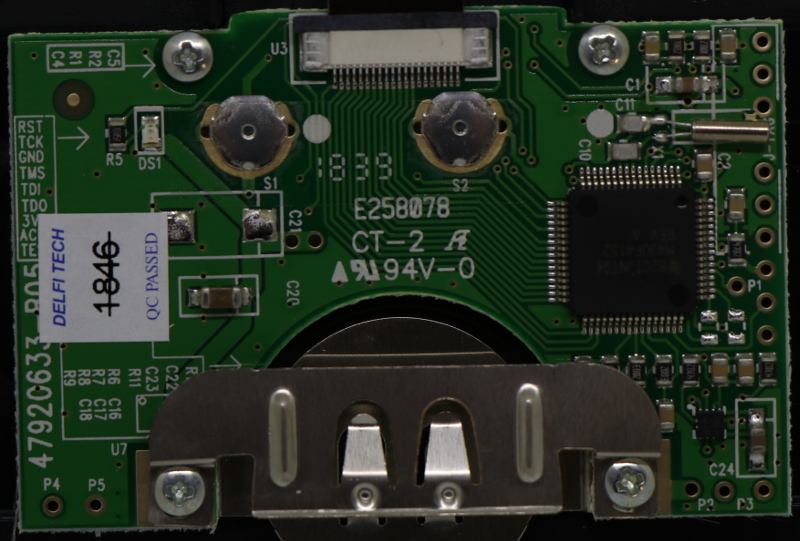
- The main controller is a TI MSP430F4132
- The connector on top goes to the small display on the back
- The LED can be seen through the transparent plastic on the back of the case
- Should blink when the battery is close to empty
- The small package on the bottom says: MB1 J3
Testpoints
- P1: P53, P1.0/TA0.0/S31
- P2: P61, P7.5/TA1.3/A1/CA3
- P3: P5, P6.5/UCA0RXD/UCA0SOMI/A5
- P4: P6, P6.6/UCA0TXD/UCASIMO/A6
- P5: GND
Here are two traces I made during runtime of the device (there was no different behavior while starting the device / inserting the battery)


Although P3 and P4 are connected to an internal UART interface, I was not able to see any applicable traffic. The visible signal might imply that the lines are simply used in a different way.
PCB Back
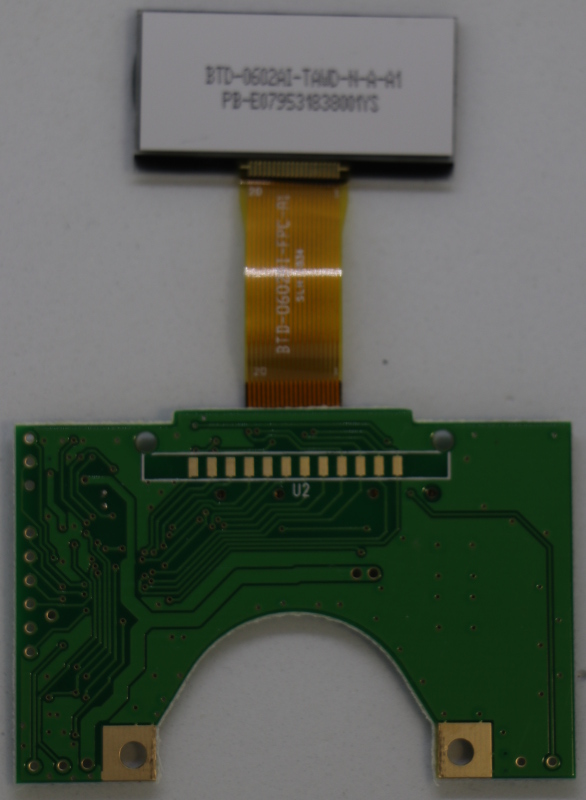
The header U2 is the connector for the screen on the front.
MSP430
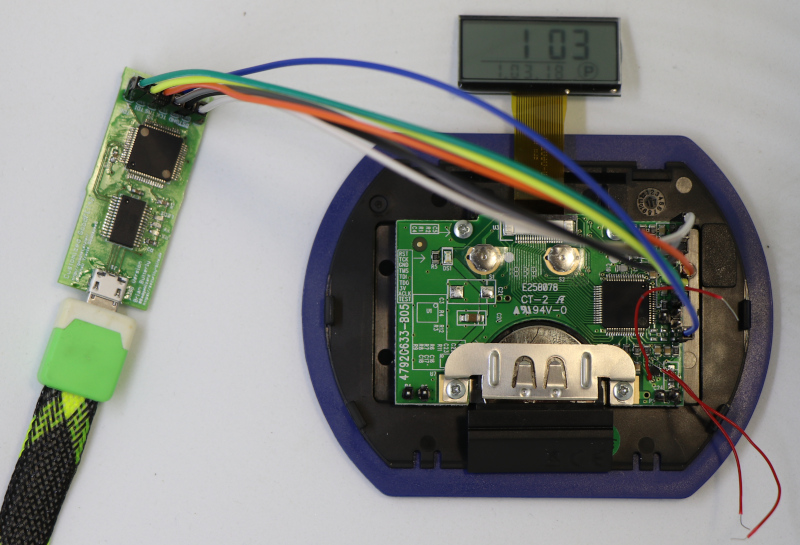
Thanks to our good neighbor Travis Goodspeed working with the MSP430 range is as easy as can be. I hooked up one my GoodFETs to the JTAG header and gave the MSP430 tools a spin. Sadly, I was not able to extract any data. It looks very much like they actually burned the JTAG fuse :(.
Small Chip
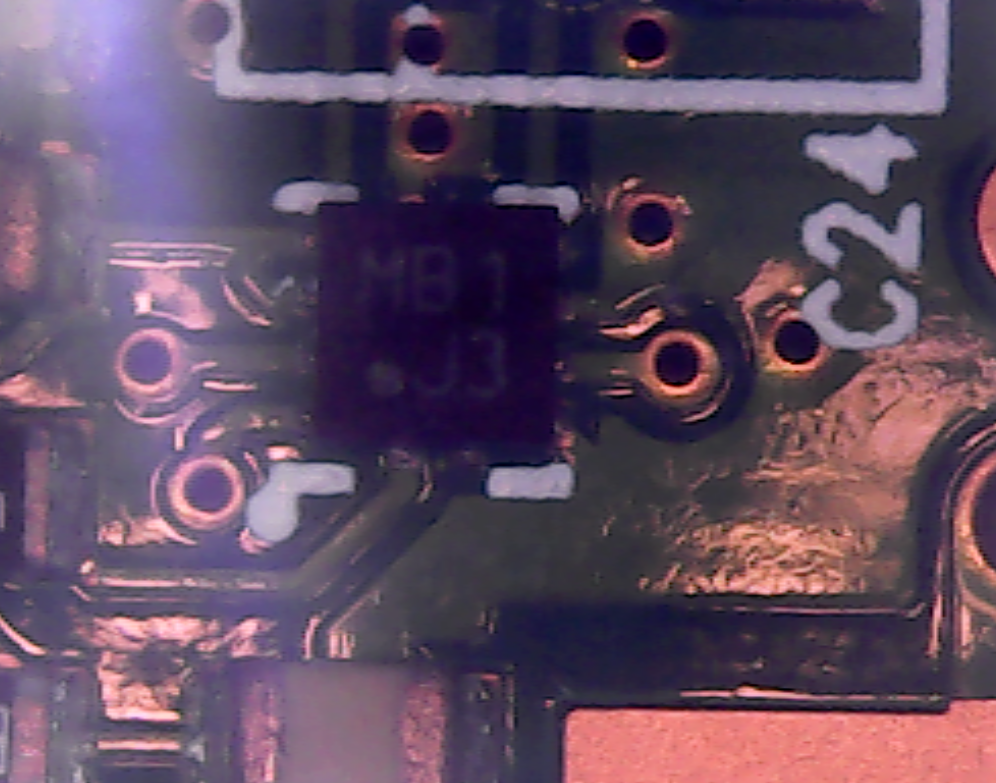
I have not yet identified the exact model, but I suspect that it’s a tiny accelerometer to detect whether the used car is moving or not.
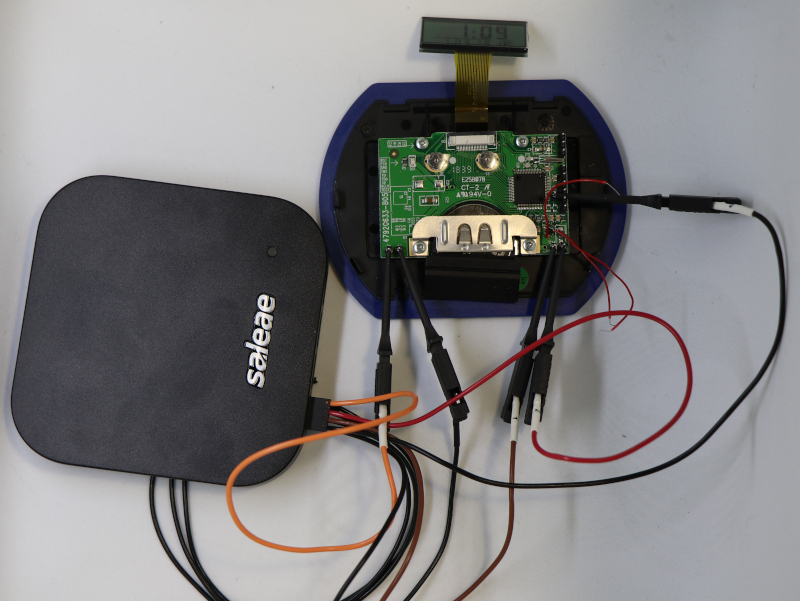
The following two screenshots show two traces I made from exposed vias next to the chip. The first one was made while having the device lying quietly on the table, the second one while giving it a slight shake.


Summary
Firstly, as I don’t have access to the official requirements, I can’t say whether they’re all fulfilled or not. I can just say, it looks correct and when it’s in park mode you can’t change the time on the display without properly shaking it (the device has to be glued to the windscreen to be allowed to use it, so shaking is a slightly tougher challenge).
From a dry security perspective, the device is lacking any kind of physical security. The manual states you shouldn’t open the device, as you’ll damage the electronics, which is not true. The only thing you have to be careful with, is the LCD on the front and the used connector, they do die if you play with them for too long. Above that it’s a simple and straightforward circuit. Nothing would stop you from swapping the PCB or just putting in a different MSP430 with a custom program. As the device has no seal, I had honestly expected the case to be glued, not clipped…
The firmware itself seems to be protected, although the JTAG header is nicely labeled, the MSP does not respond and thus it was not possible to dump the internal memory. The same applies to the potentially exposed UART interface. Of course I can only make these statements about my individual unit.
Privacy Implications
One thing I haven’t found noted anywhere are the potential privacy implications. There is no way to deactivate the parking disc unless you remove the battery. As such everybody walking past your parked car can see how long it’s been there (keeping rounding to the next half hour in mind). While usually not being a big issue, I can imagine there are situations where one might not want this!