DC27: Hacker Jeopardy - Nixie Clock
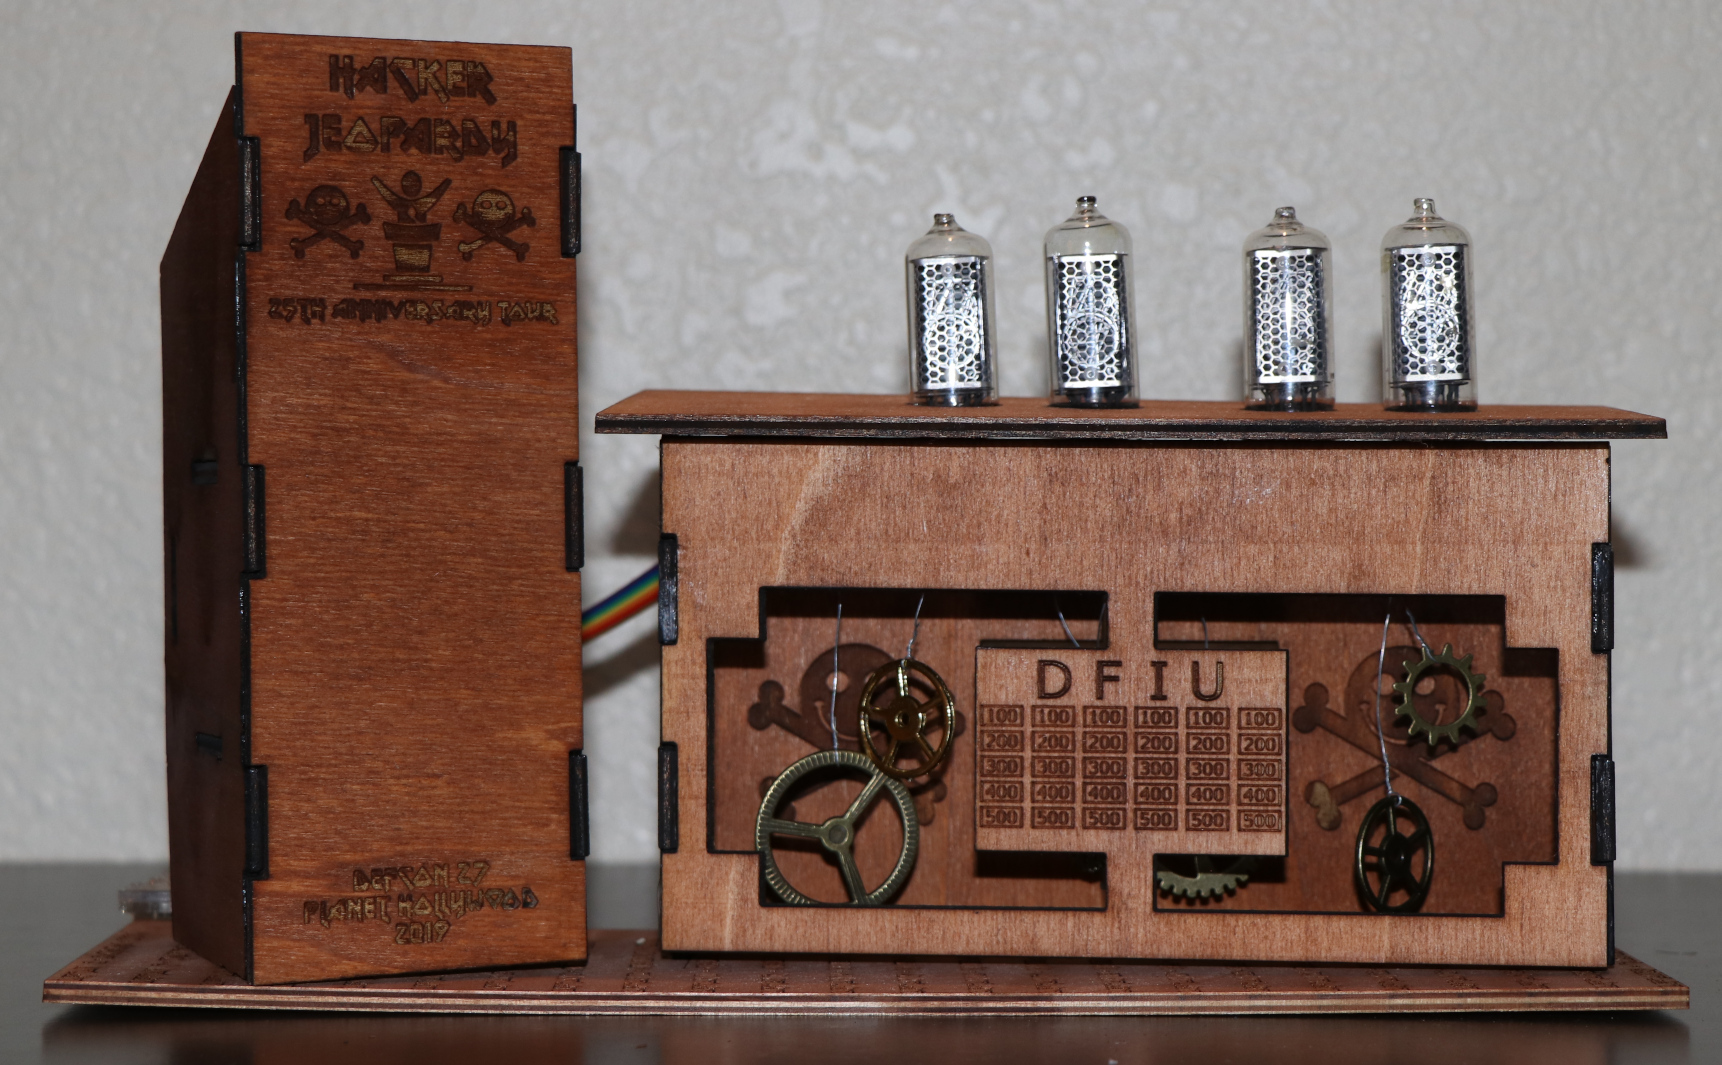
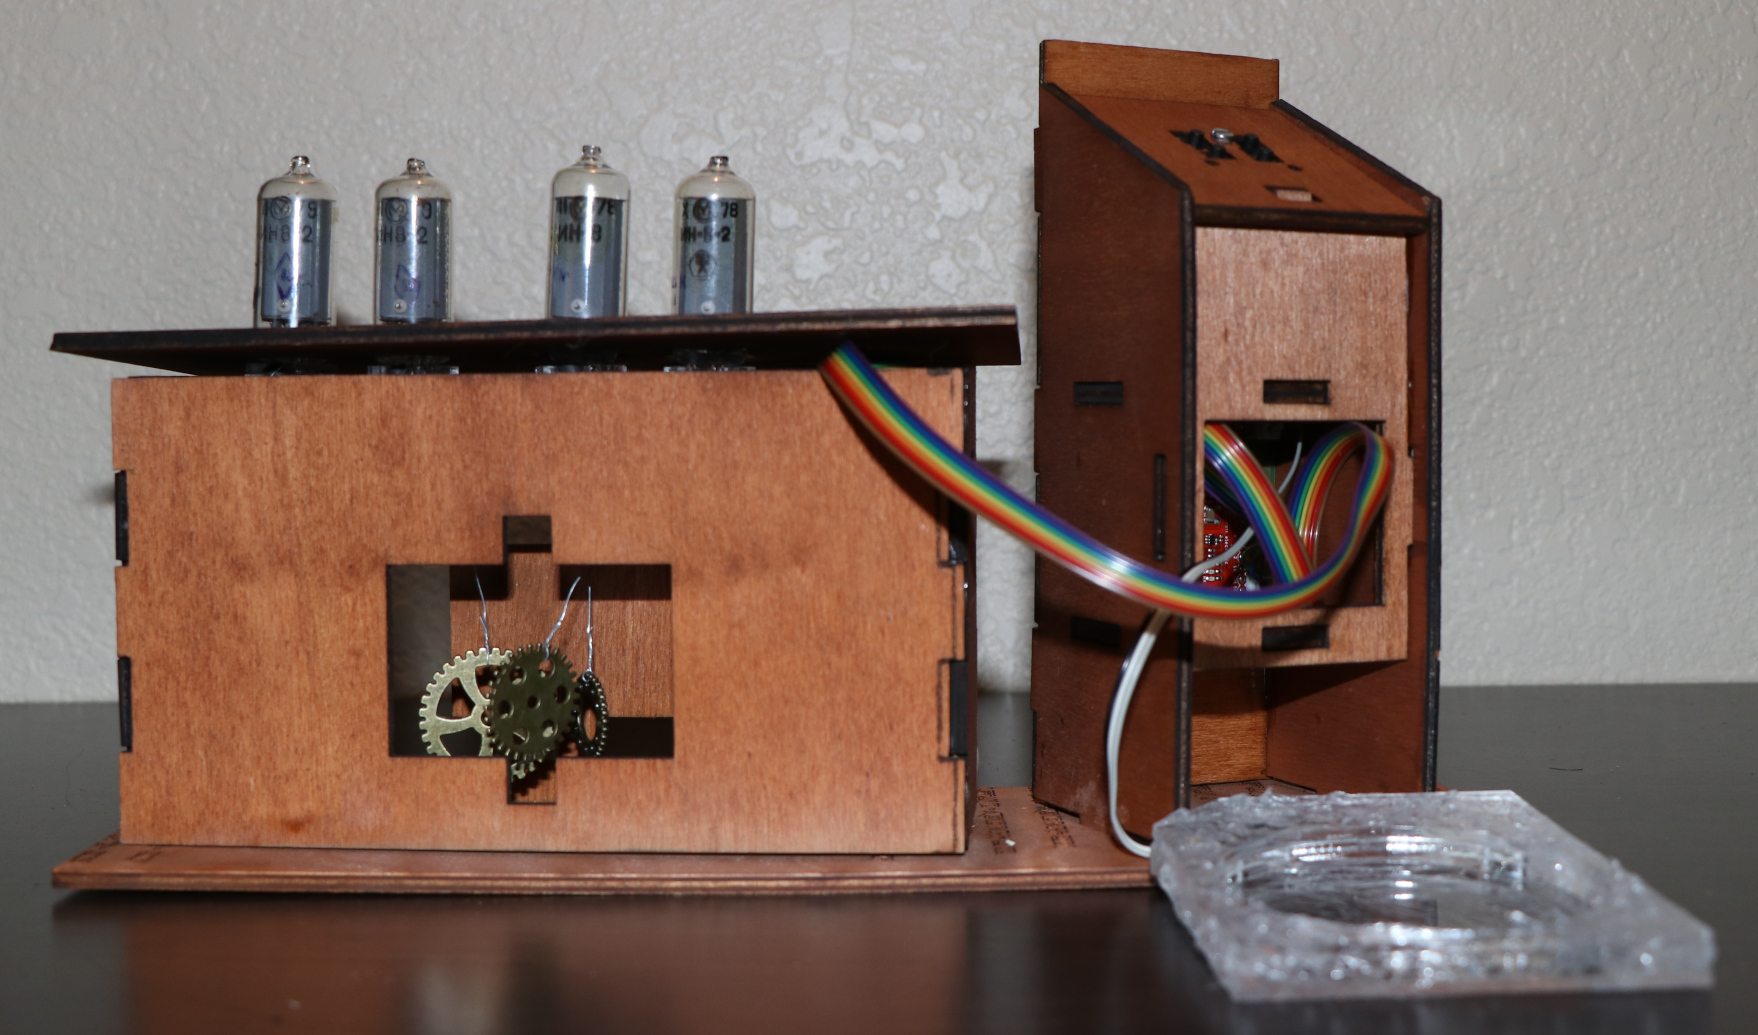
A few months ago a friend asked me whether I’d be prepared to assist the Hacker Jeopardy staff to create a fun little prize for the 25th jubilee edition. After talking cool ideas, steampunk, nixie tubes and badges, we changed over to a small diorama of the HJ stage. All in all it resulted in the production of a limited edition of 15 Nixie tube clocks.
Parts & Assembly
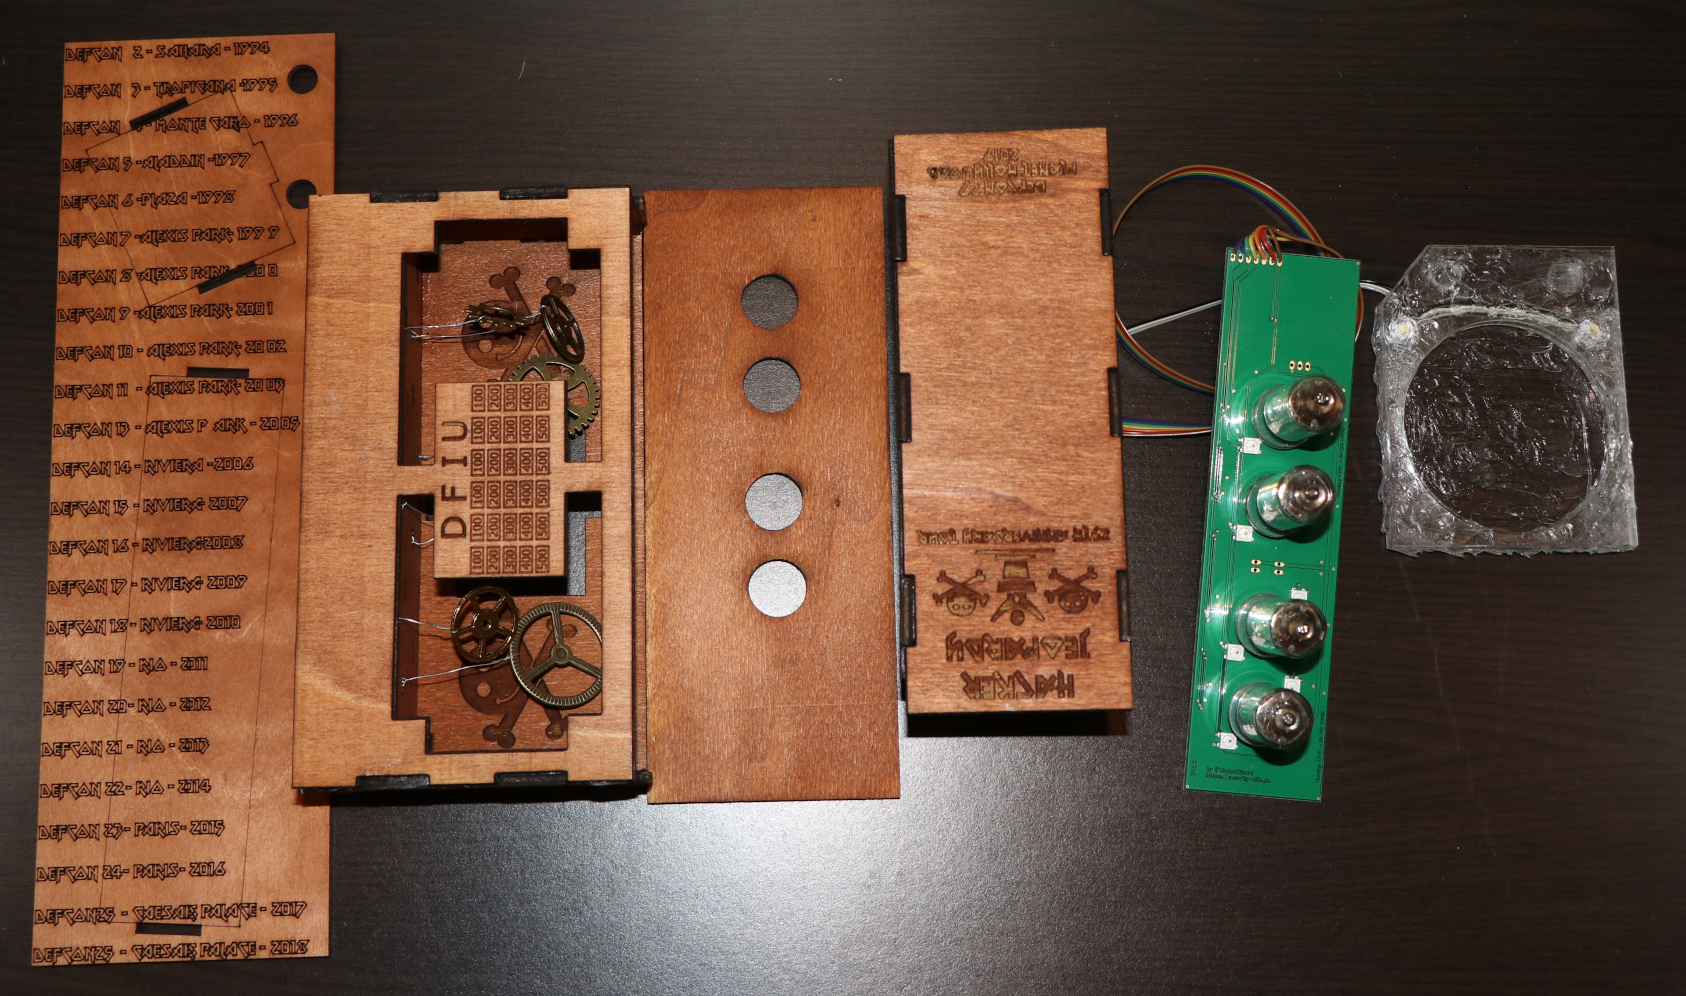
The Nixie Clocks can be brocken down into 6 pieces for transportation (they had to survive the trip from Germany to the US in a suitcase…):
- Ground plane
- Table
- Table top
- Podium
- Nixie board
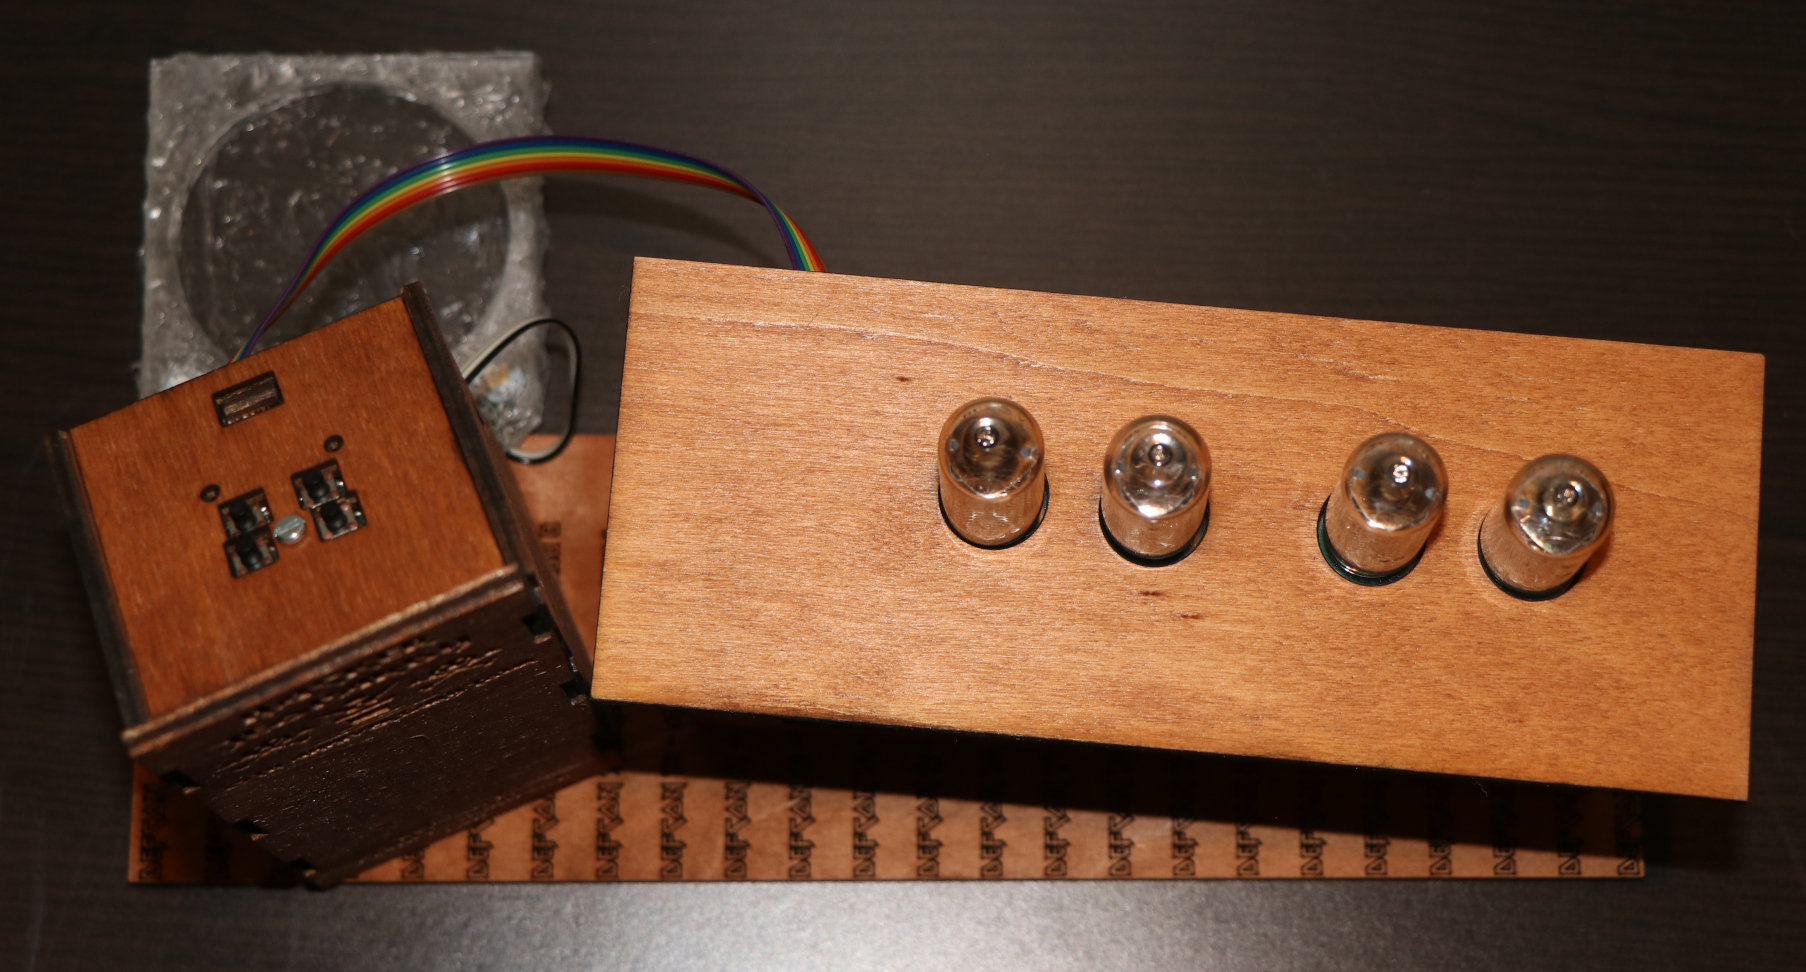
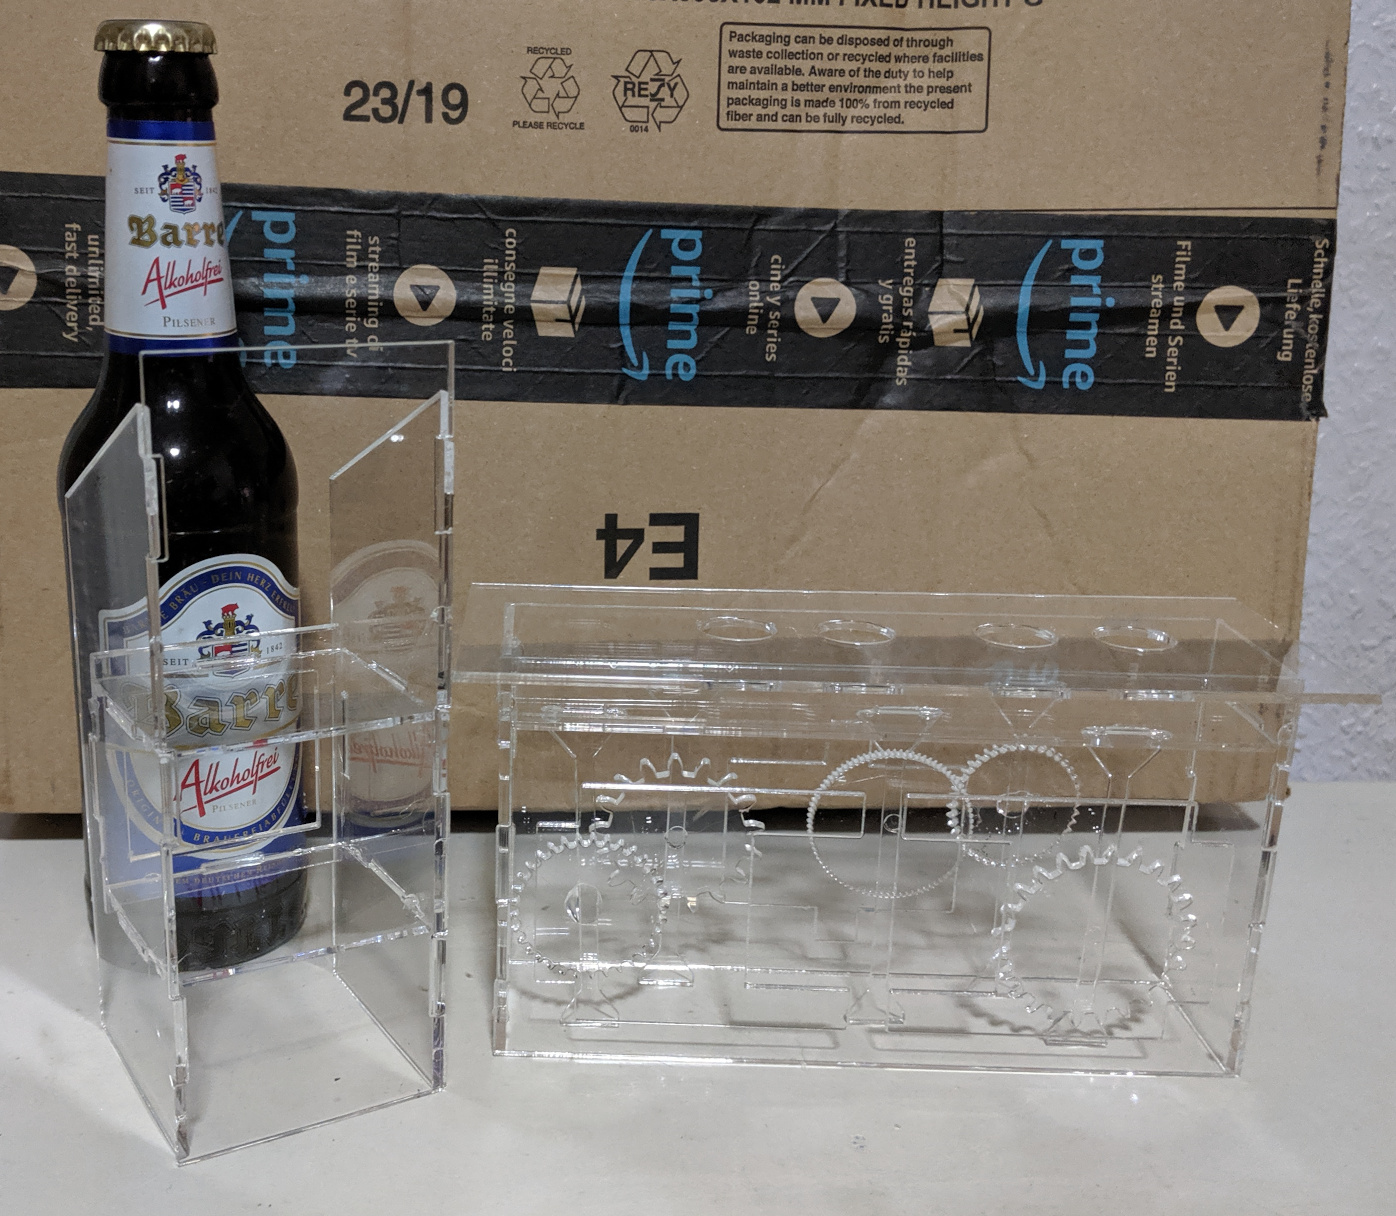
- Beer bottle holder
Both the podium and the table have small feet, which perfectly fit into the cutouts on the ground plane. One just has to carefully squeeze them together a little and then firmly push the parts in place. For final assembly, I’d recommend adding a little bit of glue. Then Nixie board can be placed in the top of the table and covered by the table surface. The iluminated beer bottle holder is a little optional gimmick, that can be placed on the two holes behind the podium. As the Nixie board and the bottle holder are connected to the mainboard in the podium with plugs, they can both be disconnected.
To power the clocks, on simply has to plug in a Micro USB power supply underneath the podium.
Usage
The clock can be controlled by the four buttons on the podium. When viewed from behind, the two buttons on the right can be used to change the current setting mode, which is display by a binary menu via the decimal points on the tubes.
The default mode is mode 0, which is clock operation. When pressing the top right button, the mode is switched into mode 1.
- Backlight
- Bottle Light
- Year
- Month
- Day
- Hour
- Minute
The two buttons on the left can then be used to either go through the list of available backlight colors or simply increase / decrease date & time. Eventually on can use the buttons on the right to go back into mode 0 and reenable the clock mode.
Electronics
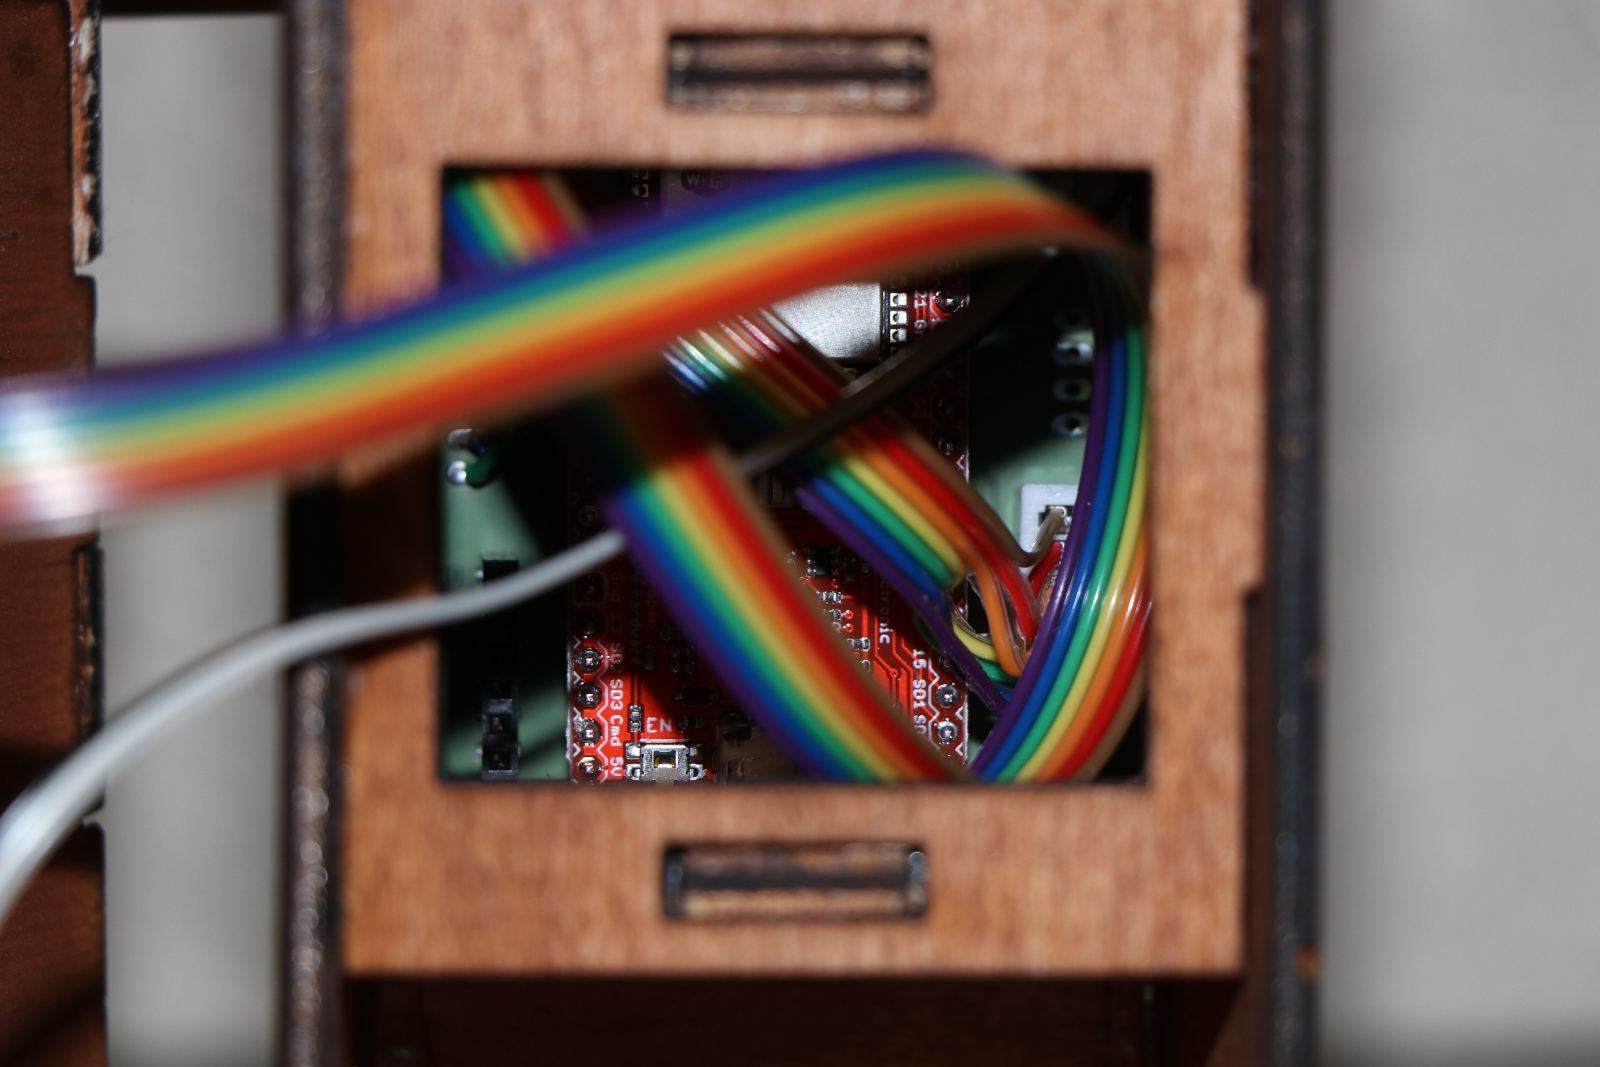
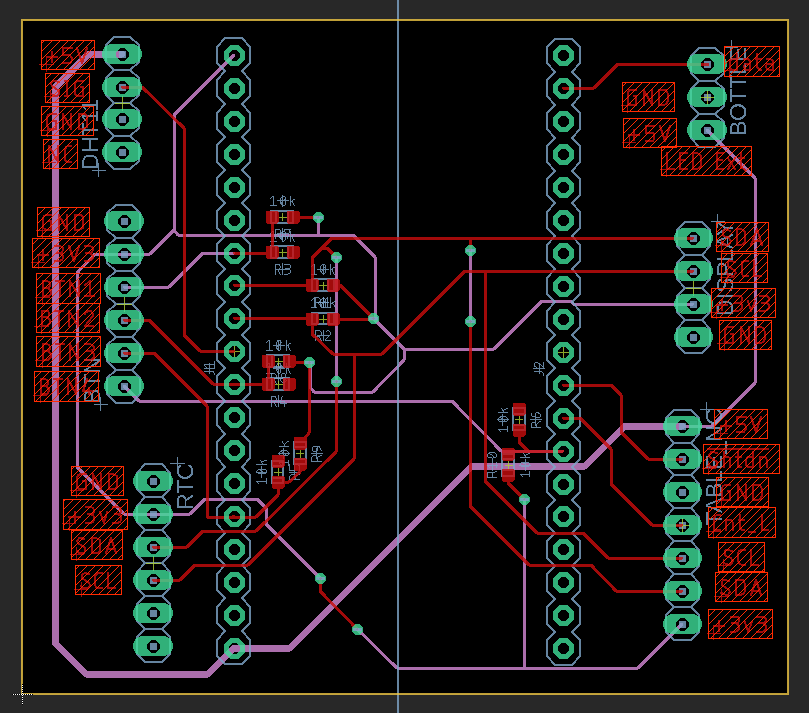
Mainboard, Podium
The main PCB actually just consists of a few headers and some pull-up/-down resistors. The device’s brain is a ESP-WROOM-32-Breakout - ESP32 WiFi+Bluetooth by Watterott electronic. The headers on the PCB are for
- Nixie board
- Bottle light
- Buttons on the podium
- A DHT11 temperature and humidity sensor
- An optional RTC with a coin cell
- An extra I2C header I used with a small display for initial tinkering
Pin Out
| Function | Pin |
| I2C SDA | 25 |
| I2C SCL | 33 |
| Button 1 | 32 |
| Button 2 | 27 |
| Button 3 | 13 |
| Button 4 | 4 |
| Nixie Backlight | 16 |
| Bottle Light | 23 |
| DHT 11 | 26 |
 |
 |
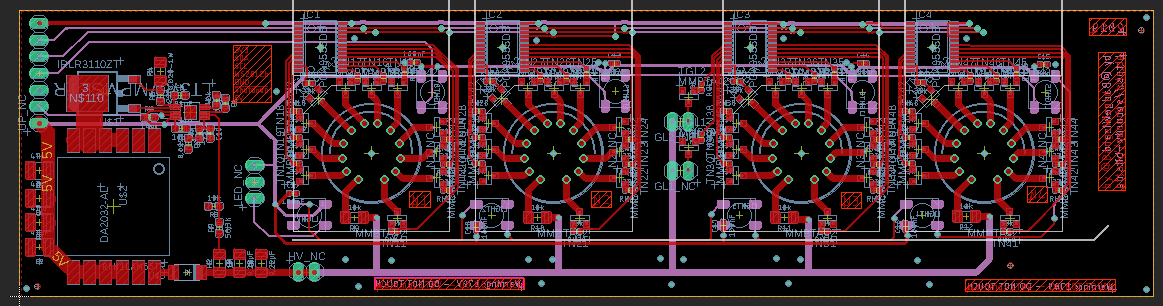
Nixie Board
The Nixie board consists of a power supply, based on a LT3757, four PCA9555 I2C MUX, 4 IN-8-2 Nixie tubes, eight WS2812B RGB LEDs and a bunch of transistors. The connector on the Nixie board has the following pin out:
- 3V3
- SDA
- SCL
- CONT_L (WS2812B)
- GND
- !Shutdown for the DCDC
- 5V
As with most of my projects, this is the point for a big big thanks for the team at watterott.com for the support with producing the PCBs!
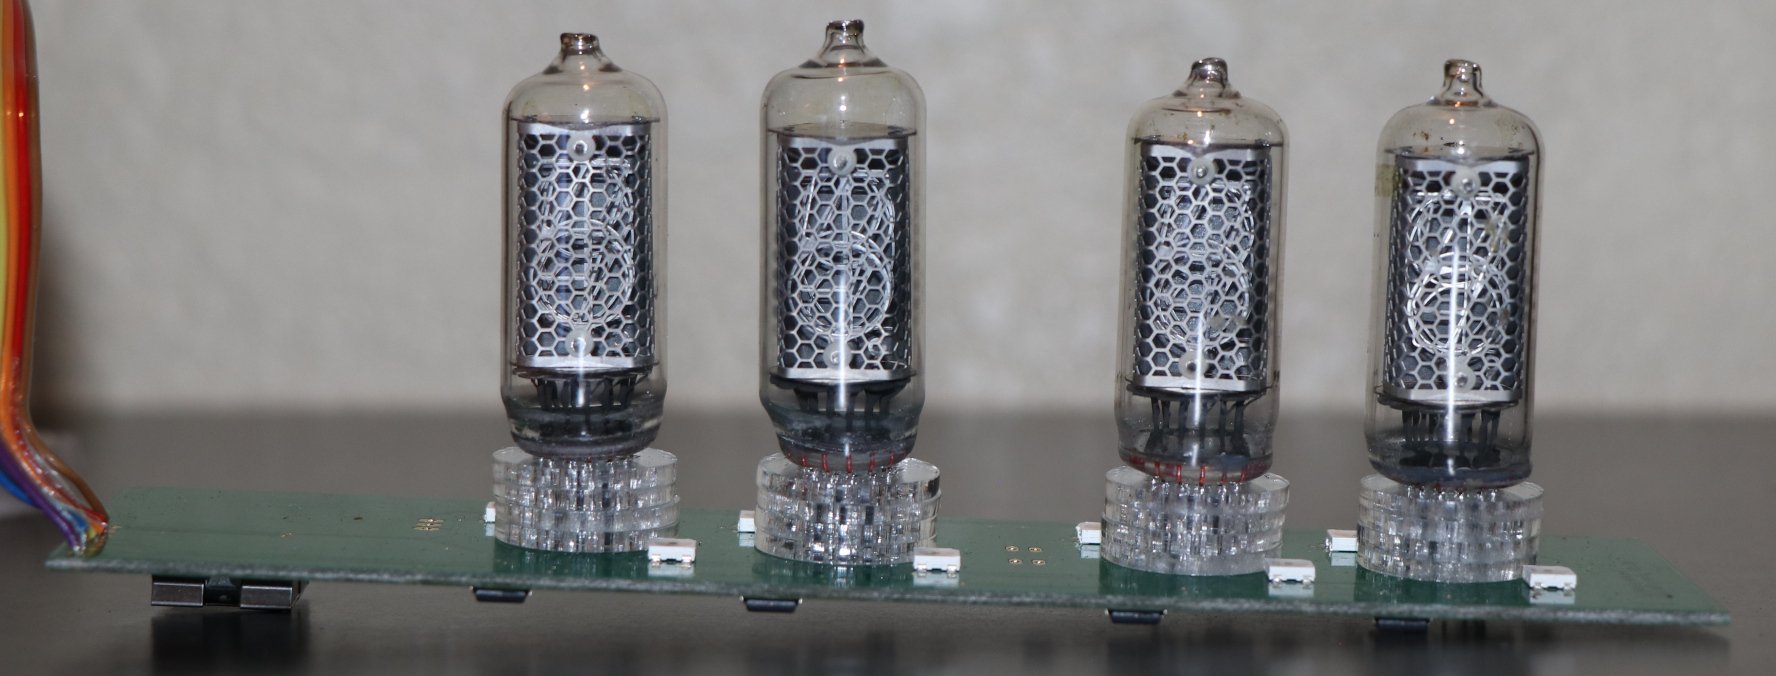
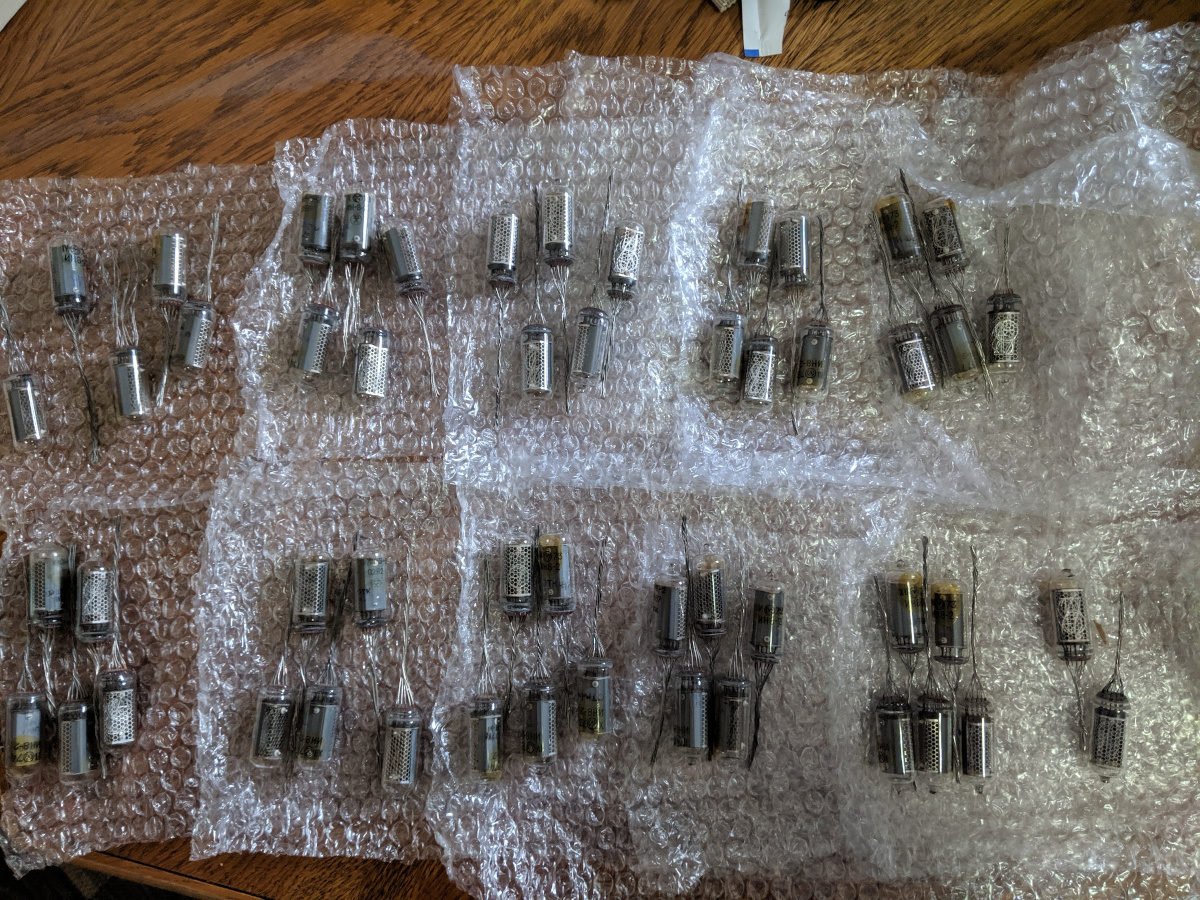
Nixie Tubes
The used Nixie tubes are IN-8-2 tubes. The oldest tube used is from 1972, the youngest from 1989. So they’ve all been around for a while!
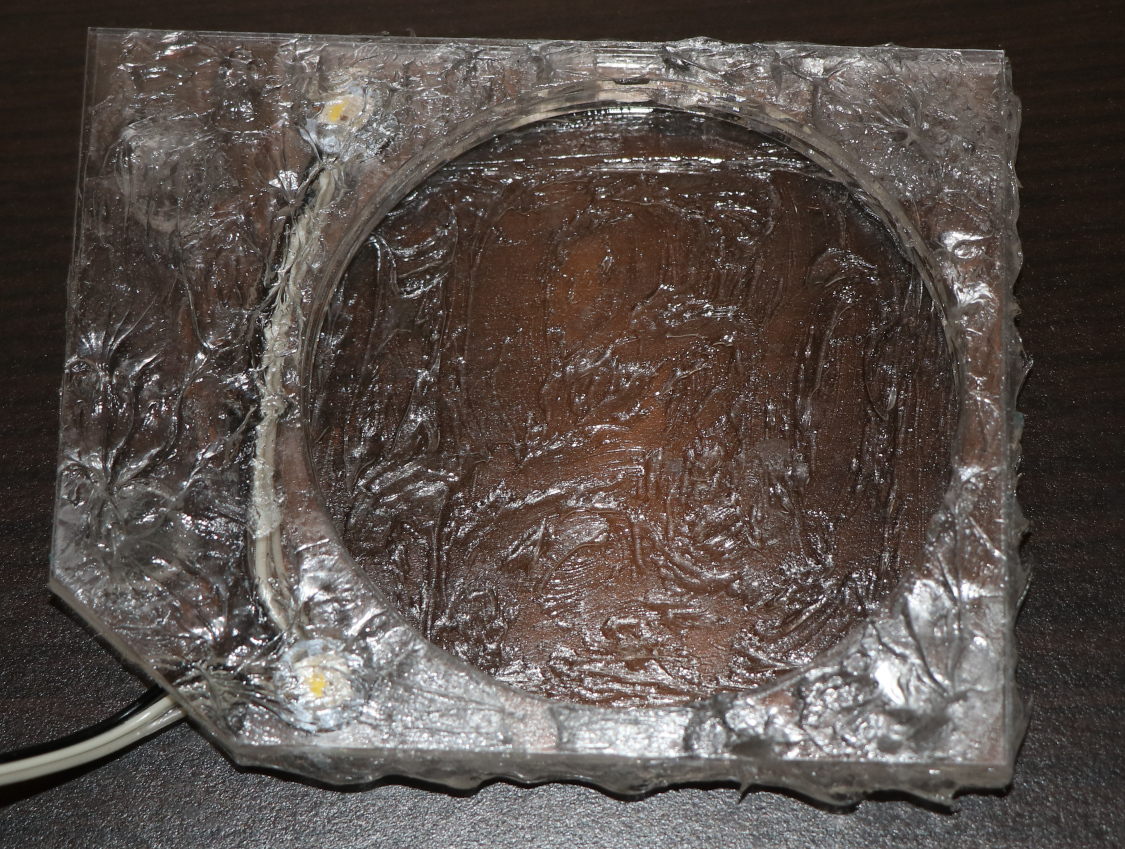
Bottle Light
As a bottle of your chosen kind of beer is something very special, it obviously has to be put into the perfect light. Thus the bottle holder contains two 4-channel RGBW LEDs.
Code Snippets
The code for the nixie clock is written in micropython. Here a few of the core functions.
Settings
The clock has a few basic settings, which are defined in a JSON file on the ESP32:
default_cycle_time = 100#ms
default_cycle_freq = 15#min
default_temp_freq = 15#min
default_temp_time = 5000#ms
off_time=(22,0)
on_time=(7,0)
off = False
- default_cycle_time: Delay in ms when cycling a tube
- default_cycle_freq: Frequency in minutes stating how often the tubes are cycled
- default_temp_freq: Frequency in minutes stating how often the temperature is displayed
- default_temp_time: Duration in ms how long the temperature is displayed
- off_time: The time when the clock goes into night mode and switches off
- on_time: The time when the clock goes into day mode and switches on
Nixie Control
These are the only two functions necessary for setting the Nixie tubes. The tube address is pulled from the following dictionary which contains the tube id and the applicable I2C address:
tubes = {1:32,2:33,3:34,4:35}
All functions for actually setting or rotating to a certain digit are based on these.
set_tube
Sets a tube to a certain digit
def set_tube(tube,number):
  i2c.writeto(tubes[tube],numbers[number])
  last[tube-1] = number
set_tube_d
Sets a tube to a certain digit, and also enables the decimal dot
def set_tube_d(tube,number):
  i2c.writeto(tubes[tube],numbers_d[number])
  last[tube-1] = number
tubes_init
By default all pins on the I2C muxes are activated, thus all digits on the tubes are iluminated. So the first function being called is tubes_init, which simply sets the muxes into the correct mode and deactivates all digits.
def tubes_init():
  for tube in tubes:
    #set output 1
    i2c.writeto(tubes[tube],b'\x06\x00')
    #set output 2
    i2c.writeto(tubes[tube],b'\x07\x00')
  # disable all
  set_off_all()
Nixie Backlight
The Nixie backlight is controlled by the following function utilizing the NeoPixel library. The code could easily be extended to give each tube a different background colour.
def set_backlight(colour):
  for i in range(0,8):
    backlight[i]=colours[colour]
  backlight.write()
Default Color list
This is the default color list, which is cycled for the color selection
colours = {0:(0,0,0),1:(100,100,100),2:(100,0,0),3:(0,100,0),4:(0,0,100),5:(100,100,0),6:(100,0,100),7:(0,0,100)}
Temperature View
The following block is used to fetch the current temperature from the used DHT11 sensor and then displays it.
def show_temp():
  stop_time()
  sensor = dht.DHT11(Pin(26))
  sensor.measure()
  temp = sensor.temperature()
  if fahrenheit:
    temp = fahrenheit(temp)
  time.sleep_ms(100)
  print("fetched temperature " + str(temp))
  set_tube_all(-1,temp//100,temp//10,temp%10)
  time.sleep_ms(default_temp_time)
  start_time()
Coding
Coding can be either done directly via USB in a micropython shell or simply a text editor.
“Flashing”
“Flashing” or rather copying the files to the ESP32 can be easily done by using adafruit-ampy.
pip install adafruit-ampy
Pushing a file:
ampy --port /dev/ttyUSB0 put bla.py
Code Files
A Few Random Images
Table
Top View
Back View
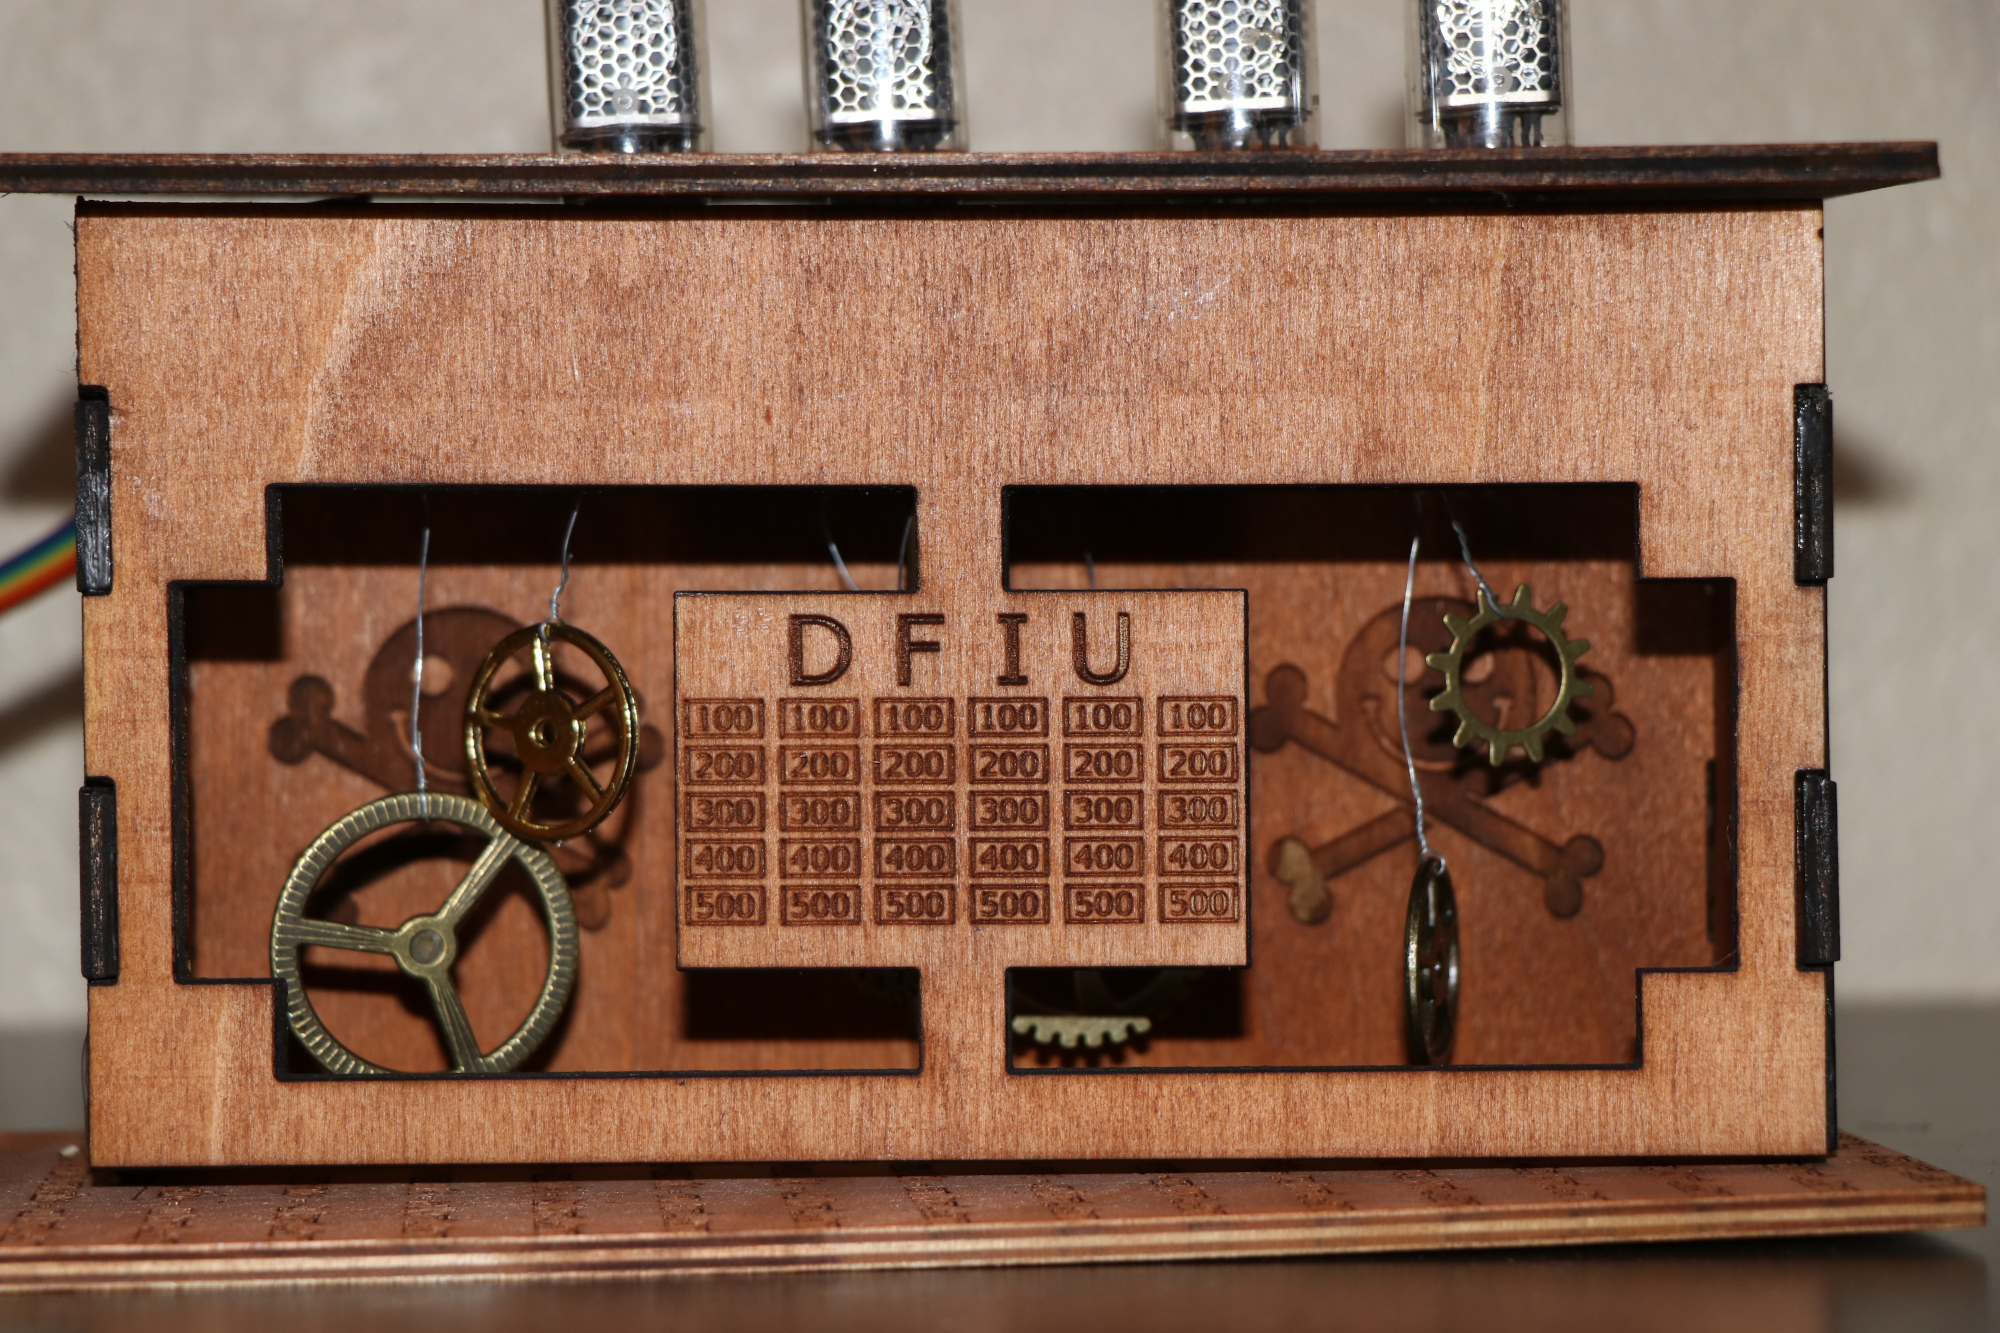
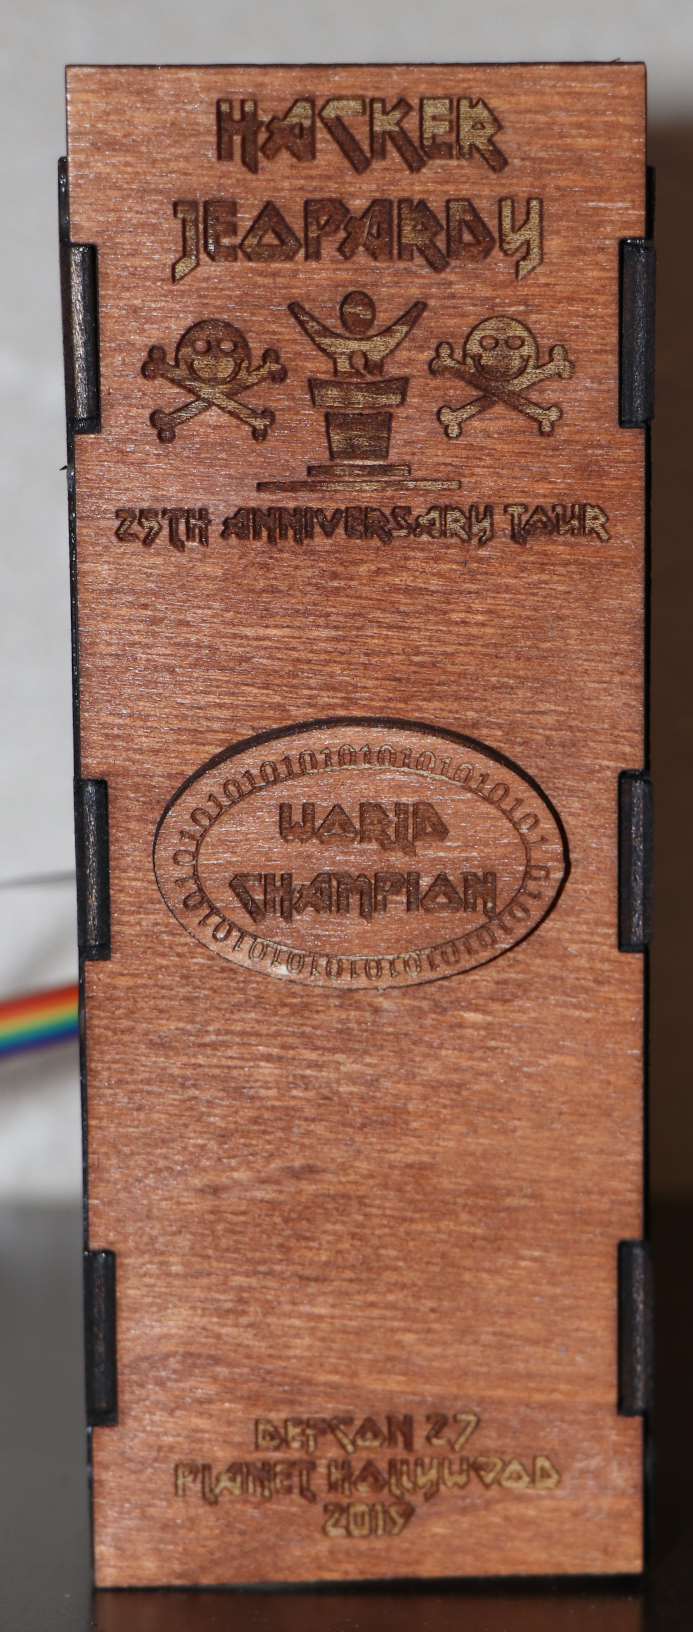
World Champion Podium
First Prototype
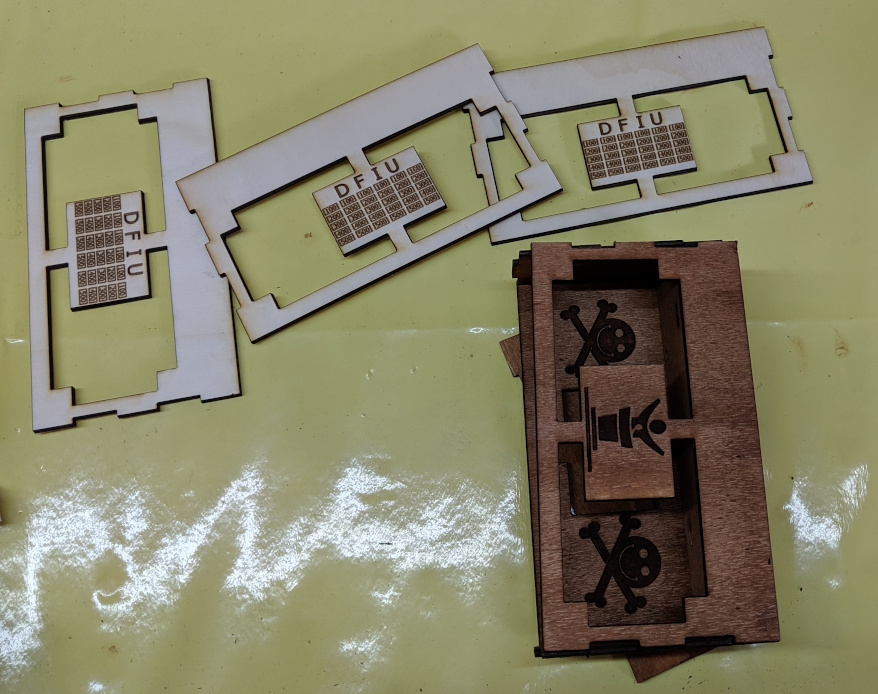
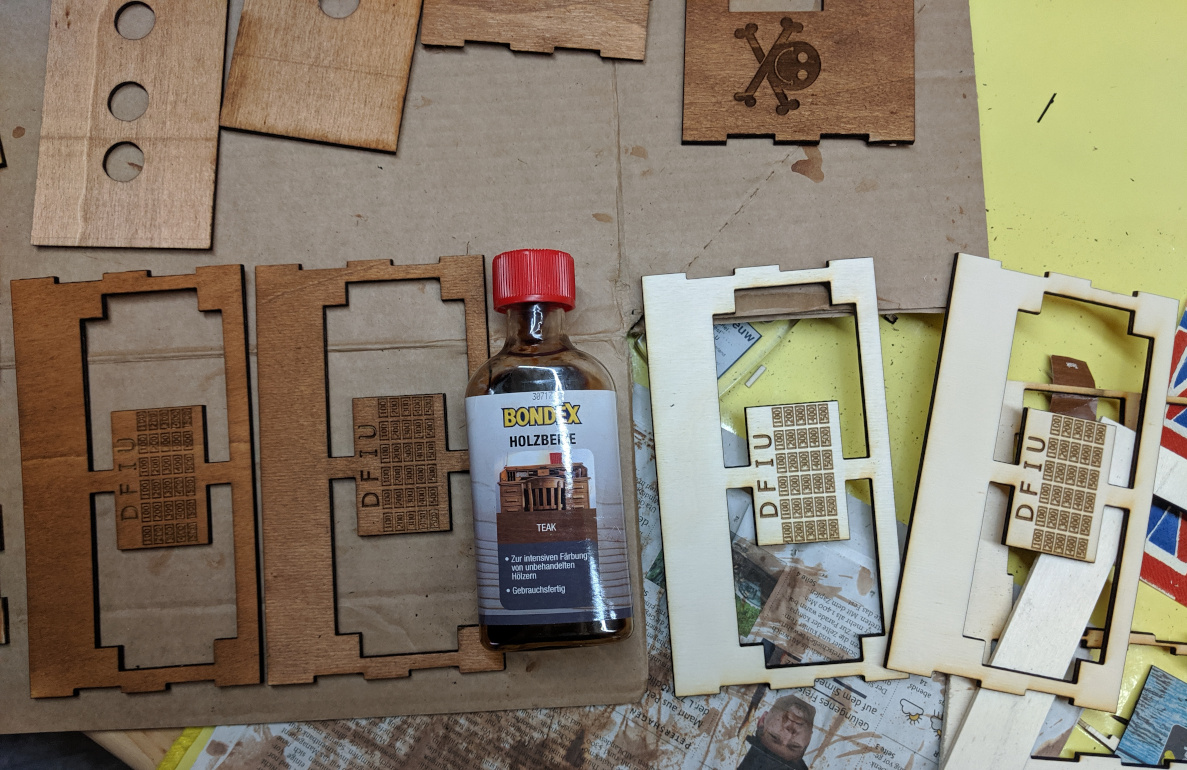
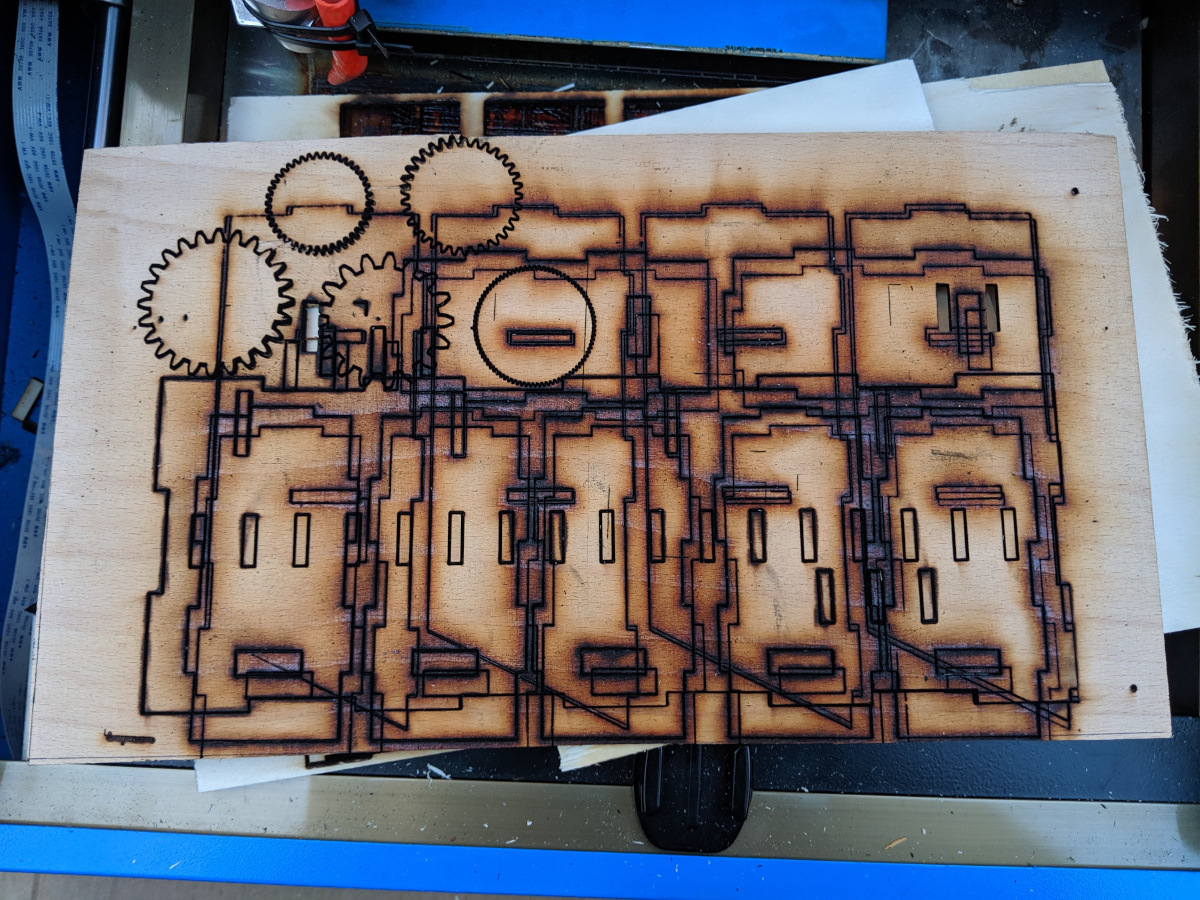
Manufacturing
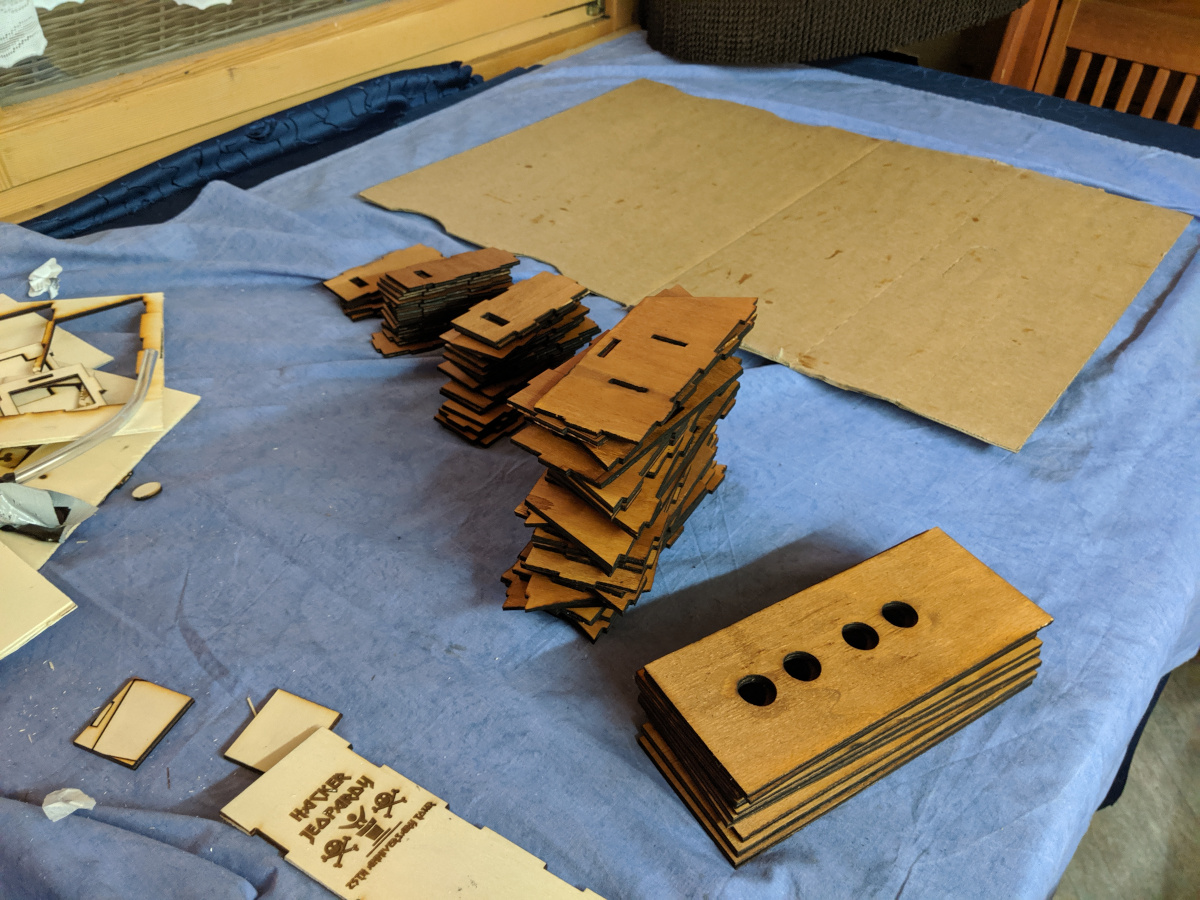
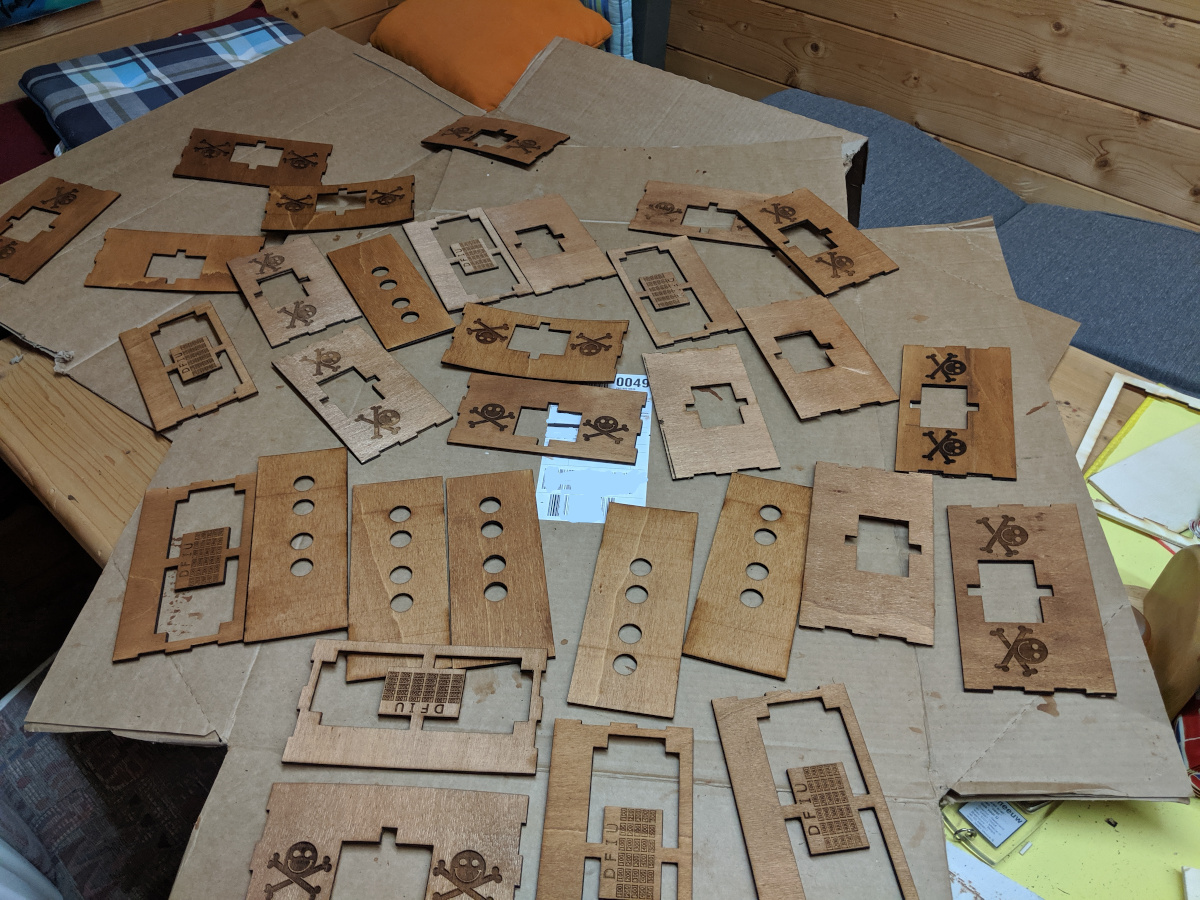
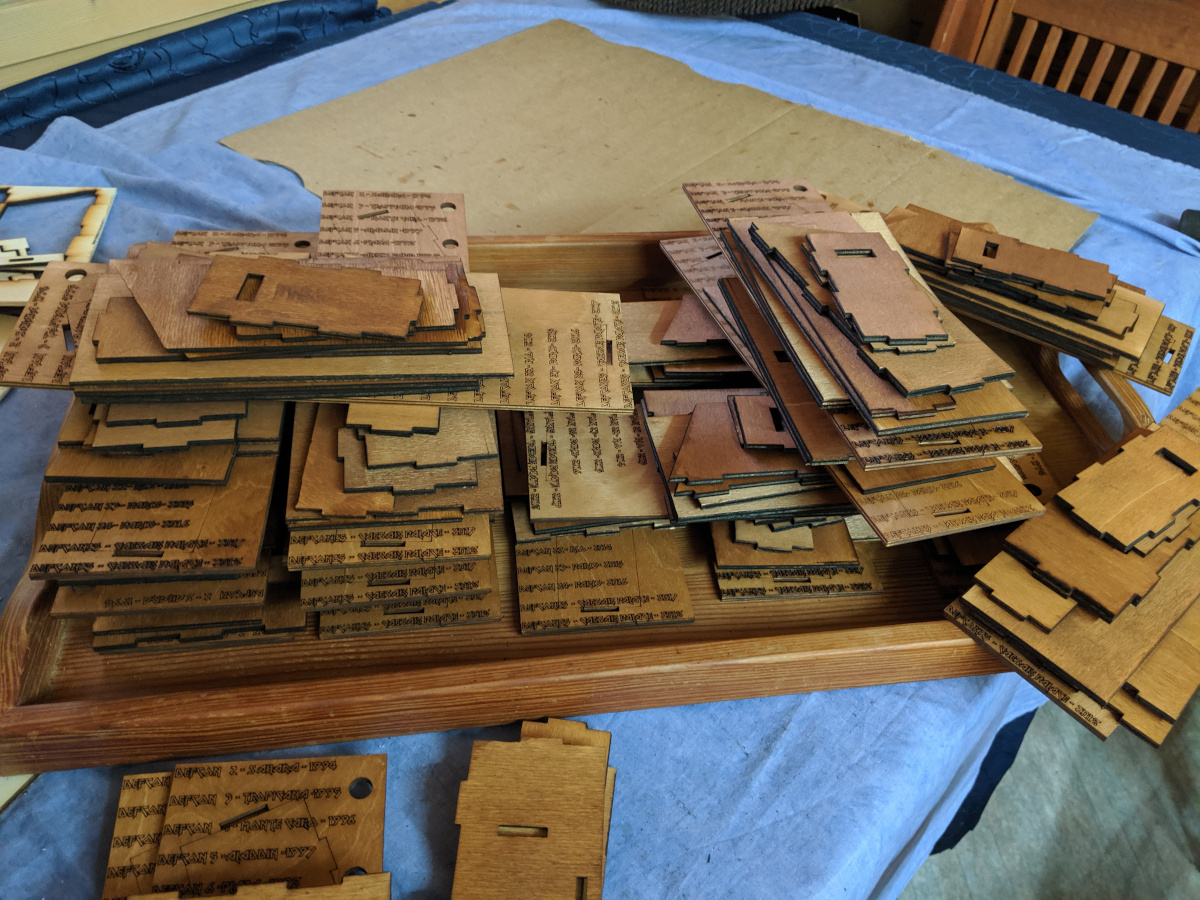
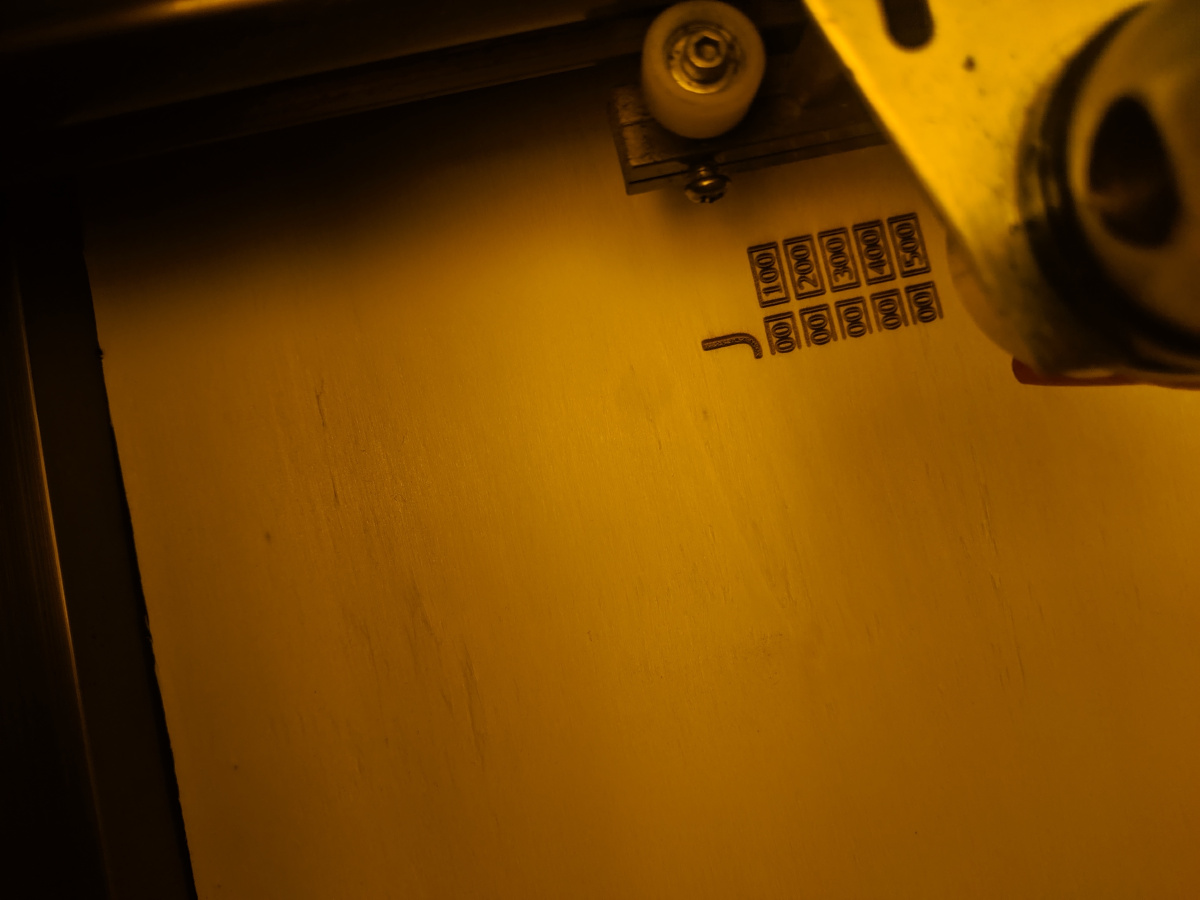
Staining