Hantek 2D72
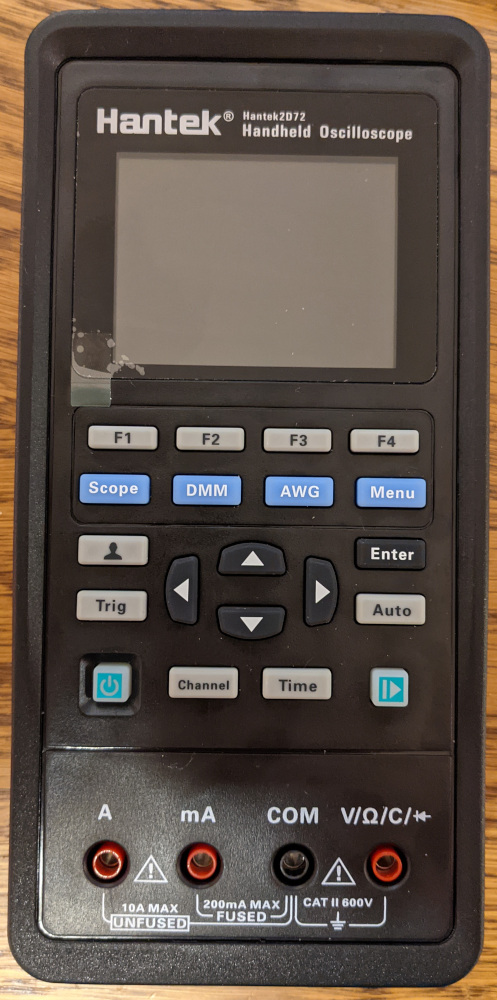
So I recently got a Hantek 2D72 handheld scope, signal generator and multimeter. Here’s a short review
First View
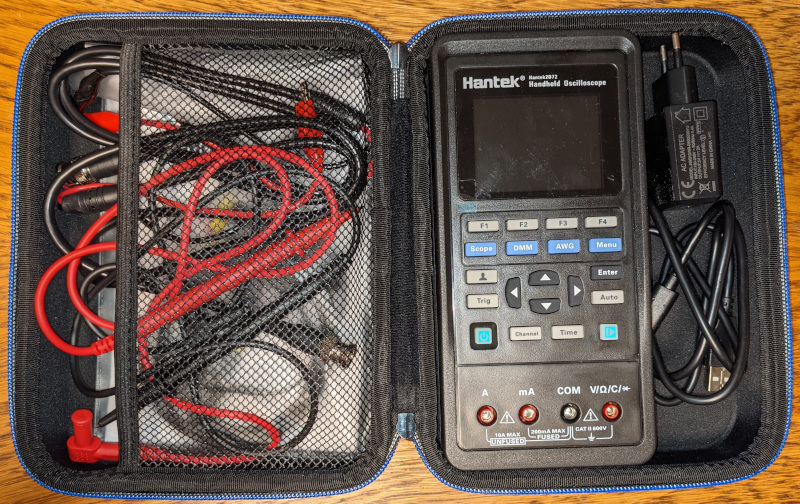
The Scope comes in a nice case that holds the device and all accessories:
- 2D72
- USB power supply and USB-C cable
- 1 probe on a BNC connector
- 2 cables with clamps on BNC
- Classic multimeter probes
It weighs 620g + 530g for the bag and the accessories. It’s completely made of plastic, with rubber keys and a rubber coat on the case.
 |
 |
It has four probe sockets on the front for the digital multimeter, three BNC connectors on top for the scope and the signal generator and a USB-C port on the side. The flap on the side is labeled with “Power”, “SD” and “USB”. The power connecter is a USB-C socket which has been placed rather deep into the case. So far the USB cable that came with the device was the only one that would actually achieve a connection. The slot might have to be carved slightly to allow the use of other cables. The stated SD card ought to be micro SD but is not populated. The “USB” port should be a USB-A socket, but is also not populated. There also is a Kensigton lock slot and a typical stand on the back.
 |
 |
The device arrived with the following firmware information.
Model: Hantek 2D72
Soft: 2020011801
PCB: 0000000001
FPGA: V07
I upgraded the software to 2020070701 after unpacking it.
Functions
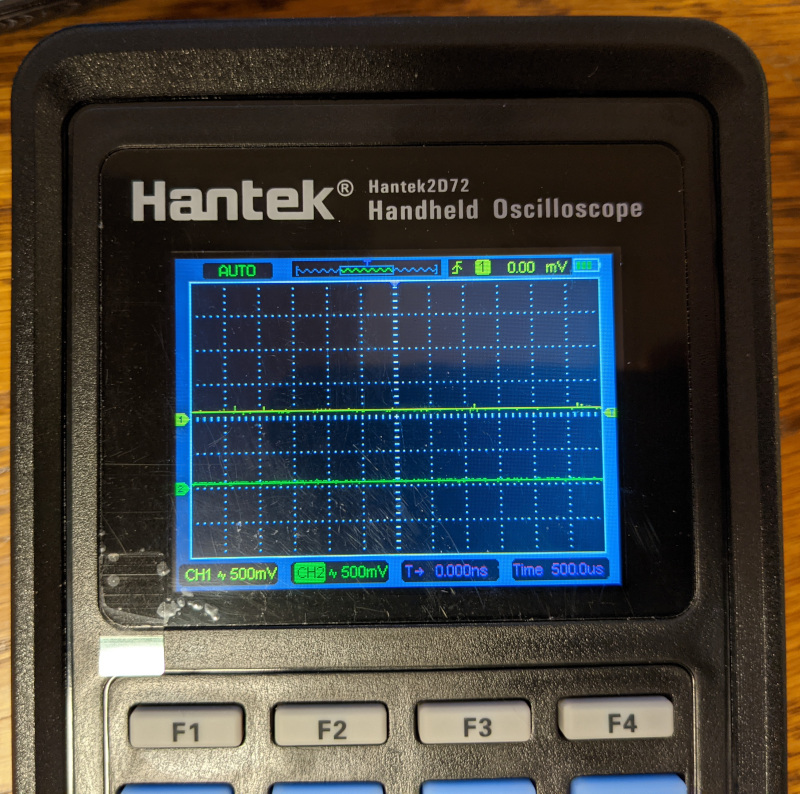
Scope
The scope has 2 Channels and is supposed to work up to 70MHz. Triggers can be set on both channels and support rising, falling and “double” slopes.
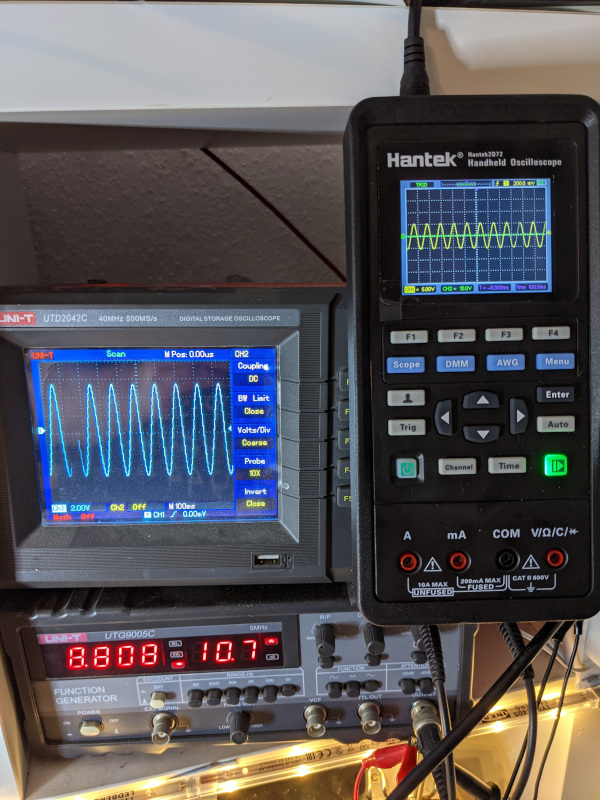
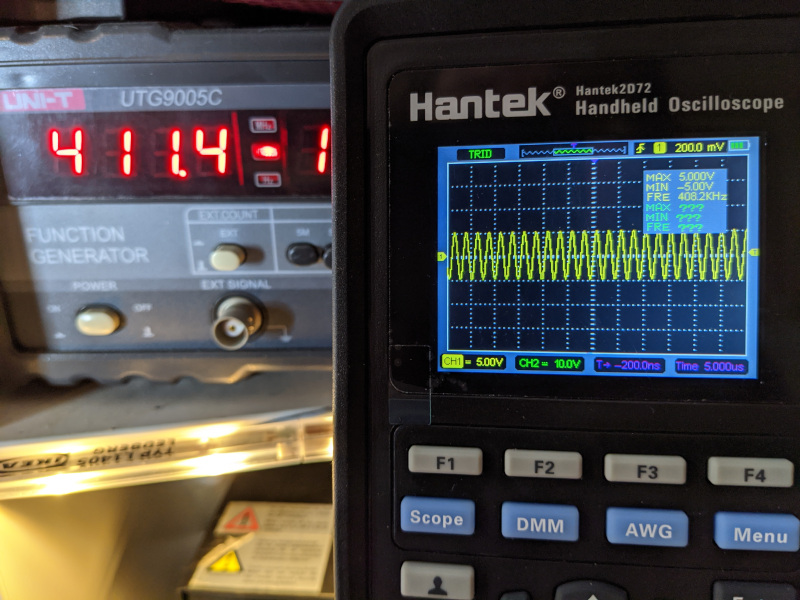
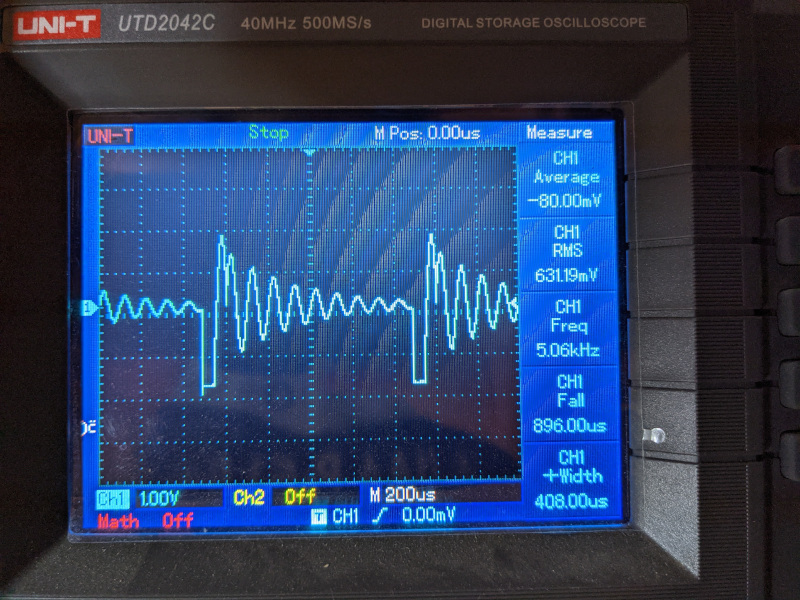
I quickly connected it to a signal generator and gave it a spin
 |
 |
 |
|
- With 6cm x 4.5cm, the display isn’t the largest, but big enough to see what’s going on.
- Don’t forget, it’s a cheap (useful) handheld toy, not a professional scope!
- Time frames/divs can be chosen from 5ns up to 500s
- The accuracy of the frequency counter is high enough (at least up to 5MHz)
- While it has an invert function, there sadly aren’t any math functions :-(
Digital Multimeter
The multimeter has the typical functions one would need.
- DC
- Ohm
- Continuity
- DC A
- DC mA
- DC mV
- AC V
- AC A
- AC mA
- Diode
- Capacity
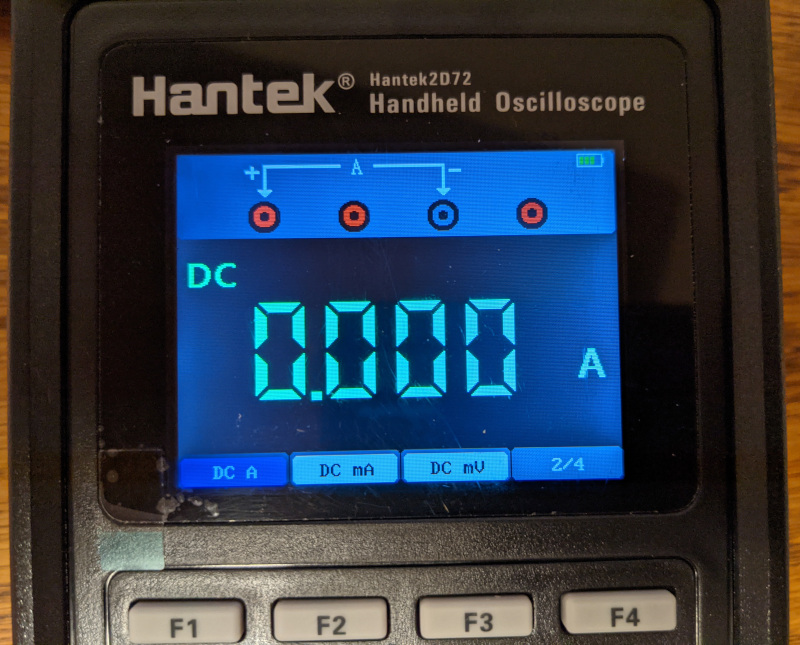
The top of the display will show you which ports to use, the ports are neither illuminated nor does the device give a signal when the probe is connect to the wrong ones.
 |
 |
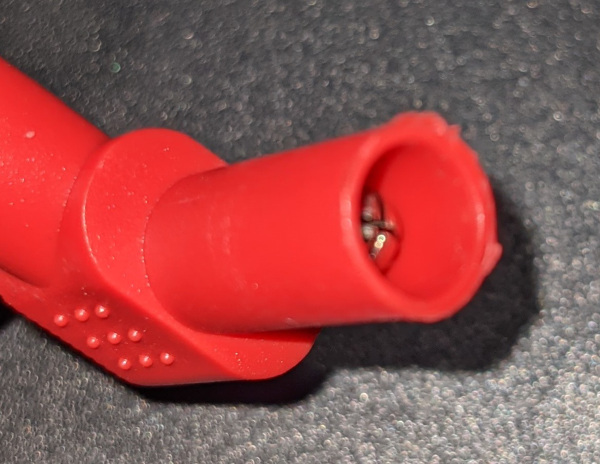
The plug on the red probe always got jammed when inserting it, so I cleaned it with a knife.
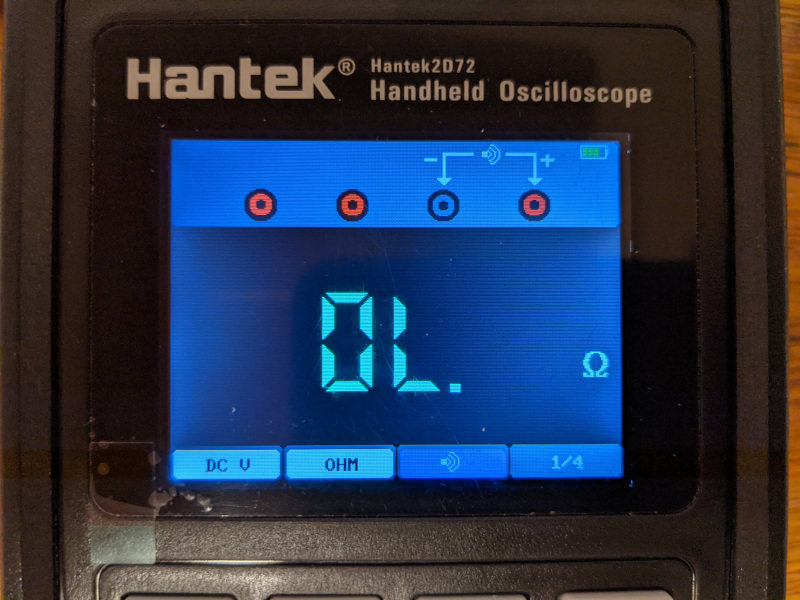
Measuring Resistance
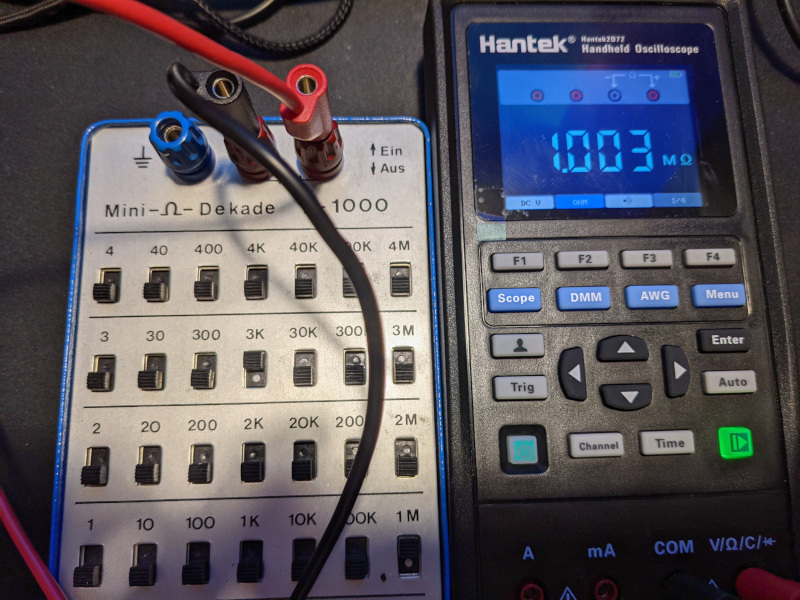 |
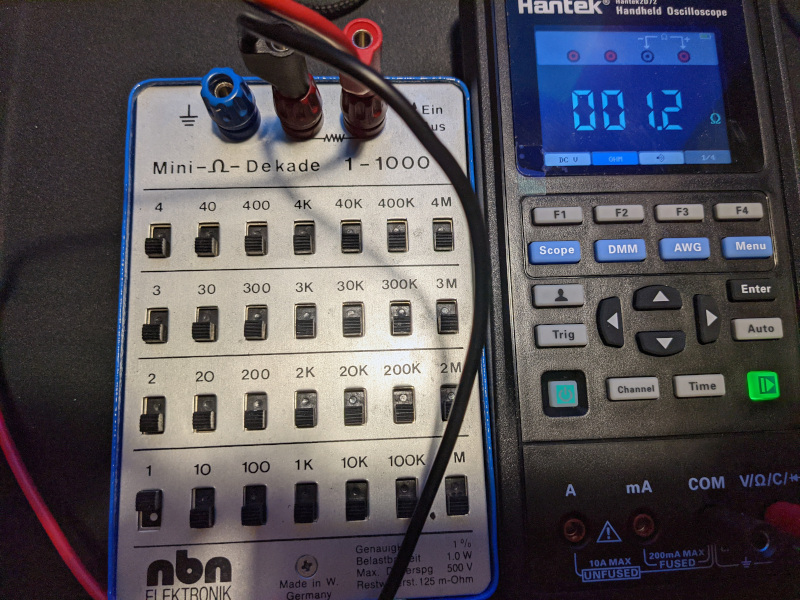 |
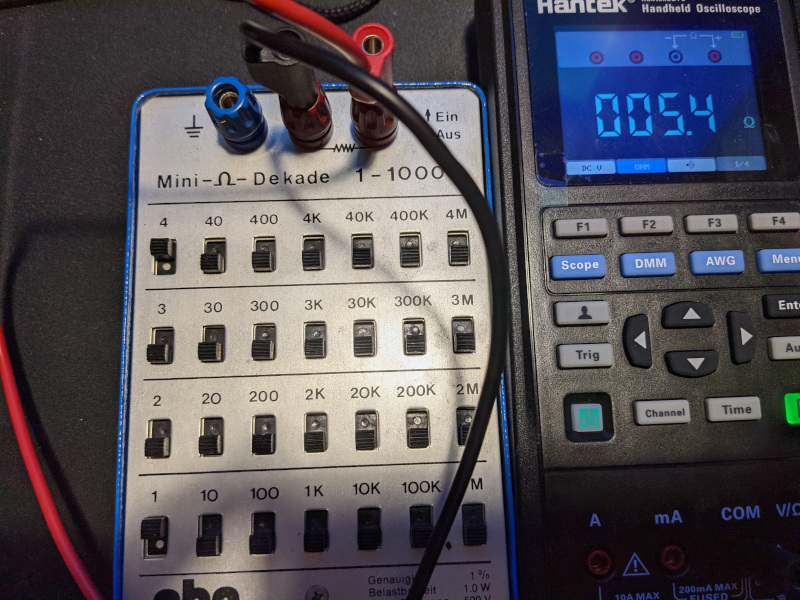 |
 |
Measuring Capacitance
I did a few test measurements
| Type | Printed Value | Measured |
| Foils | 2.2uF | 2.127uF |
| Foil | 53nF | 53.2nF |
| Electrolytic | 470nF | 486nF |
| Electrolytic | 47uF | 47.89uF |
| Electrolytic | 100uF | didn’t measure |
I measured the caps multiple times in random order, the measured values were the same for each try. A single measurement took between two and 5 seconds. Still, it did somehow fail measuring three different 100uF 16V capacitors. It jumped around in the nF range and that’s it. I’ll have to give that another try!
Continuity
The first tries with the continuity tester failed until I gave the probes a proper polish. I guess they were covered by something from the manufacturing process.
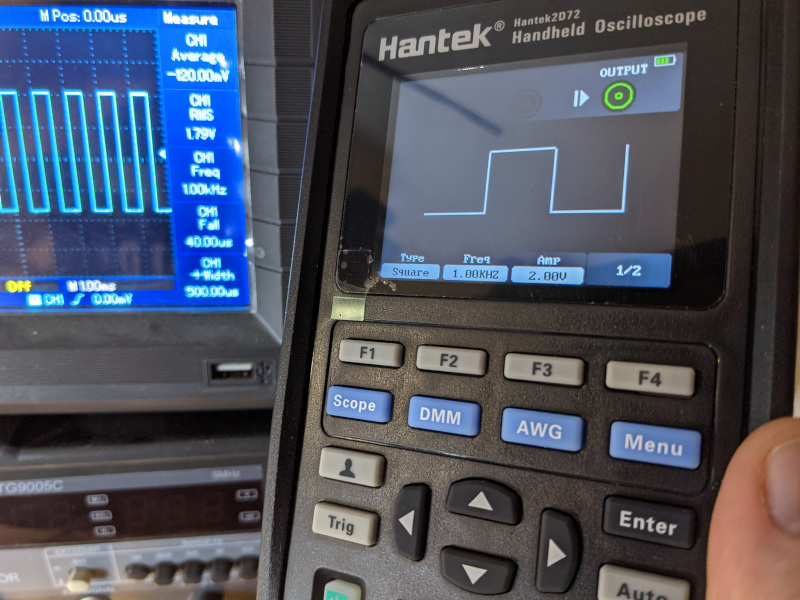
Signal Generator
The signal generator can run as the same time as scope and offers varios functions.
| Function | Frequency | Amplitude | Offset | Duty | RiseDuty | HighDuty | FallDuty |
| Square | x | x | x | x | |||
| Ramp | x | x | x | x | |||
| Sine | x | x | x | x | |||
| Trapezia | x | x | x | x | x | x | |
| Arb1 (Rising Steps) | x | x | x | ||||
| Arb2 (Falling Steps) | x | x | x | x | x | x | x |
| Arb3 (Constant) | x | x | x | x | x | ||
| Arb4 (Screenshot!) | x | x | x |
The amplitude can be set from 0.1V to 2.5V in 0.1V steps.
 |
 |
USB and PC Connectivity
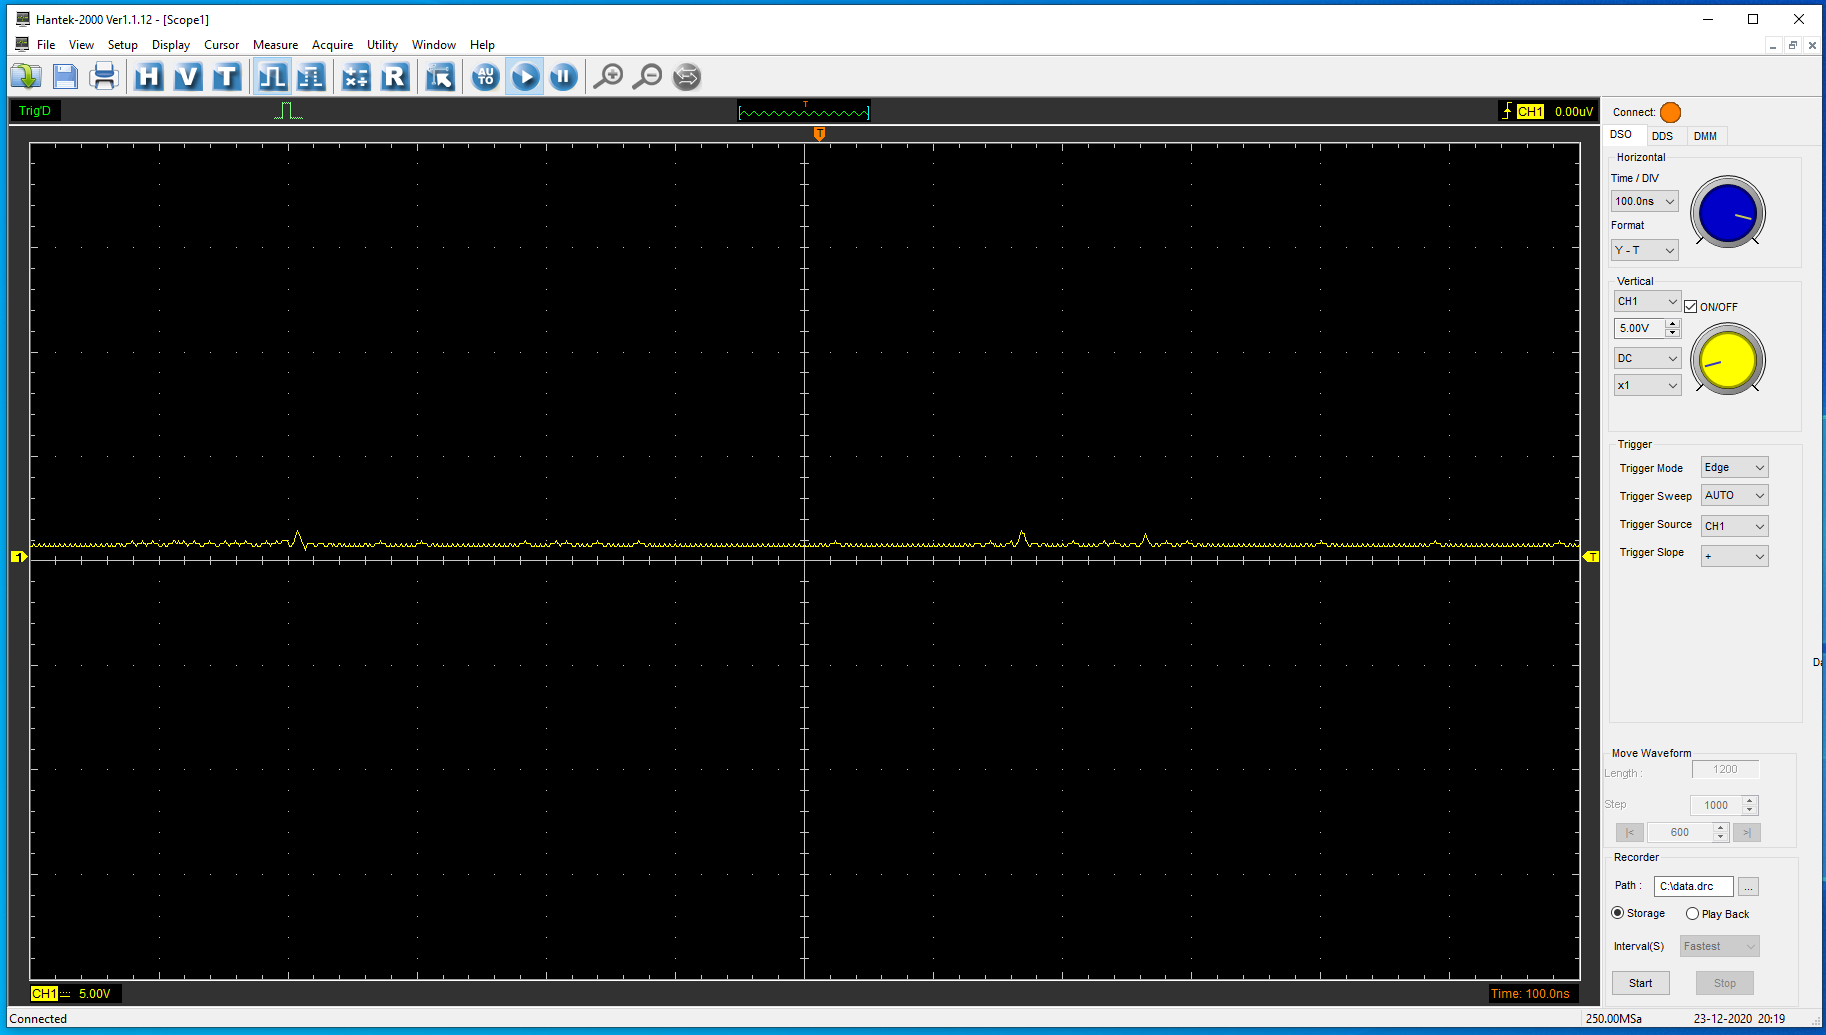
The device can be connected to a PC via the USB-C port and controlled by a software from Hantek. Sadly, only on Windows. The software enables the use of scope, multimeter and signal generator. (It also provides maths functions.)
Firmware updates can be performed using a STM32 DFU tool.
Usage
The device is easy to use, but has a few quirks, i.e. the menu button only works in the scope view. The about three seconds boot time are acceptable and quicker than my usual scope! I’m looking forward to giving it a practical try over Christmas.
- Menu button only works in scope mode
- The silhouette button resets the complete device. I had expected it to only reset the scope settings
- I think I haven’t found a single use of the “Enter” button, yet
- The backlight timeout will occur while performing measurements. Only a buttom press will keep it alive
Links: